Two Days on the Road: Cornwall & North Devon – Shot Entirely on iPhone
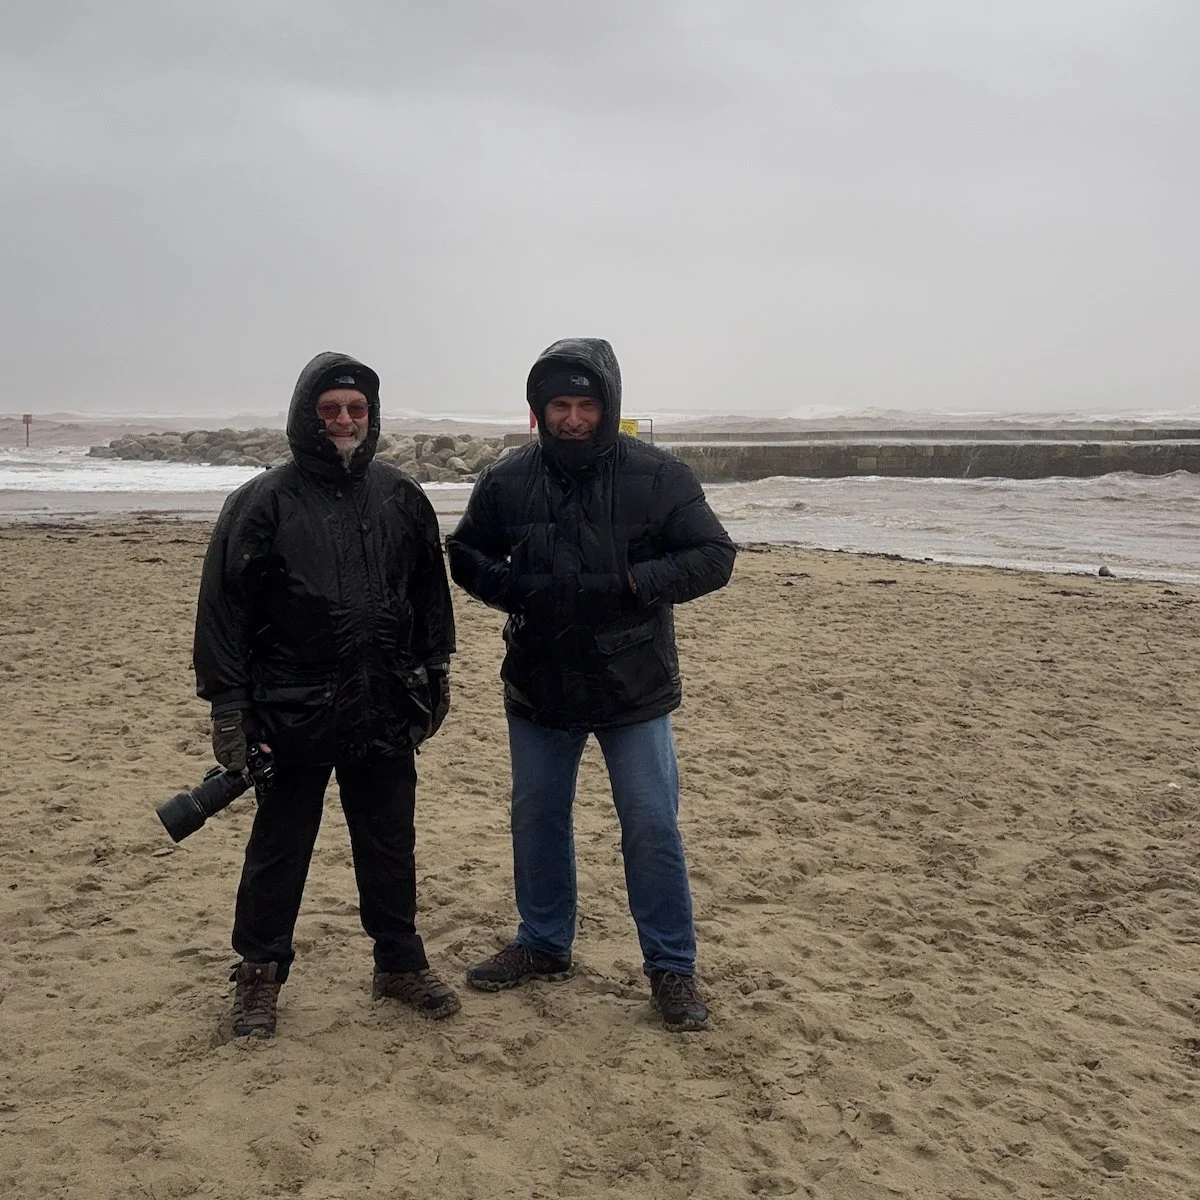
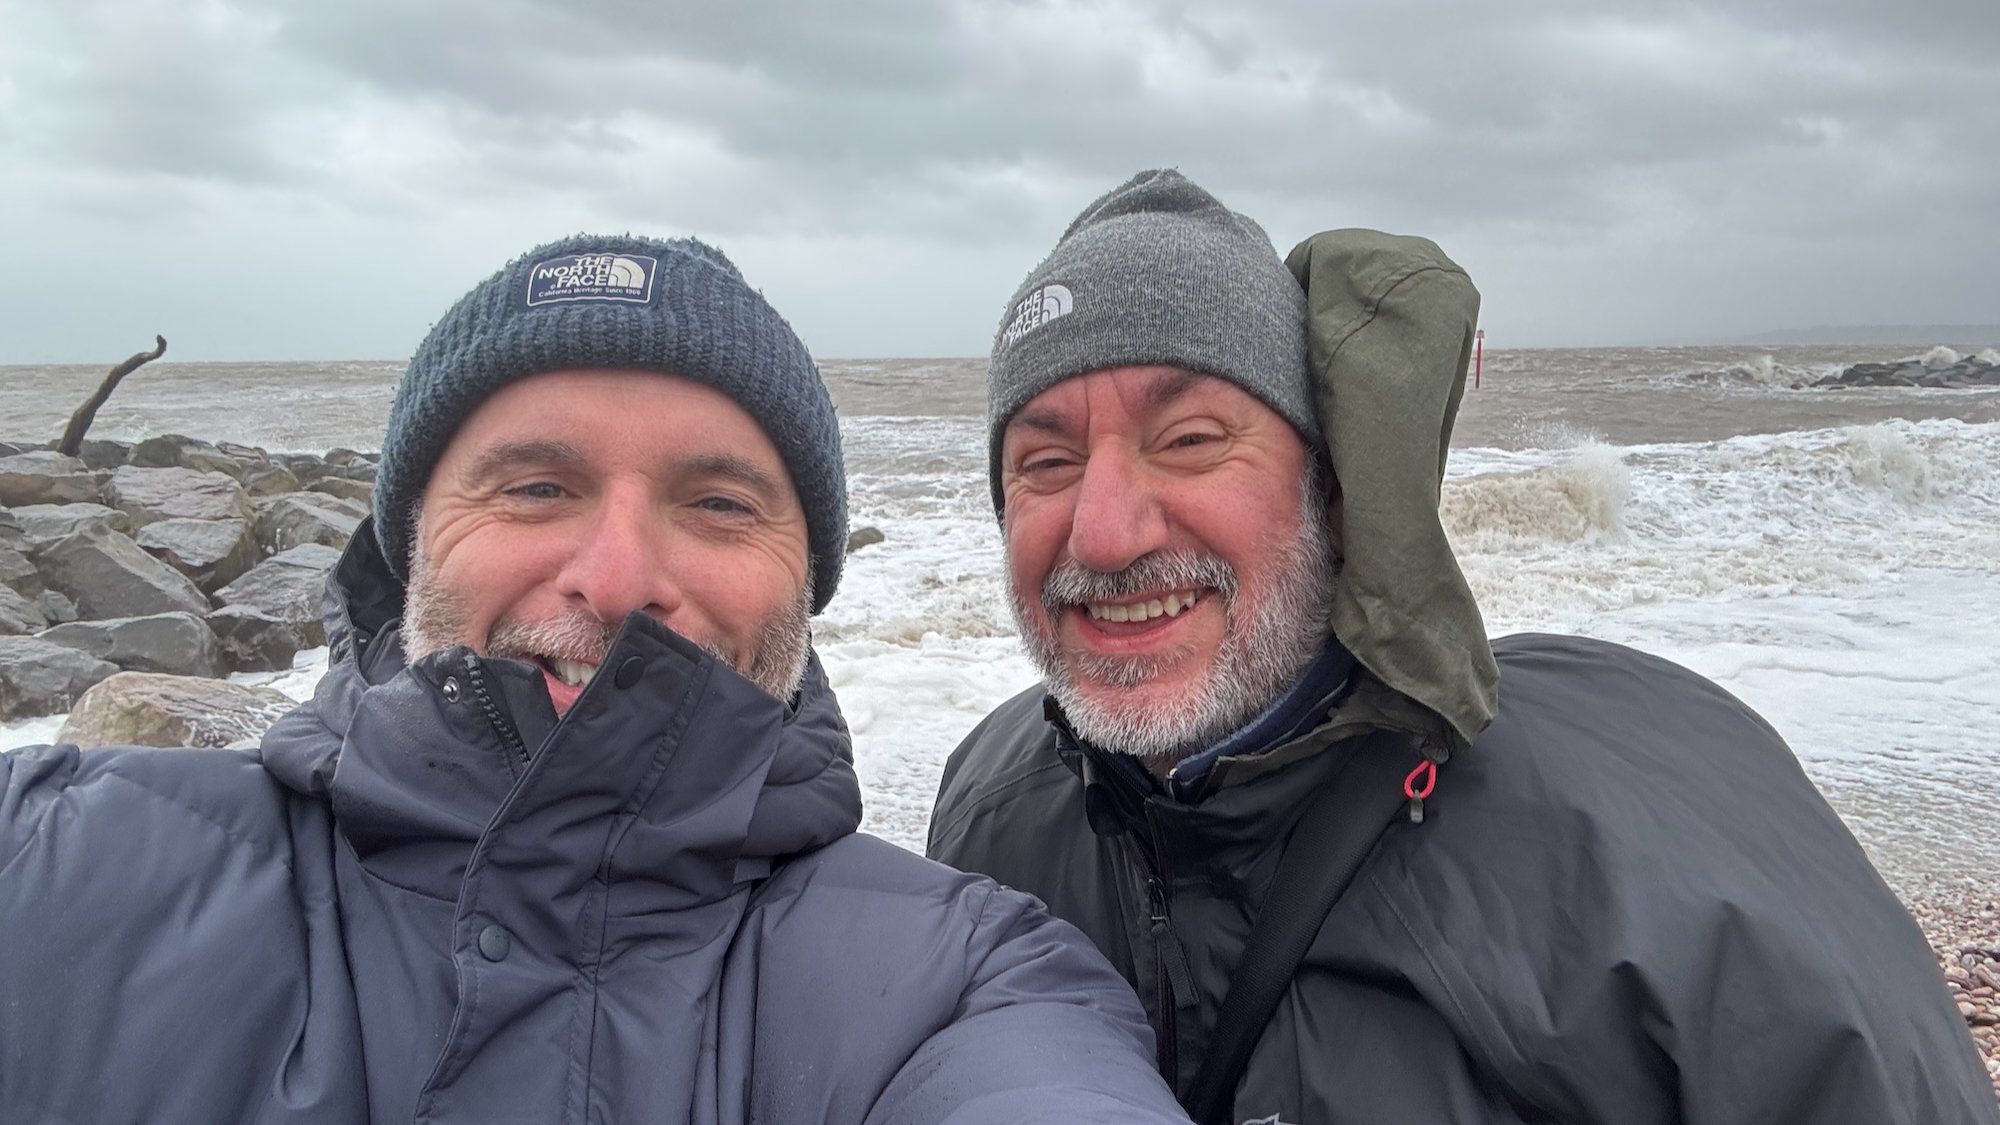
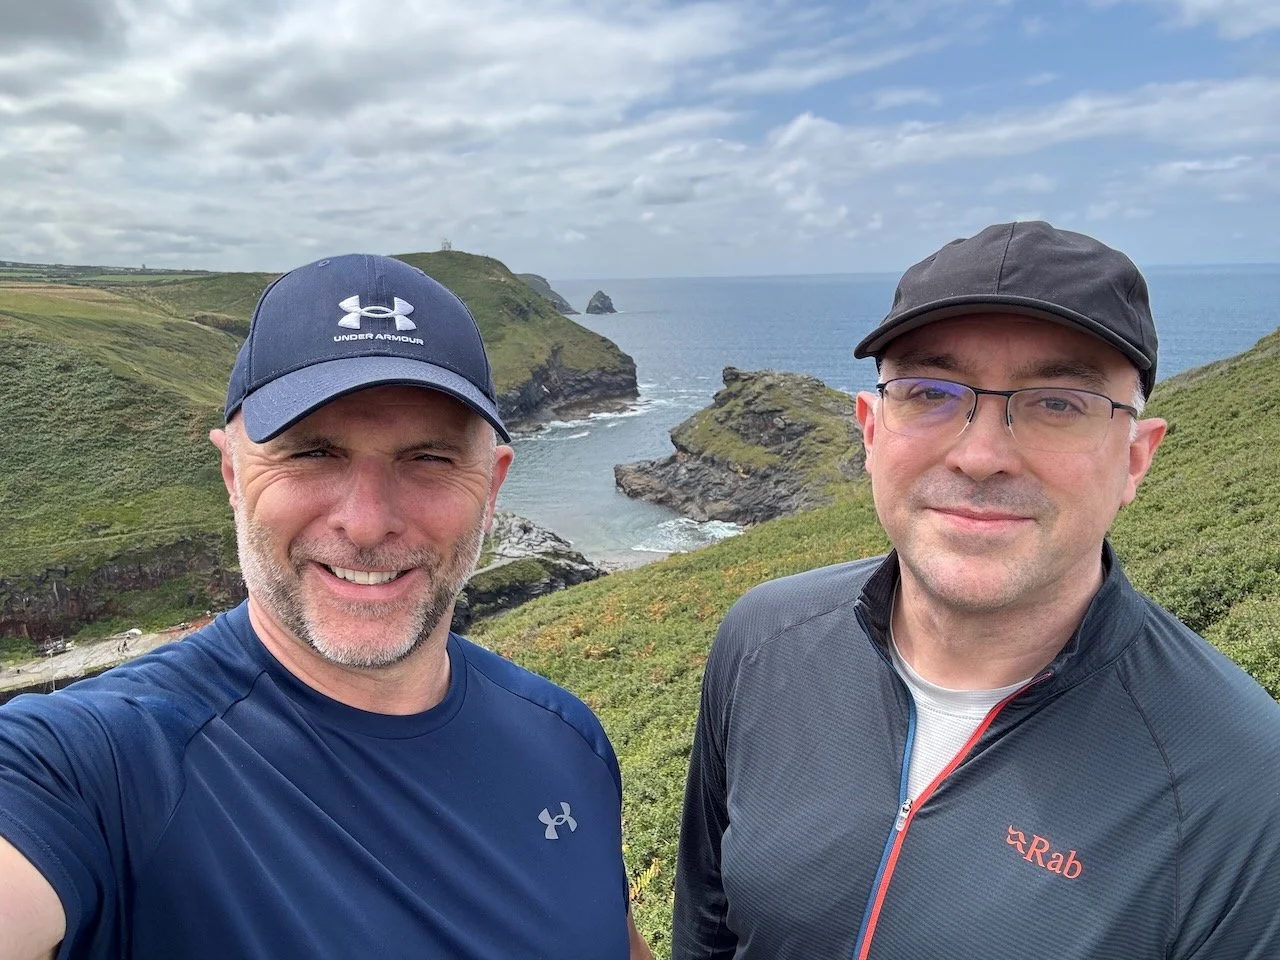
On the morning of July 26th, my friend Andy Hughes pulled up outside my place ready for two days of coastal exploring. Andy’s someone I first met through my Photography Community, and like so many photography friendships, it has quickly grown beyond just swapping images online. Now we were heading off on our first road trip together with cameras ready, or in my case, just one very capable phone.
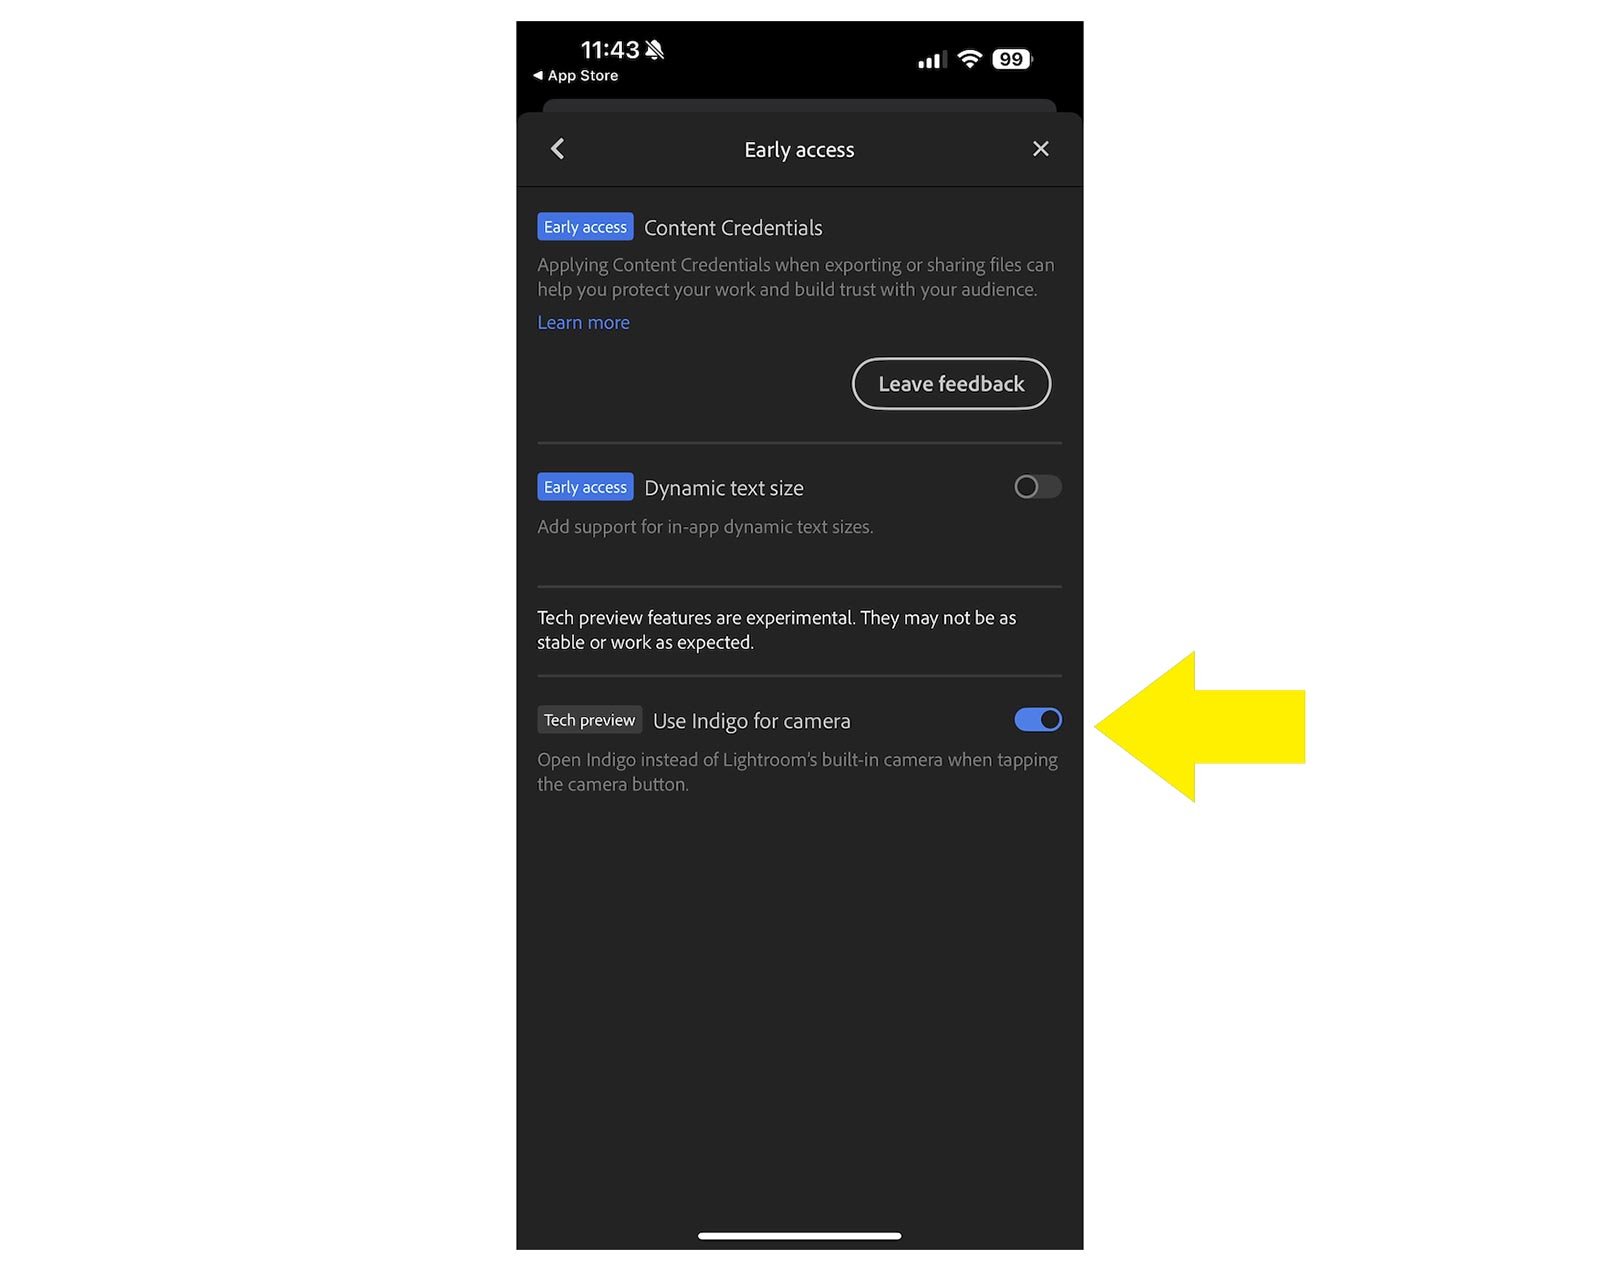
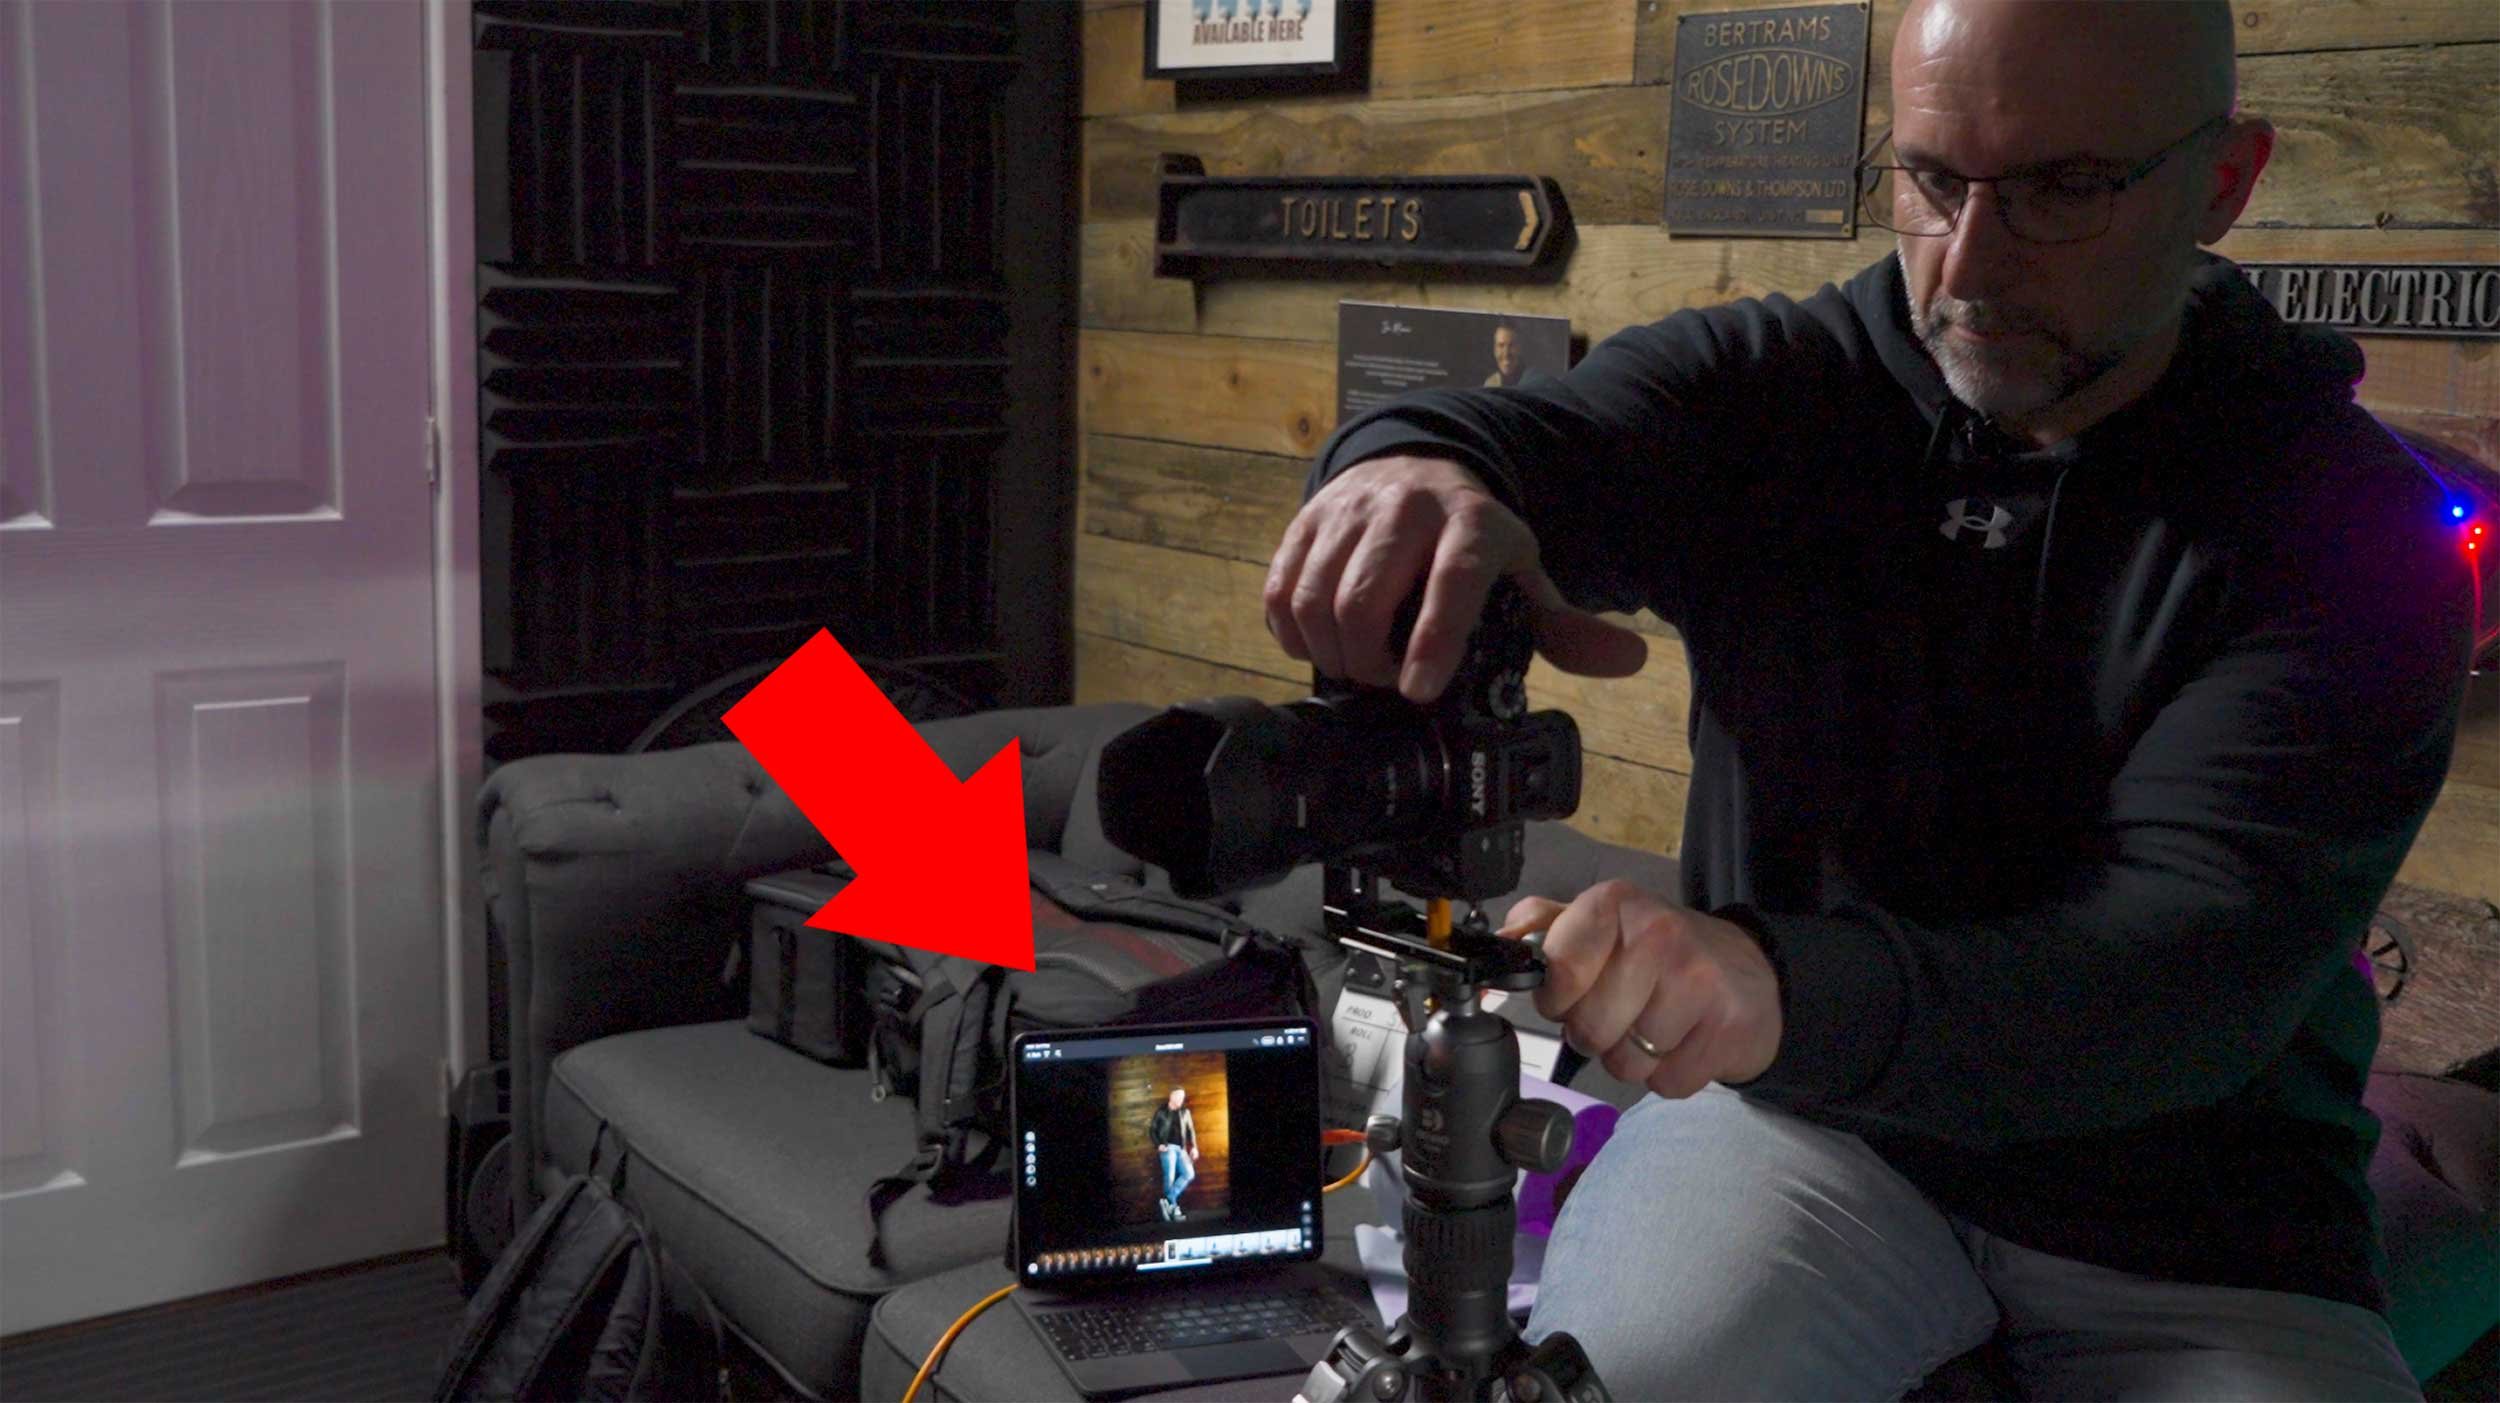
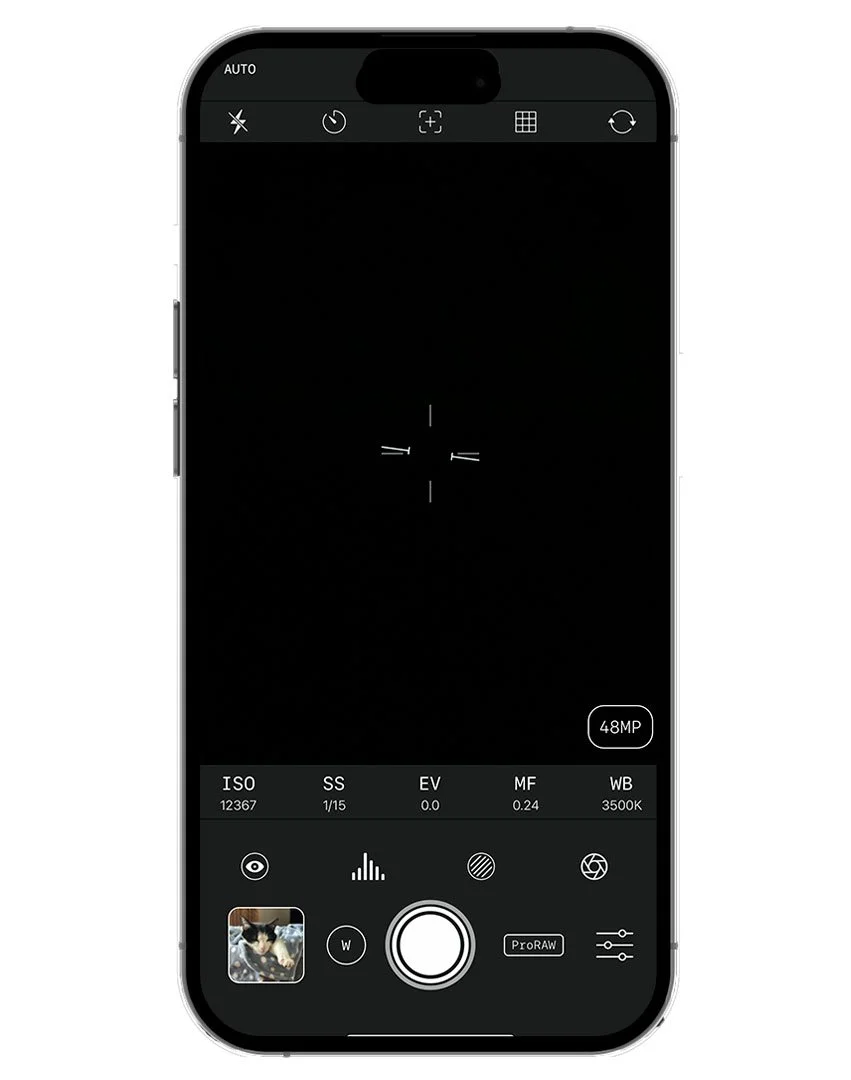
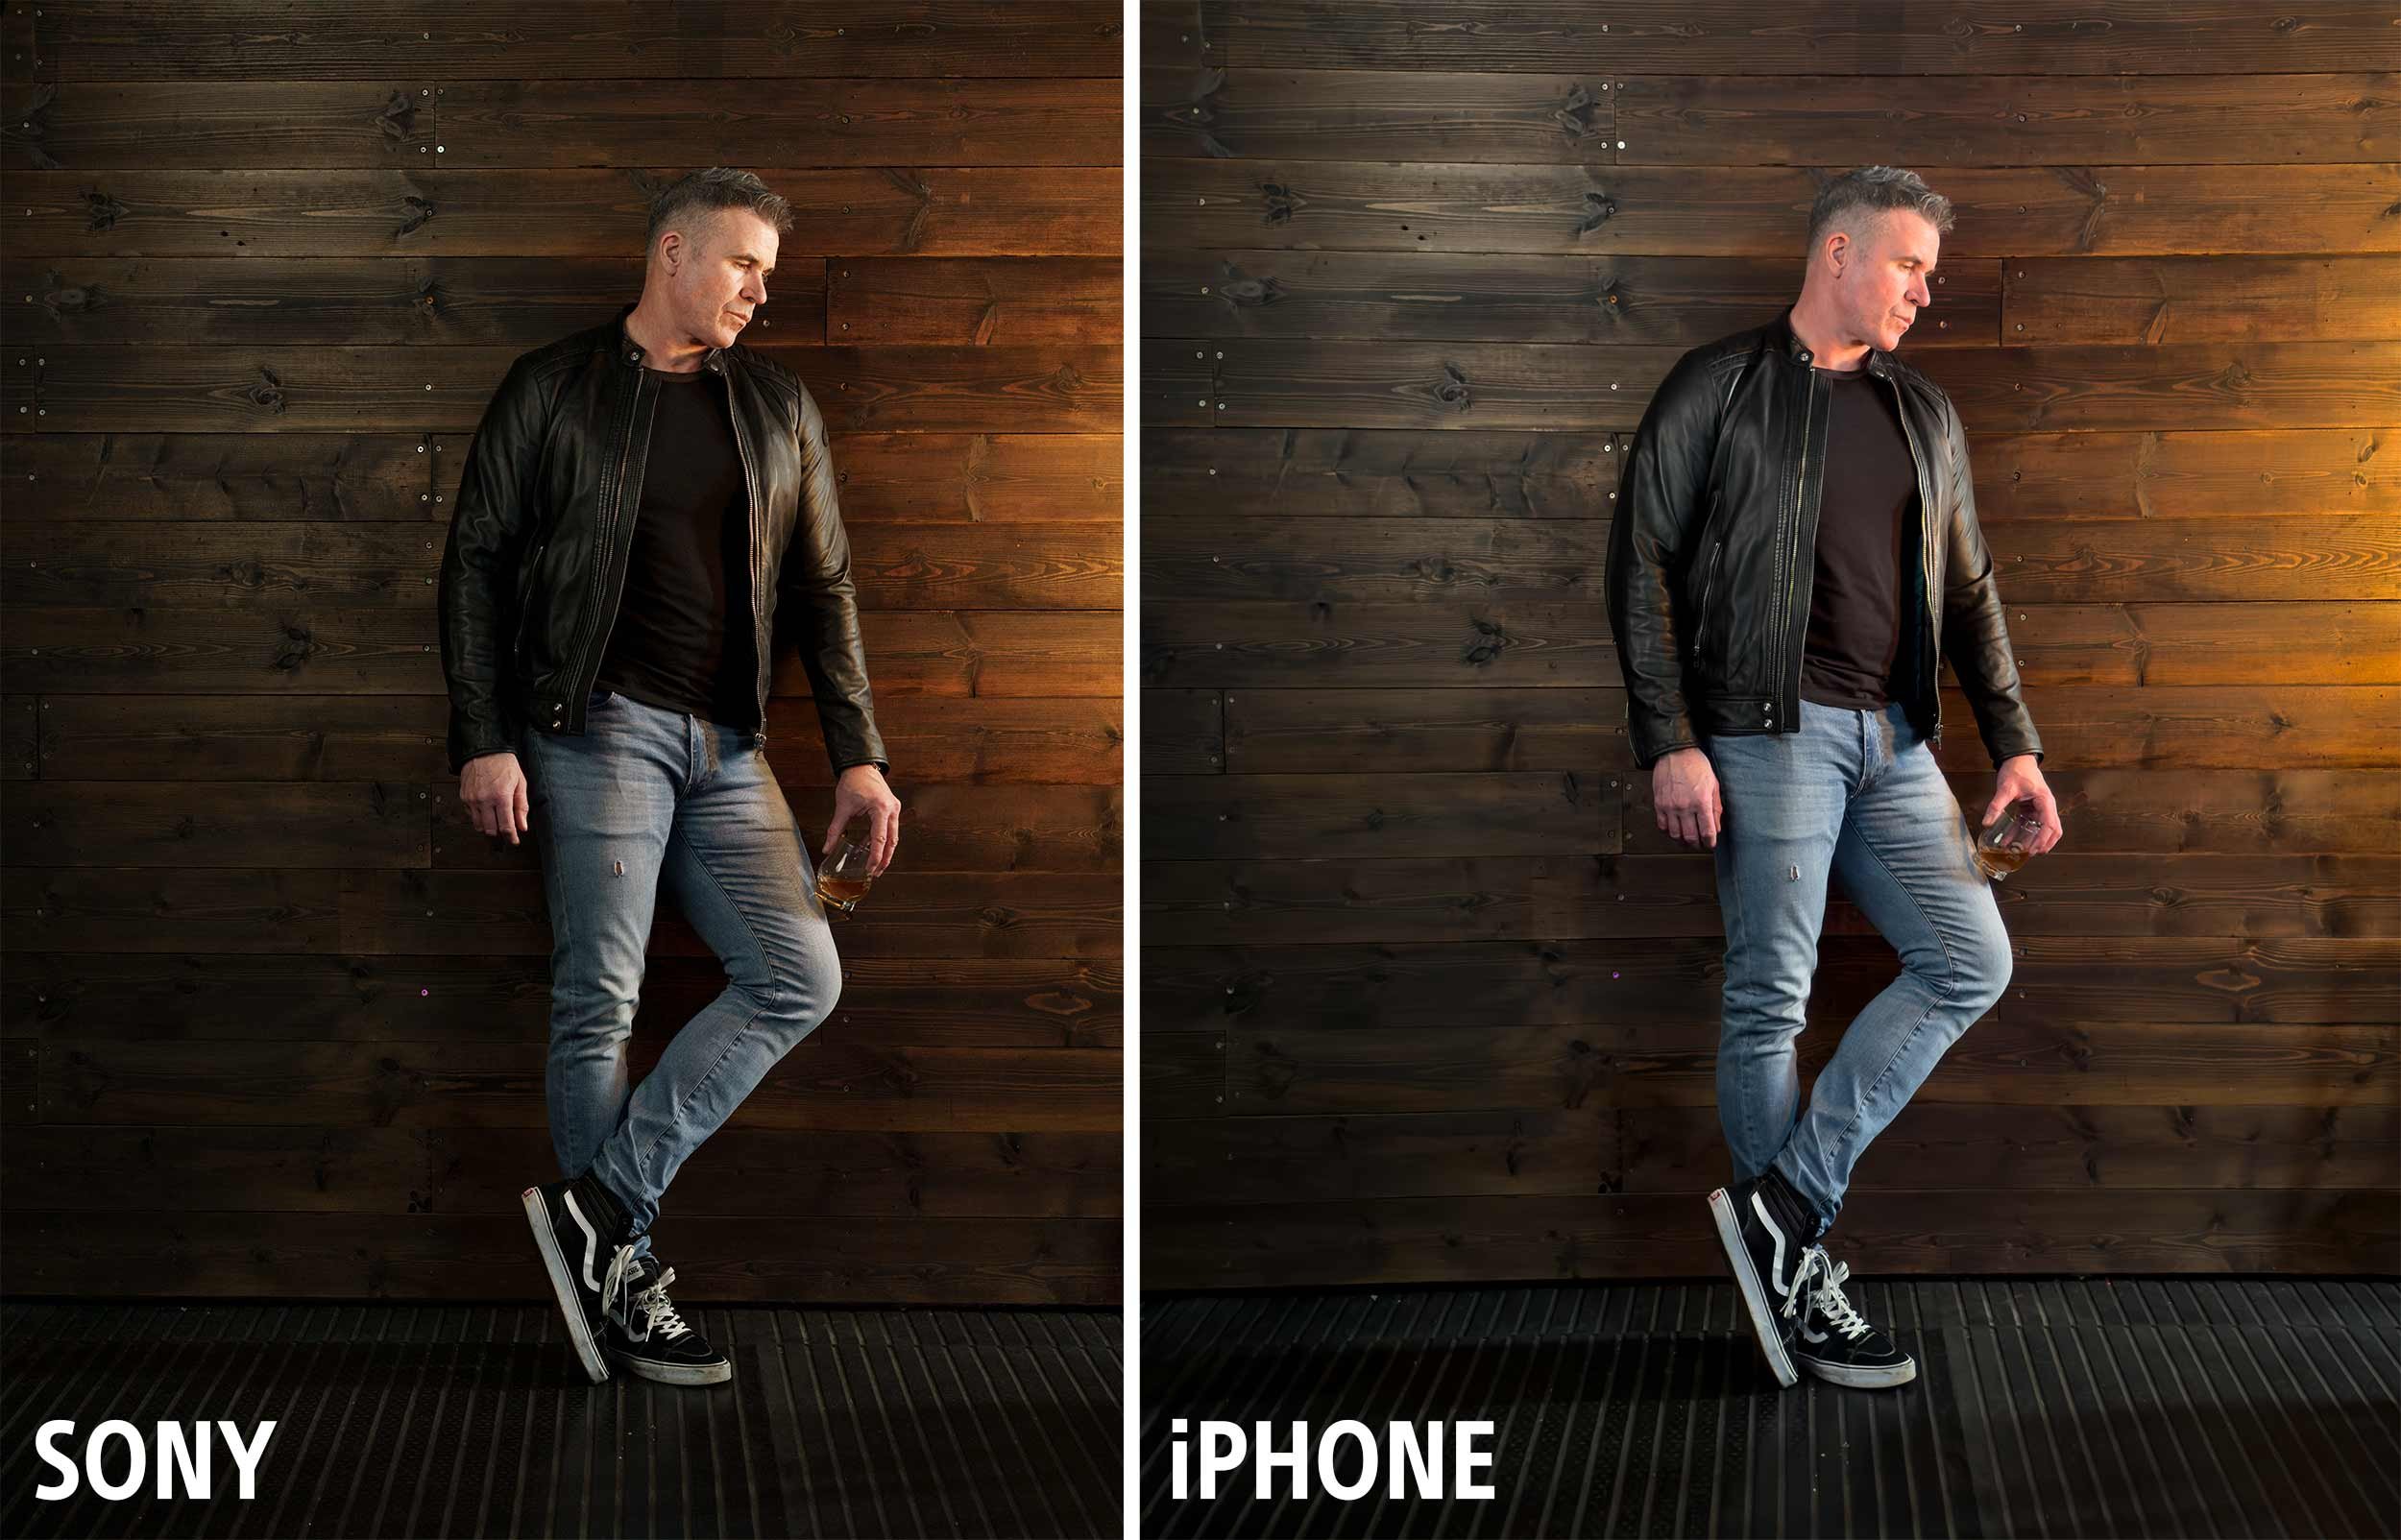
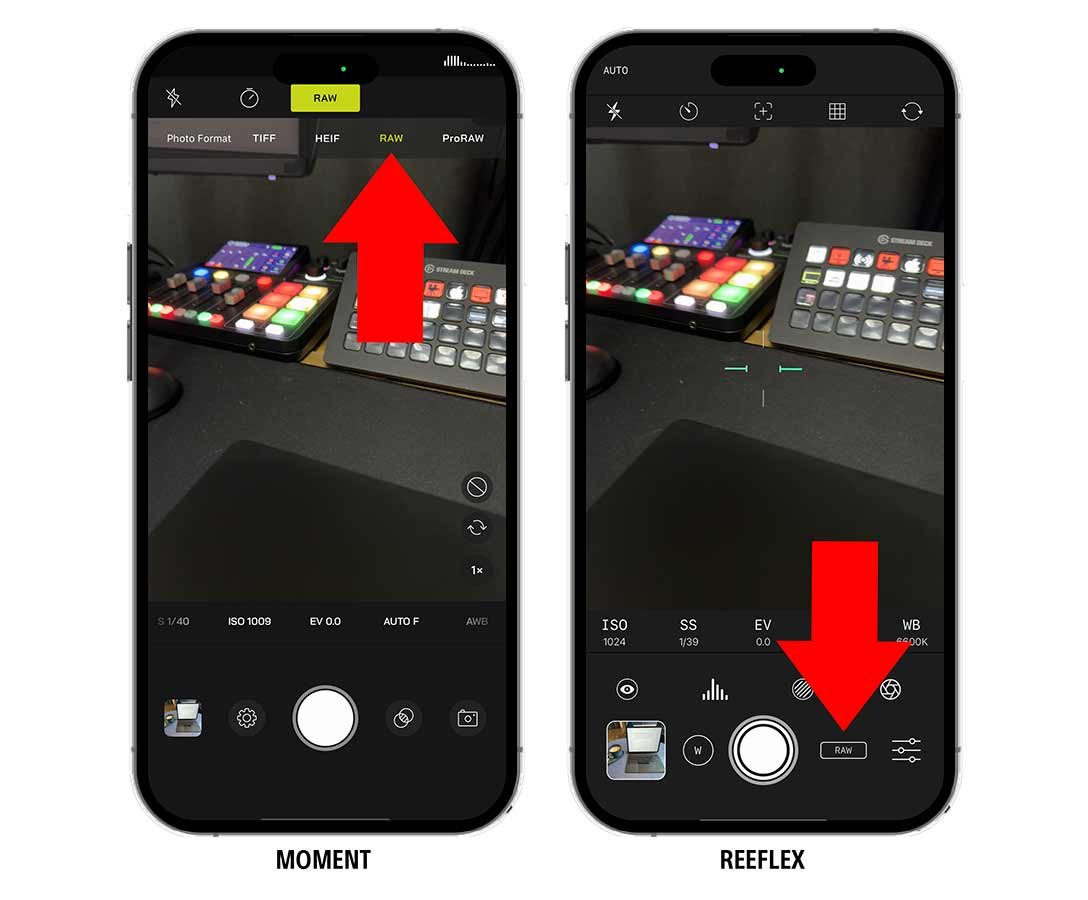
This trip was going to be different. I left the heavy camera gear at home and relied entirely on my iPhone 15 Pro Max. For the long exposures, I used the Reeflex ReeXpose app, and for everything else, I shot in ProRAW with the native camera app. It was part challenge, part experiment … could I come home with portfolio-worthy shots using nothing but the phone in my pocket?
We hit the road towards North Devon, the playlist set, the weather promising clear skies and soft light.
Day One – Arches, Harbours & Evening Glow
Our first stop was Blackchurch Rock.
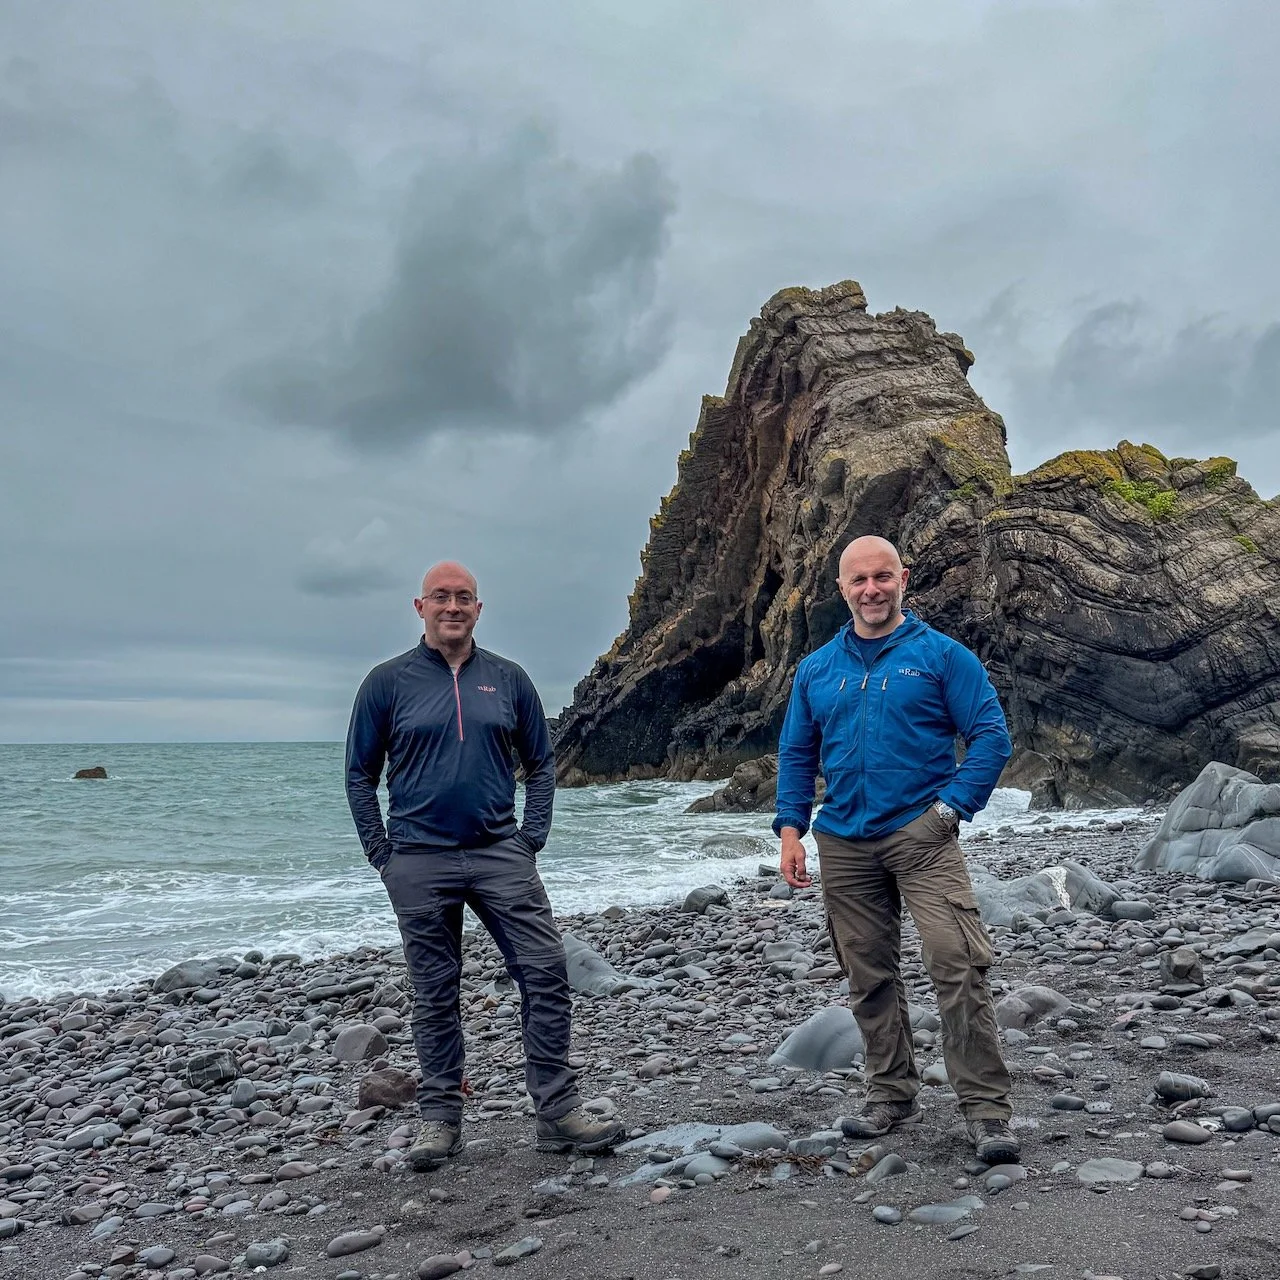
That iconic arch rises from the sea like something from another world. We timed our arrival with the tide and hung around, waiting for the light to hit just right. The ReeXpose app worked perfectly here, smoothing out the water and pulling movement from the clouds.

From there, it was on to Sandymouth; a stretch of golden sand with the kind of long, rolling waves that hypnotise you if you watch for too long. Light wasn’t great with it now being midday and a high sun with little cloud so instrad we sat, we had a cold drink and chatted enjyoing each others company.
The afternoon took us down to Boscastle, a small harbour village packed with detail; stone walls, colourful boats, and weathered textures everywhere you looked.
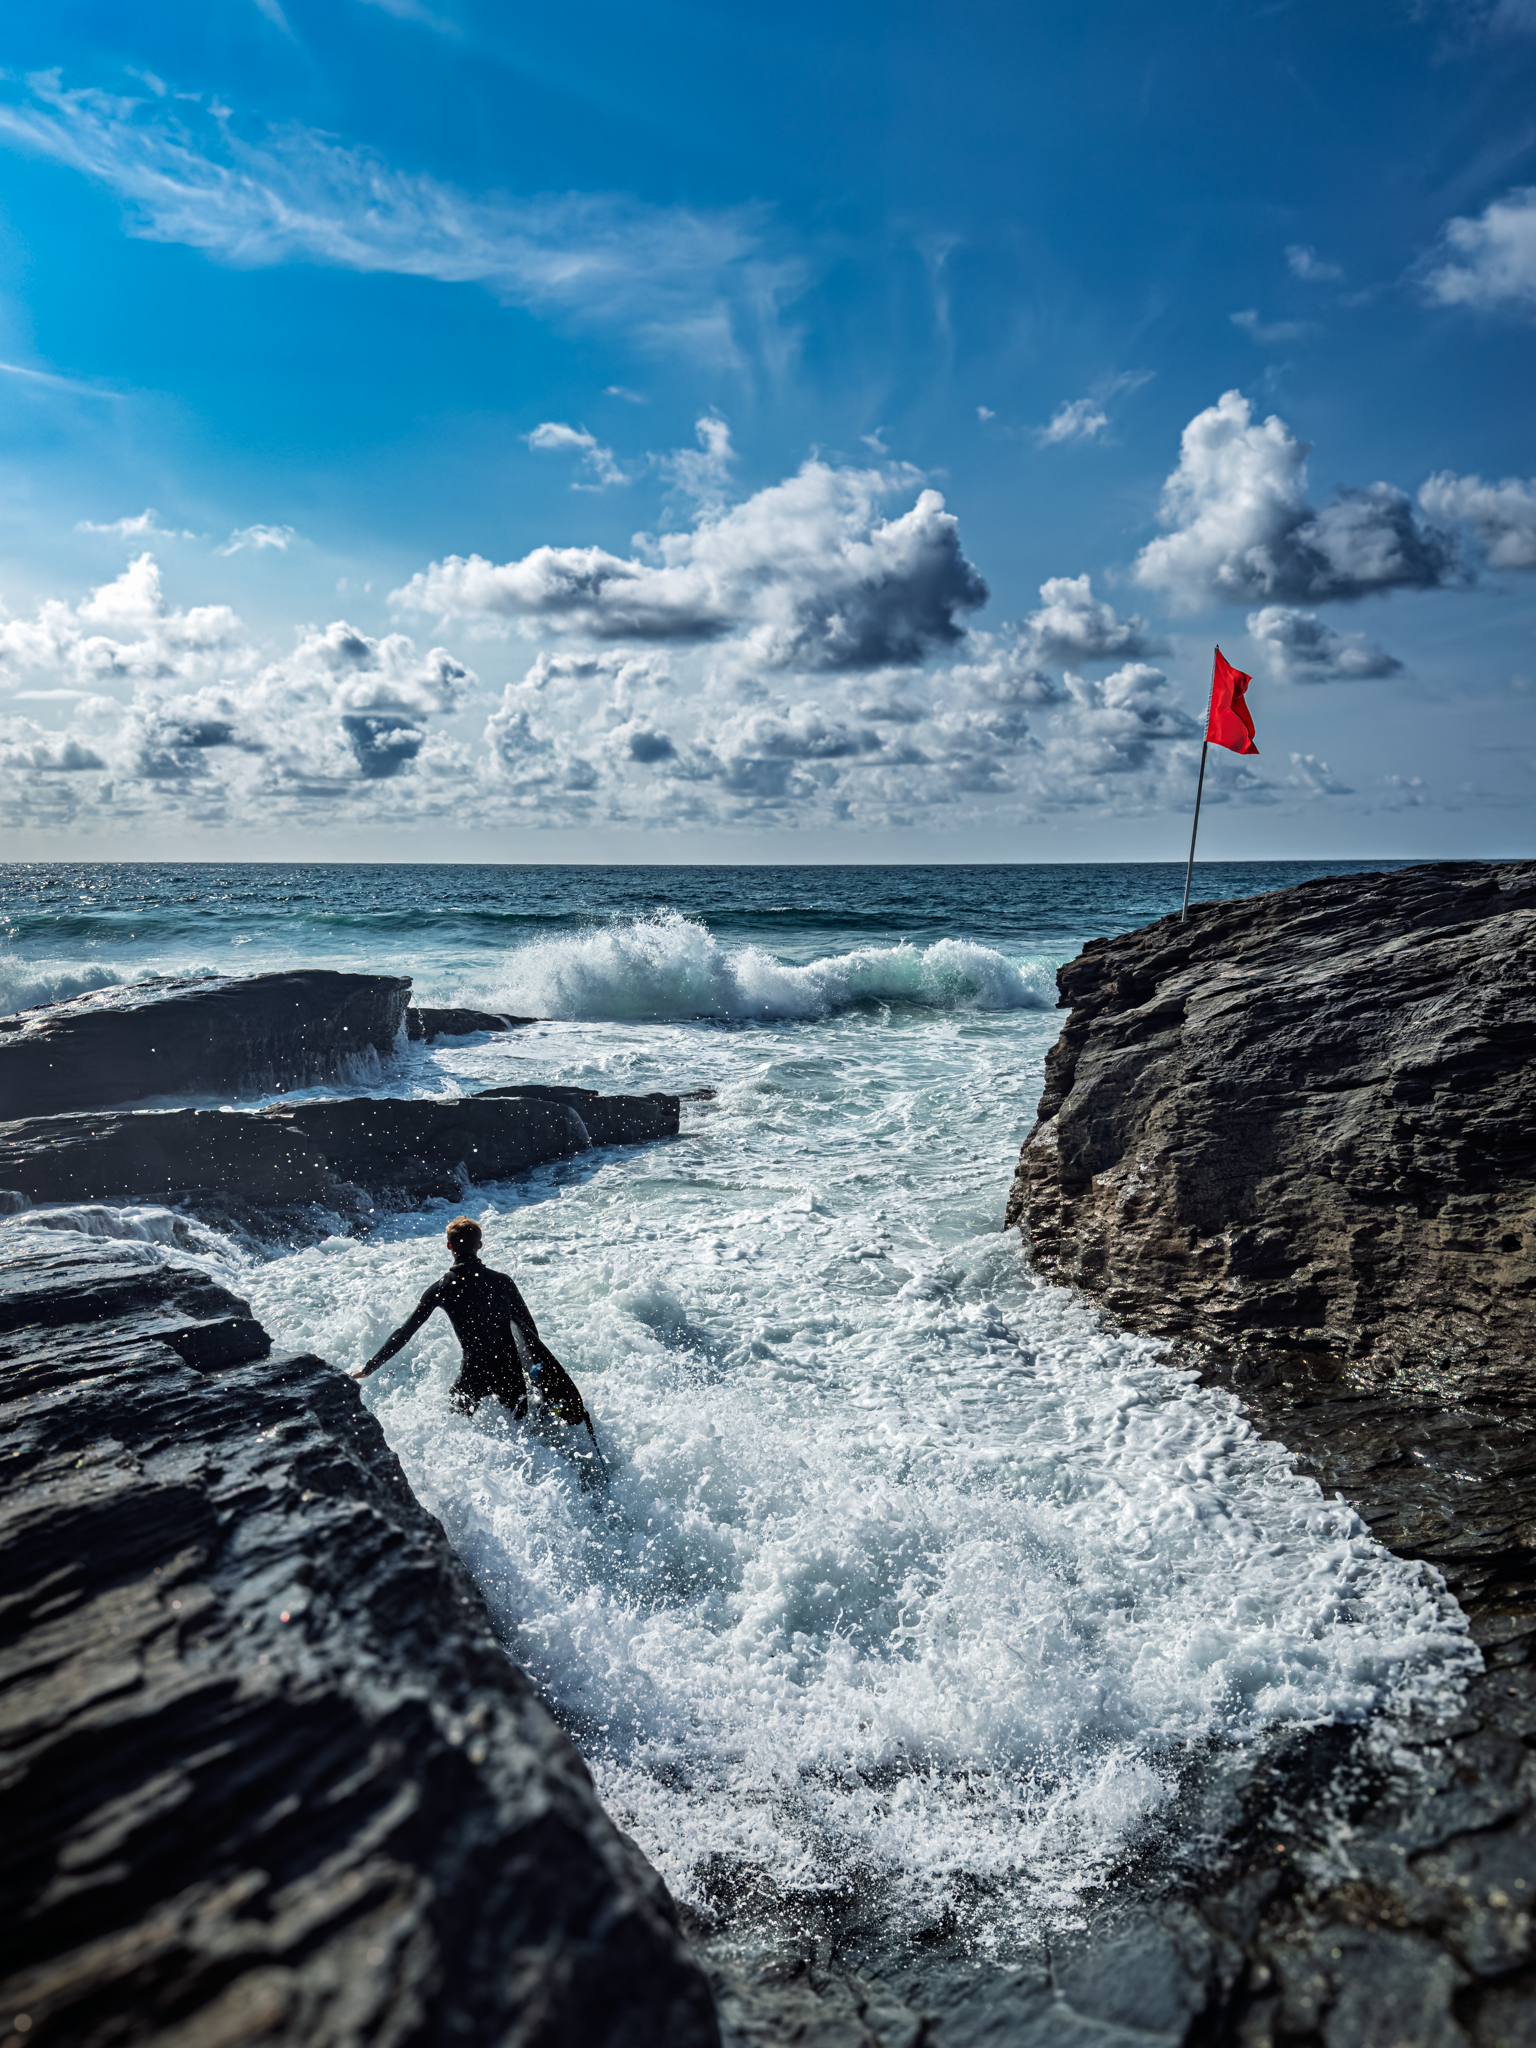
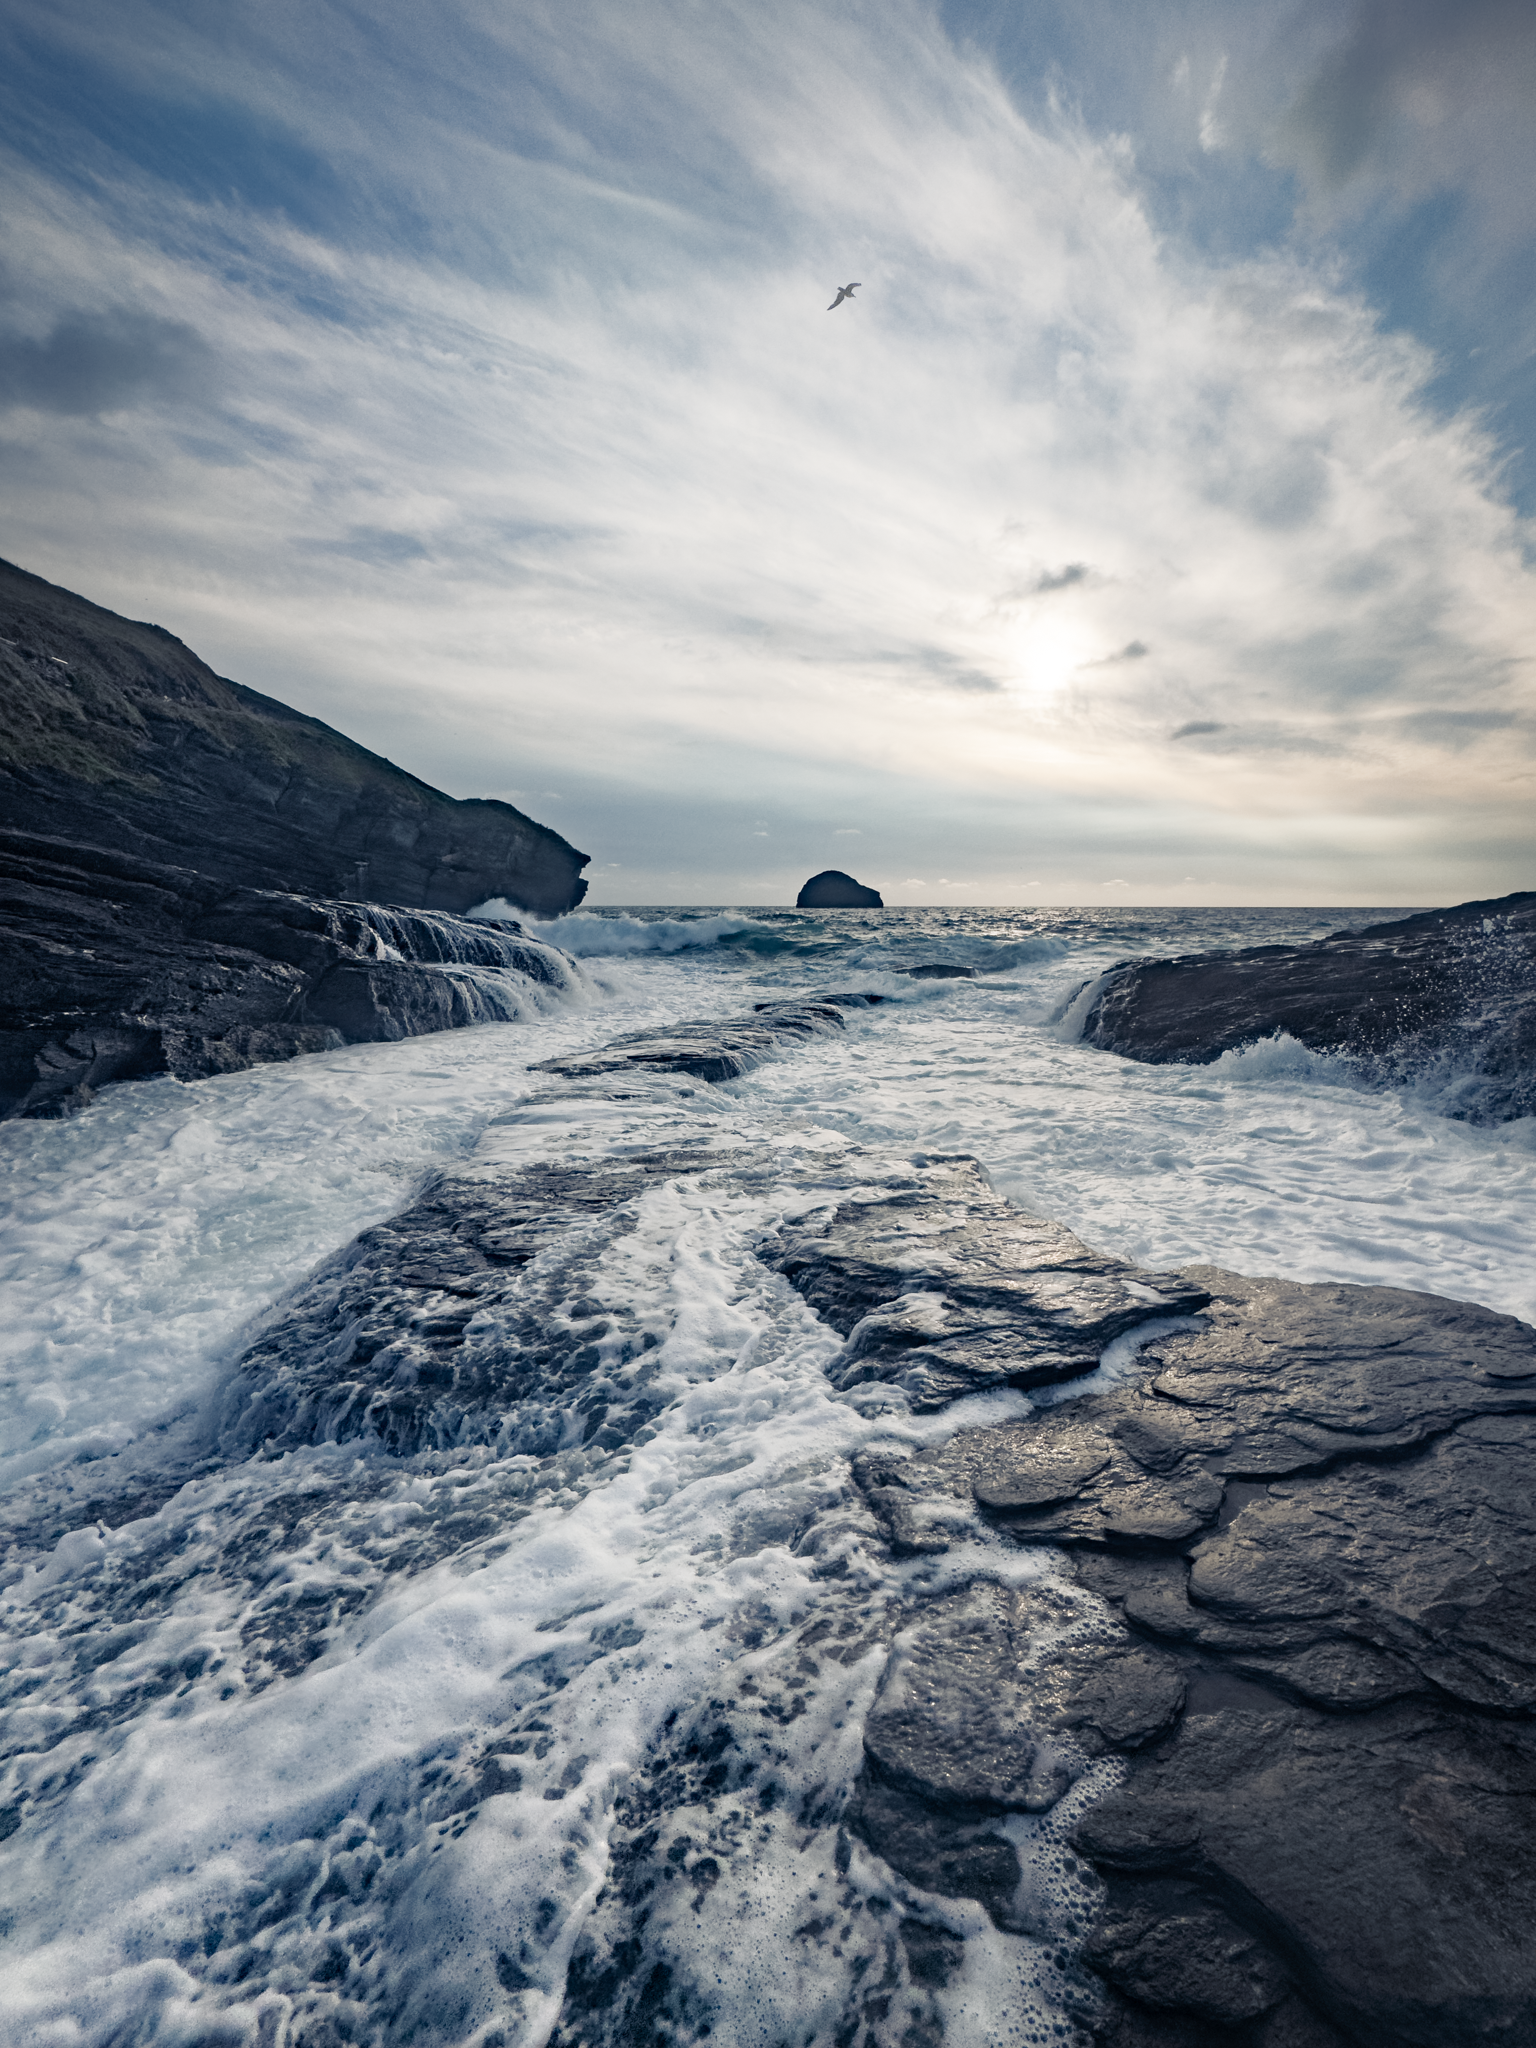
By evening, we rolled into Trebarwith Strand. The sea was glowing, the rock formations catching the last light of the day. Condioptns weren’t ideal but a little patience and I grabbed this shot of a surfer about to brave the battering waves…
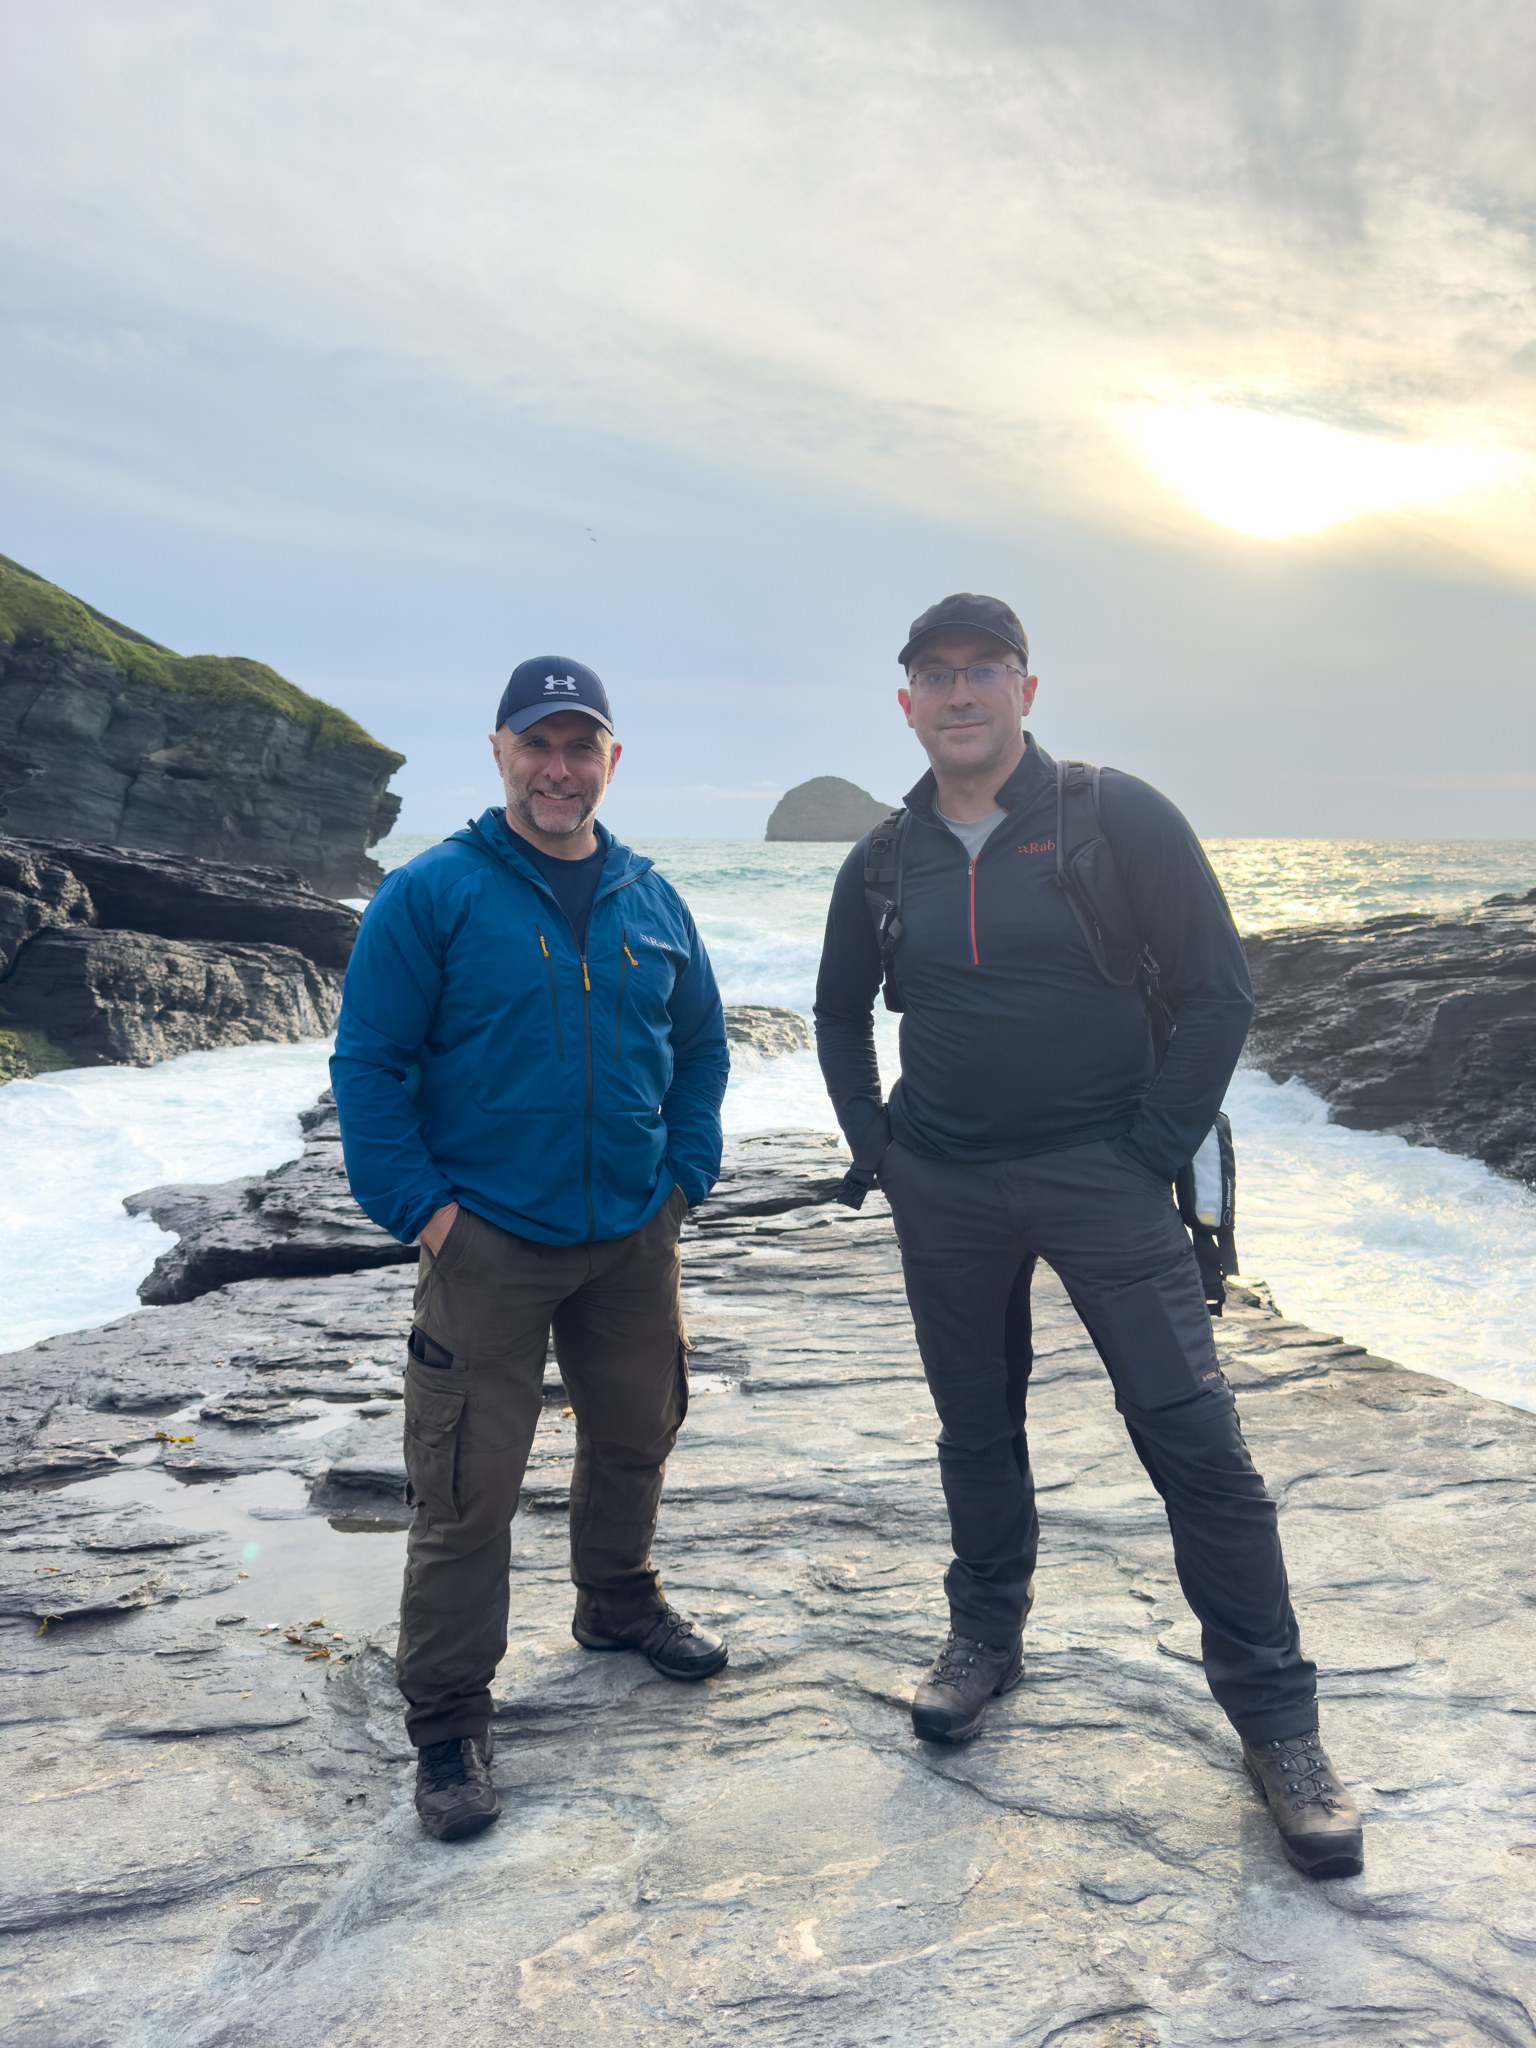
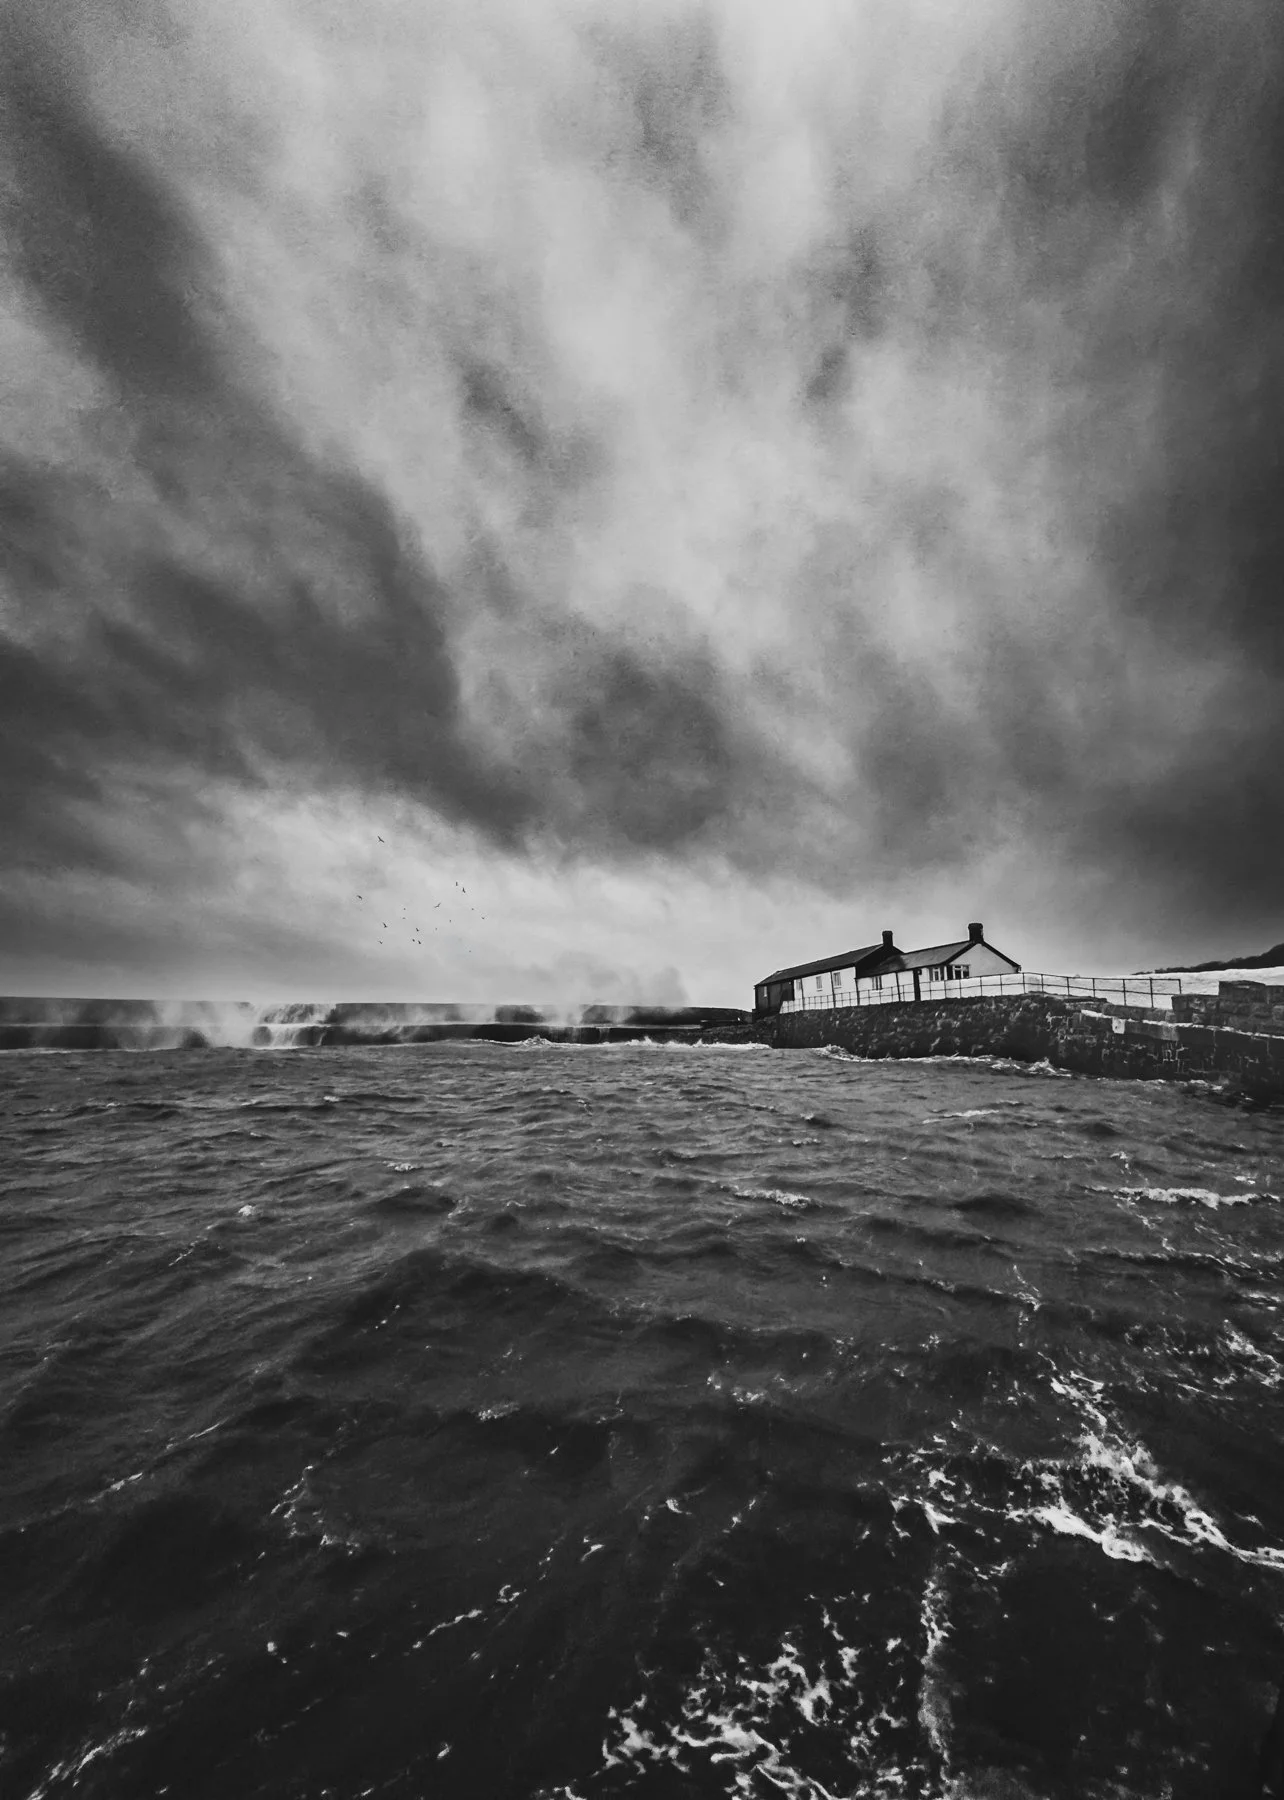
Then it was time for some dinner (which was delicious) and then stepping outside Andy suggested we maybe take some shots of the incopming tide and wow … amd I glad he did because the conditions were stunning!
We then drove to Wadebridge and checked into the Premier Inn for the night which I have to say was spotless with quiet surroundings, and just the right amount of comfort after a day of climbing over rocks and chasing light.
Day Two – Lighthouses & Seals
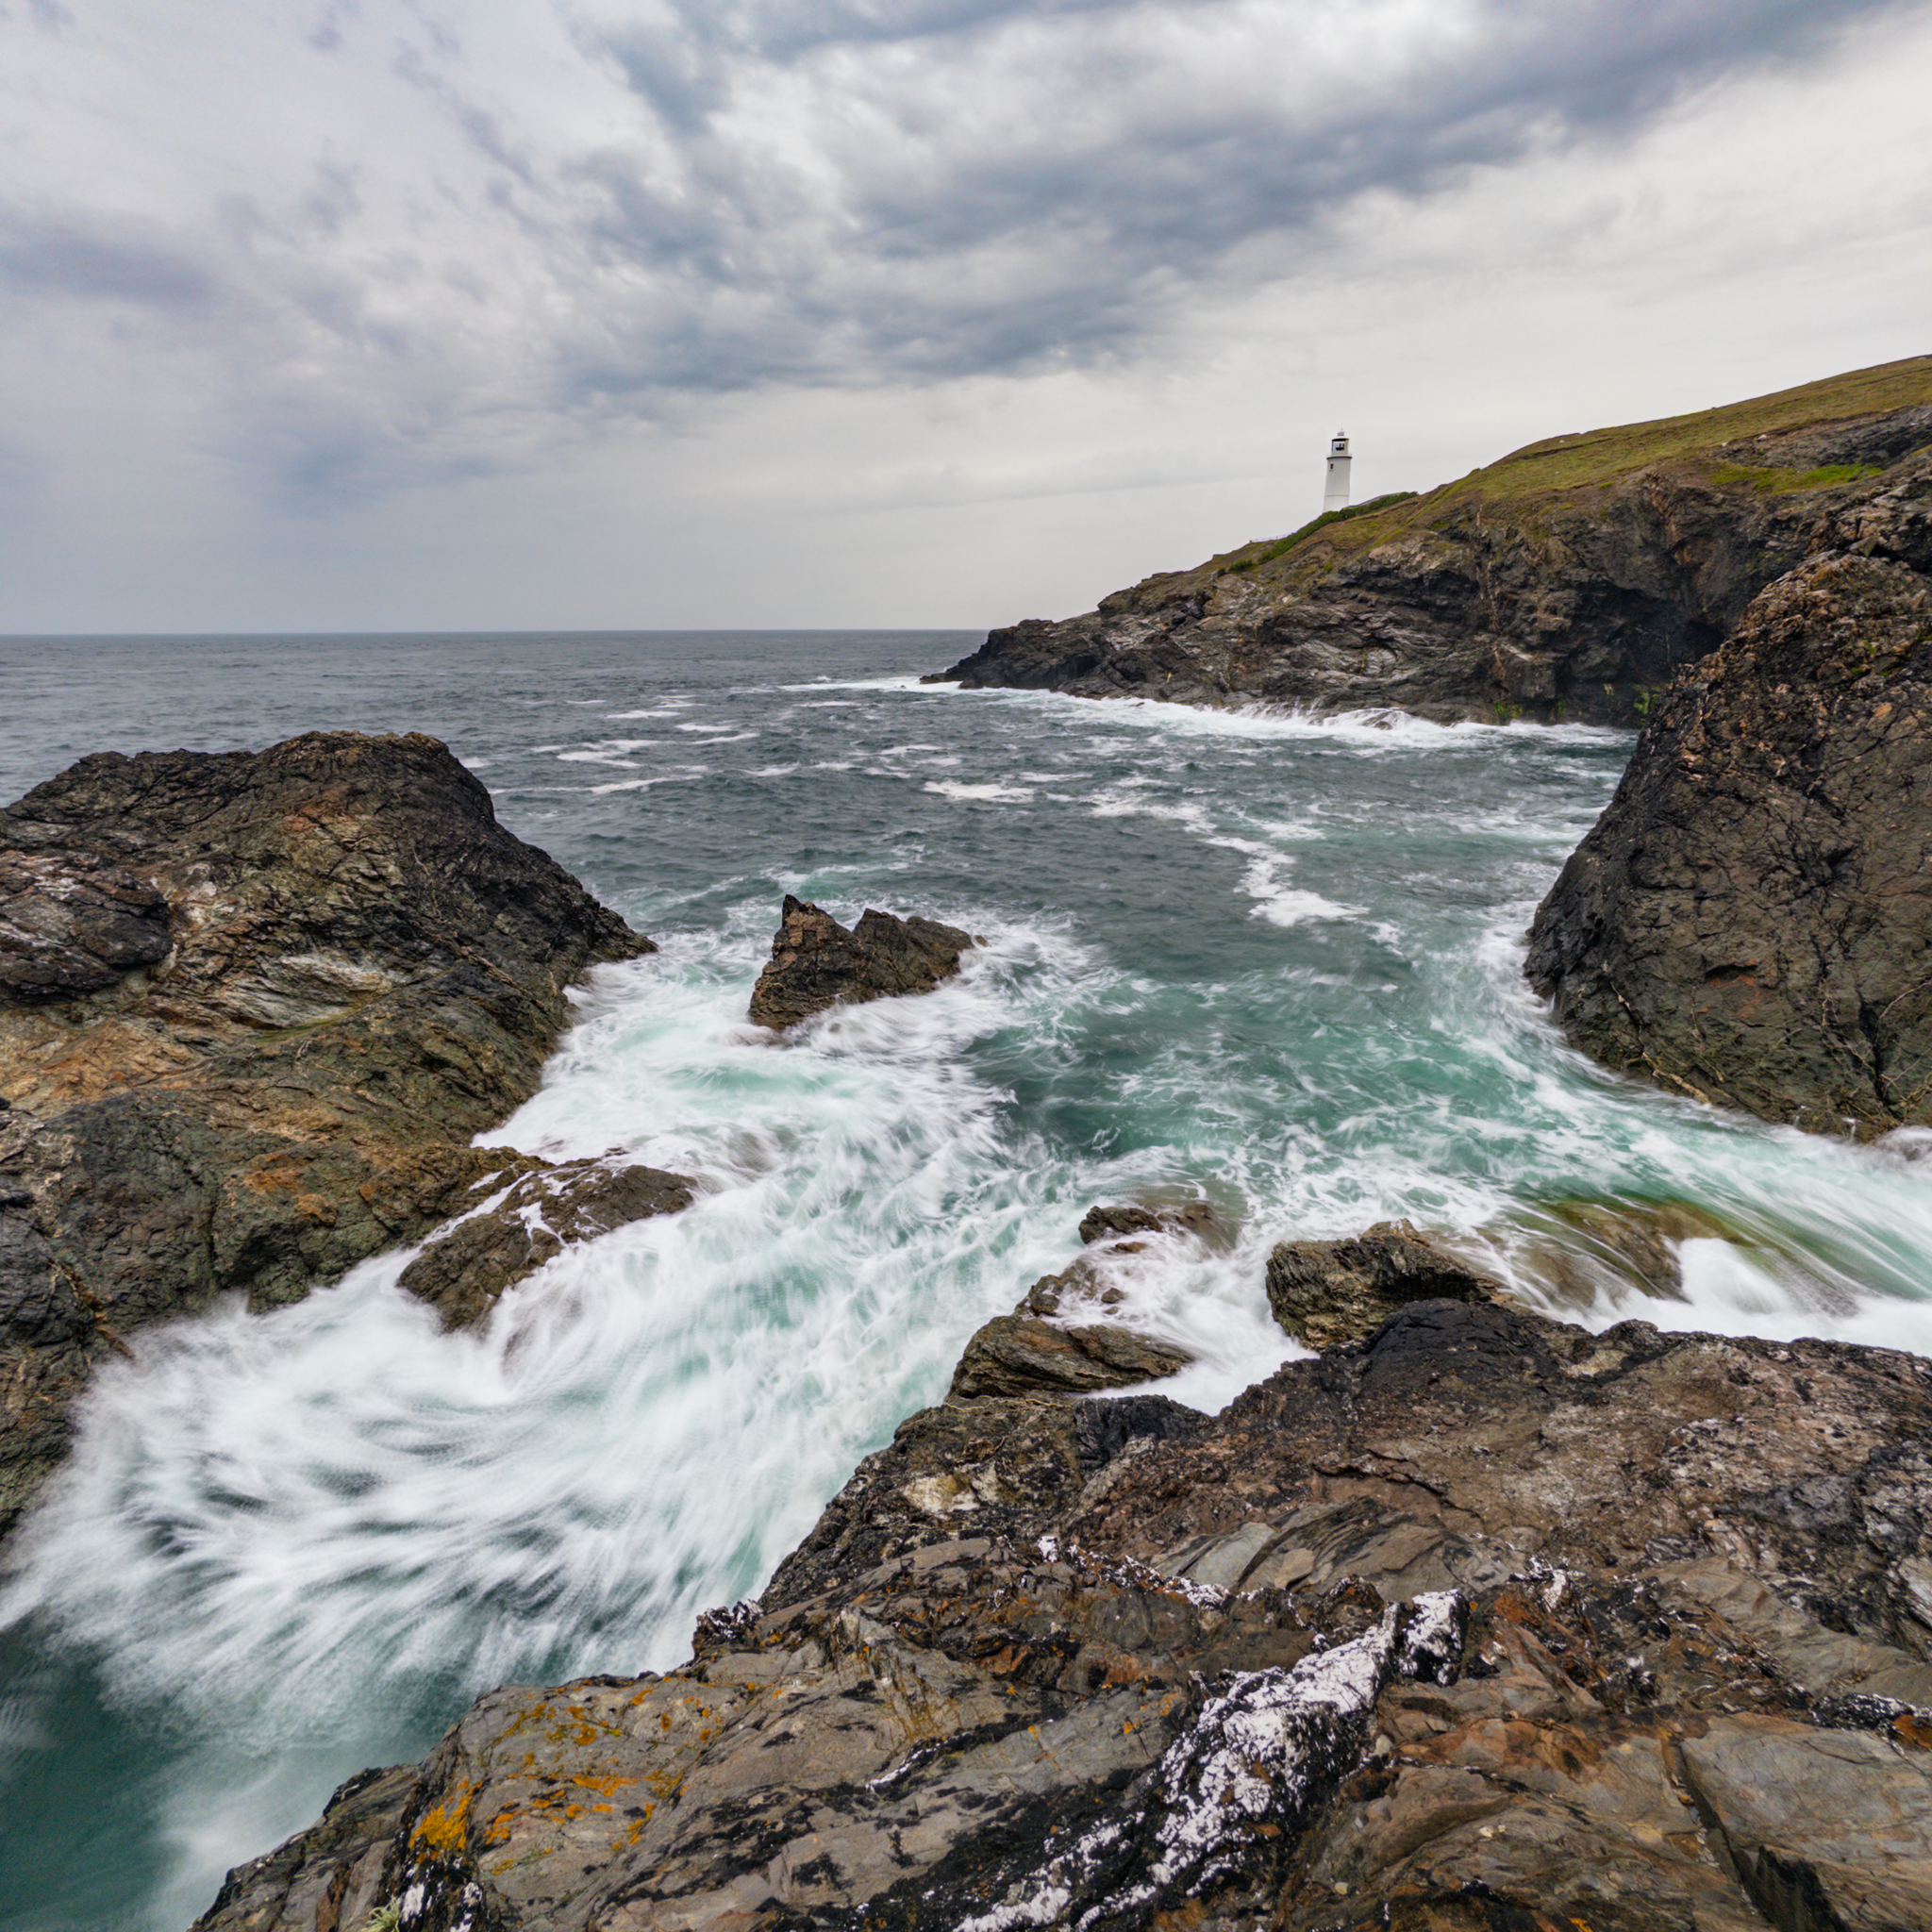
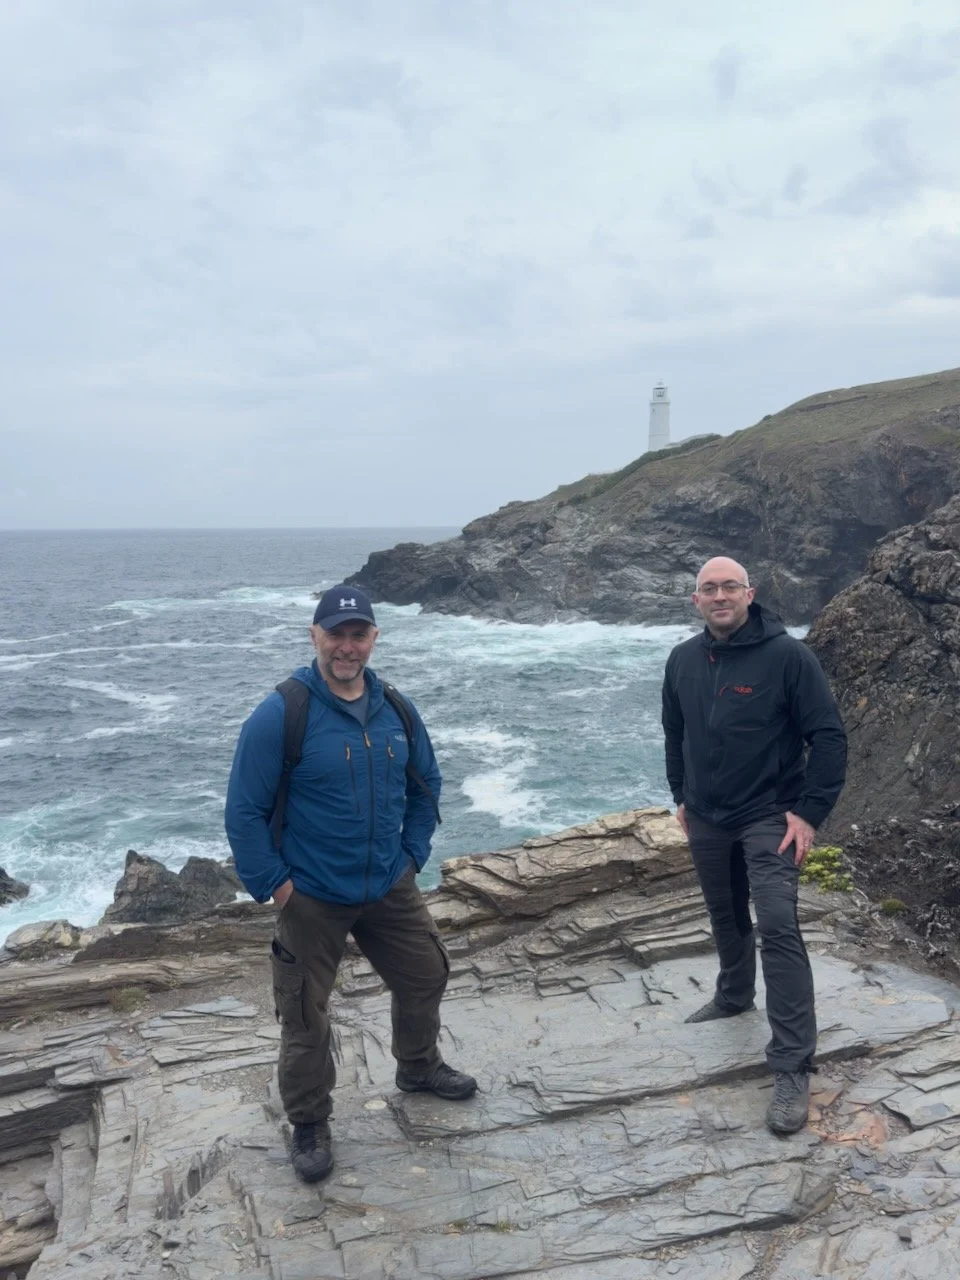
The next morning, we were up early and heading for Trevose Head. The air was fresh, the waves were crashing, and the lighthouse stood tall against a blue sky. As we stood there framing shots, a seal surfaced just off the rocks. Beautiful andthe sort of unexpected moment you always hope for on a trip like this.
Before the drive home, we swung by Bude for breakfast. It was one of those meals that feels even better because you’ve earned it after days of fresh air, walking, and late nights on the coast.
Light, Patience & a Pocket Camera
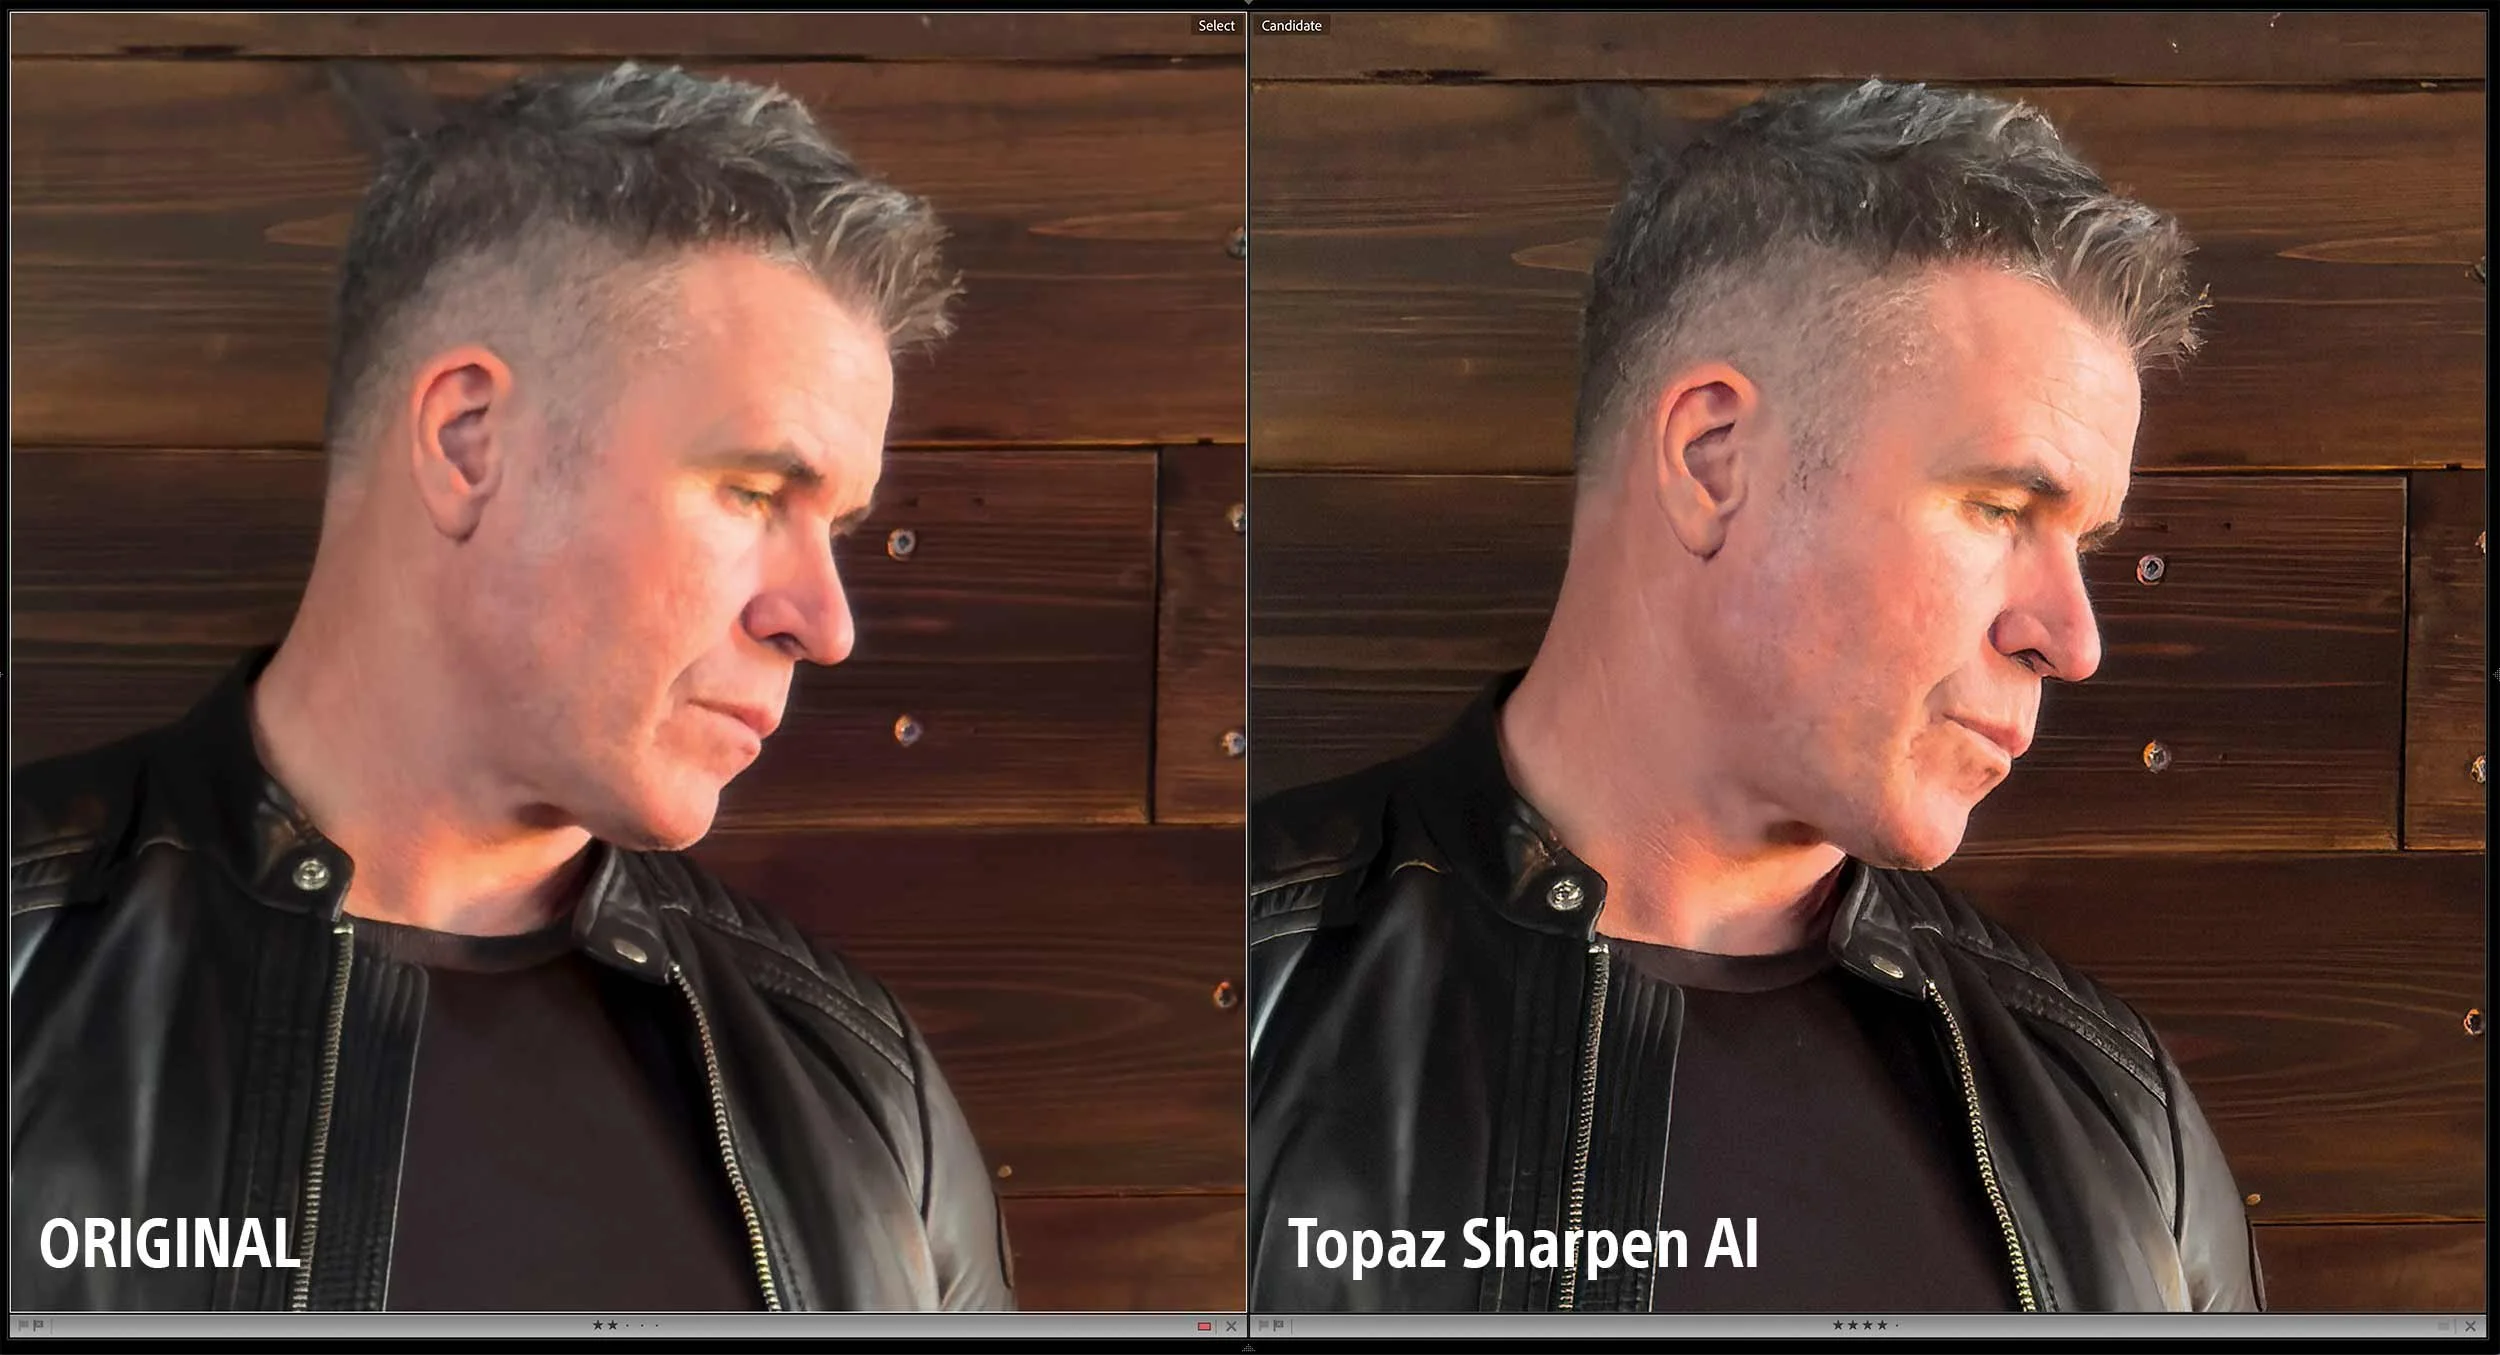
Both days gifted us exactly what we were hoping for; perfect light, a touch of drama, and just enough waiting around to make the results feel even more rewarding. Shooting entirely on the iPhone was freeing. No heavy gear, no fuss … just ProRAW files for maximum editing control and the ReeXpose app for those silky long exposures.
Two days, five locations, countless photos, and one very good reminder: the best camera really is the one you have with you.