With the rise in popularity of mobile photography, a new industry has developed producing add-ons such as grips to make using your iPhone more like using a regular camera along with bluetooth shutter buttons, lenses, filters and more.
I’ll cover lenses in future posts and videos but for now I just wanted to concentrate on filters … in particular ND (Neutral Density) filters.
I’m writing this on Day 1 of the KelbyOne iPhone Photography Conference for which I’m presenting 2 classes, namely … …
Capturing Pro Quality Portraits
Essential Gear for the Modern iPhone Photographer
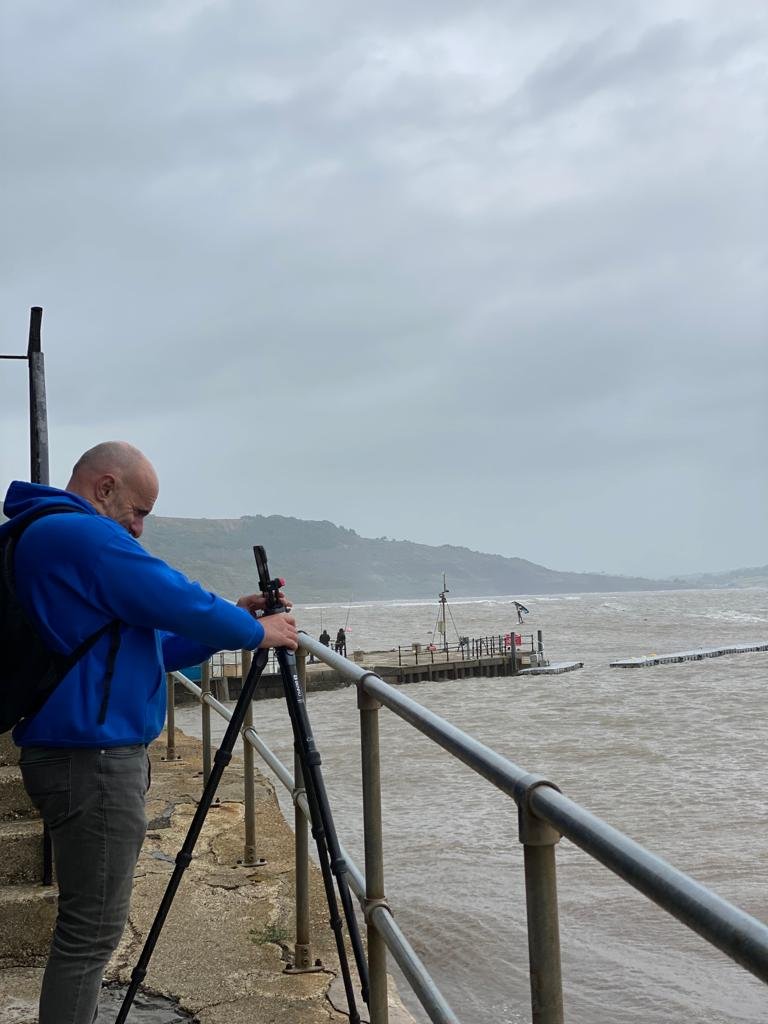
It was in the preapration for both of these sessions that I did A LOT of testing and research and in the process learned a lot more, or rather uncovered a lot more about the iPhone.
UnderStanding Neutral Density Filters
First, let's grasp the concept of neutral density filters. These accessories are essentially pieces of glass that reduce the amount of light entering the camera lens without affecting the color or hue of the image. They are commonly used in photography to achieve effects such as blurring motion in bright conditions or using wide apertures in daylight.
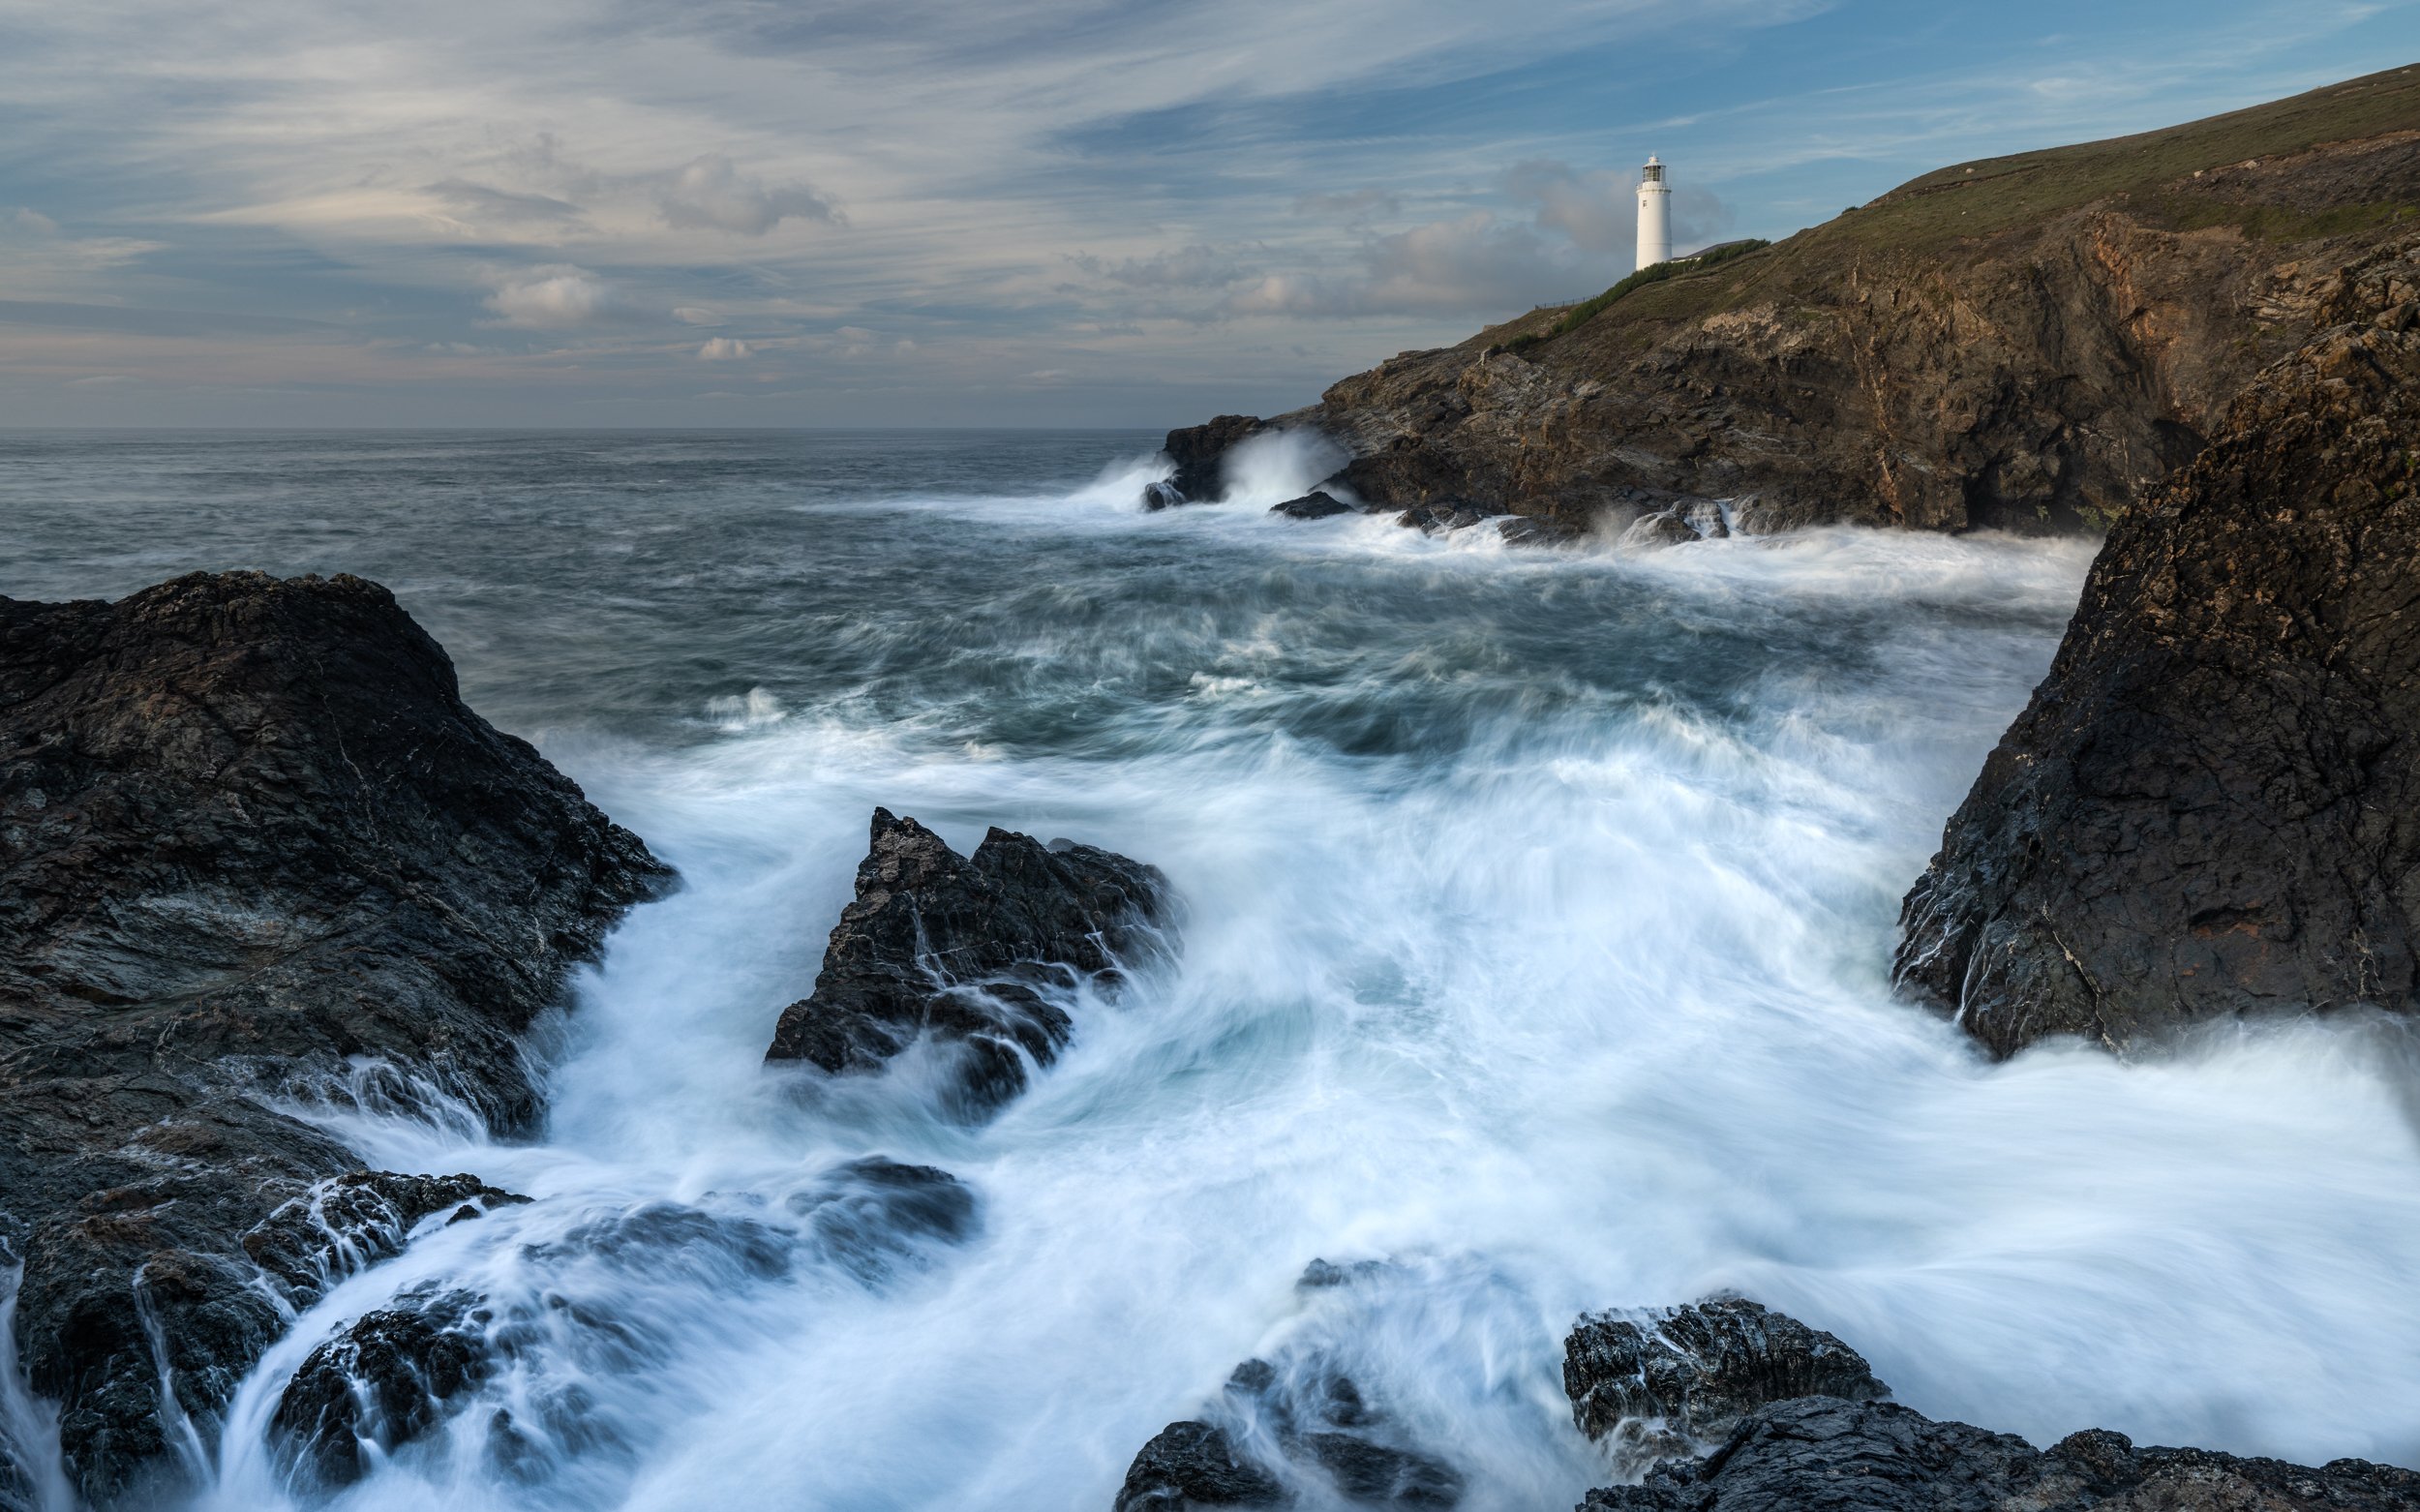
I’ve used them in the past many times with my main camera, my Sony A7RIV when venturing out taking seascape images such as this one here at Trevose Head in Cornwall.
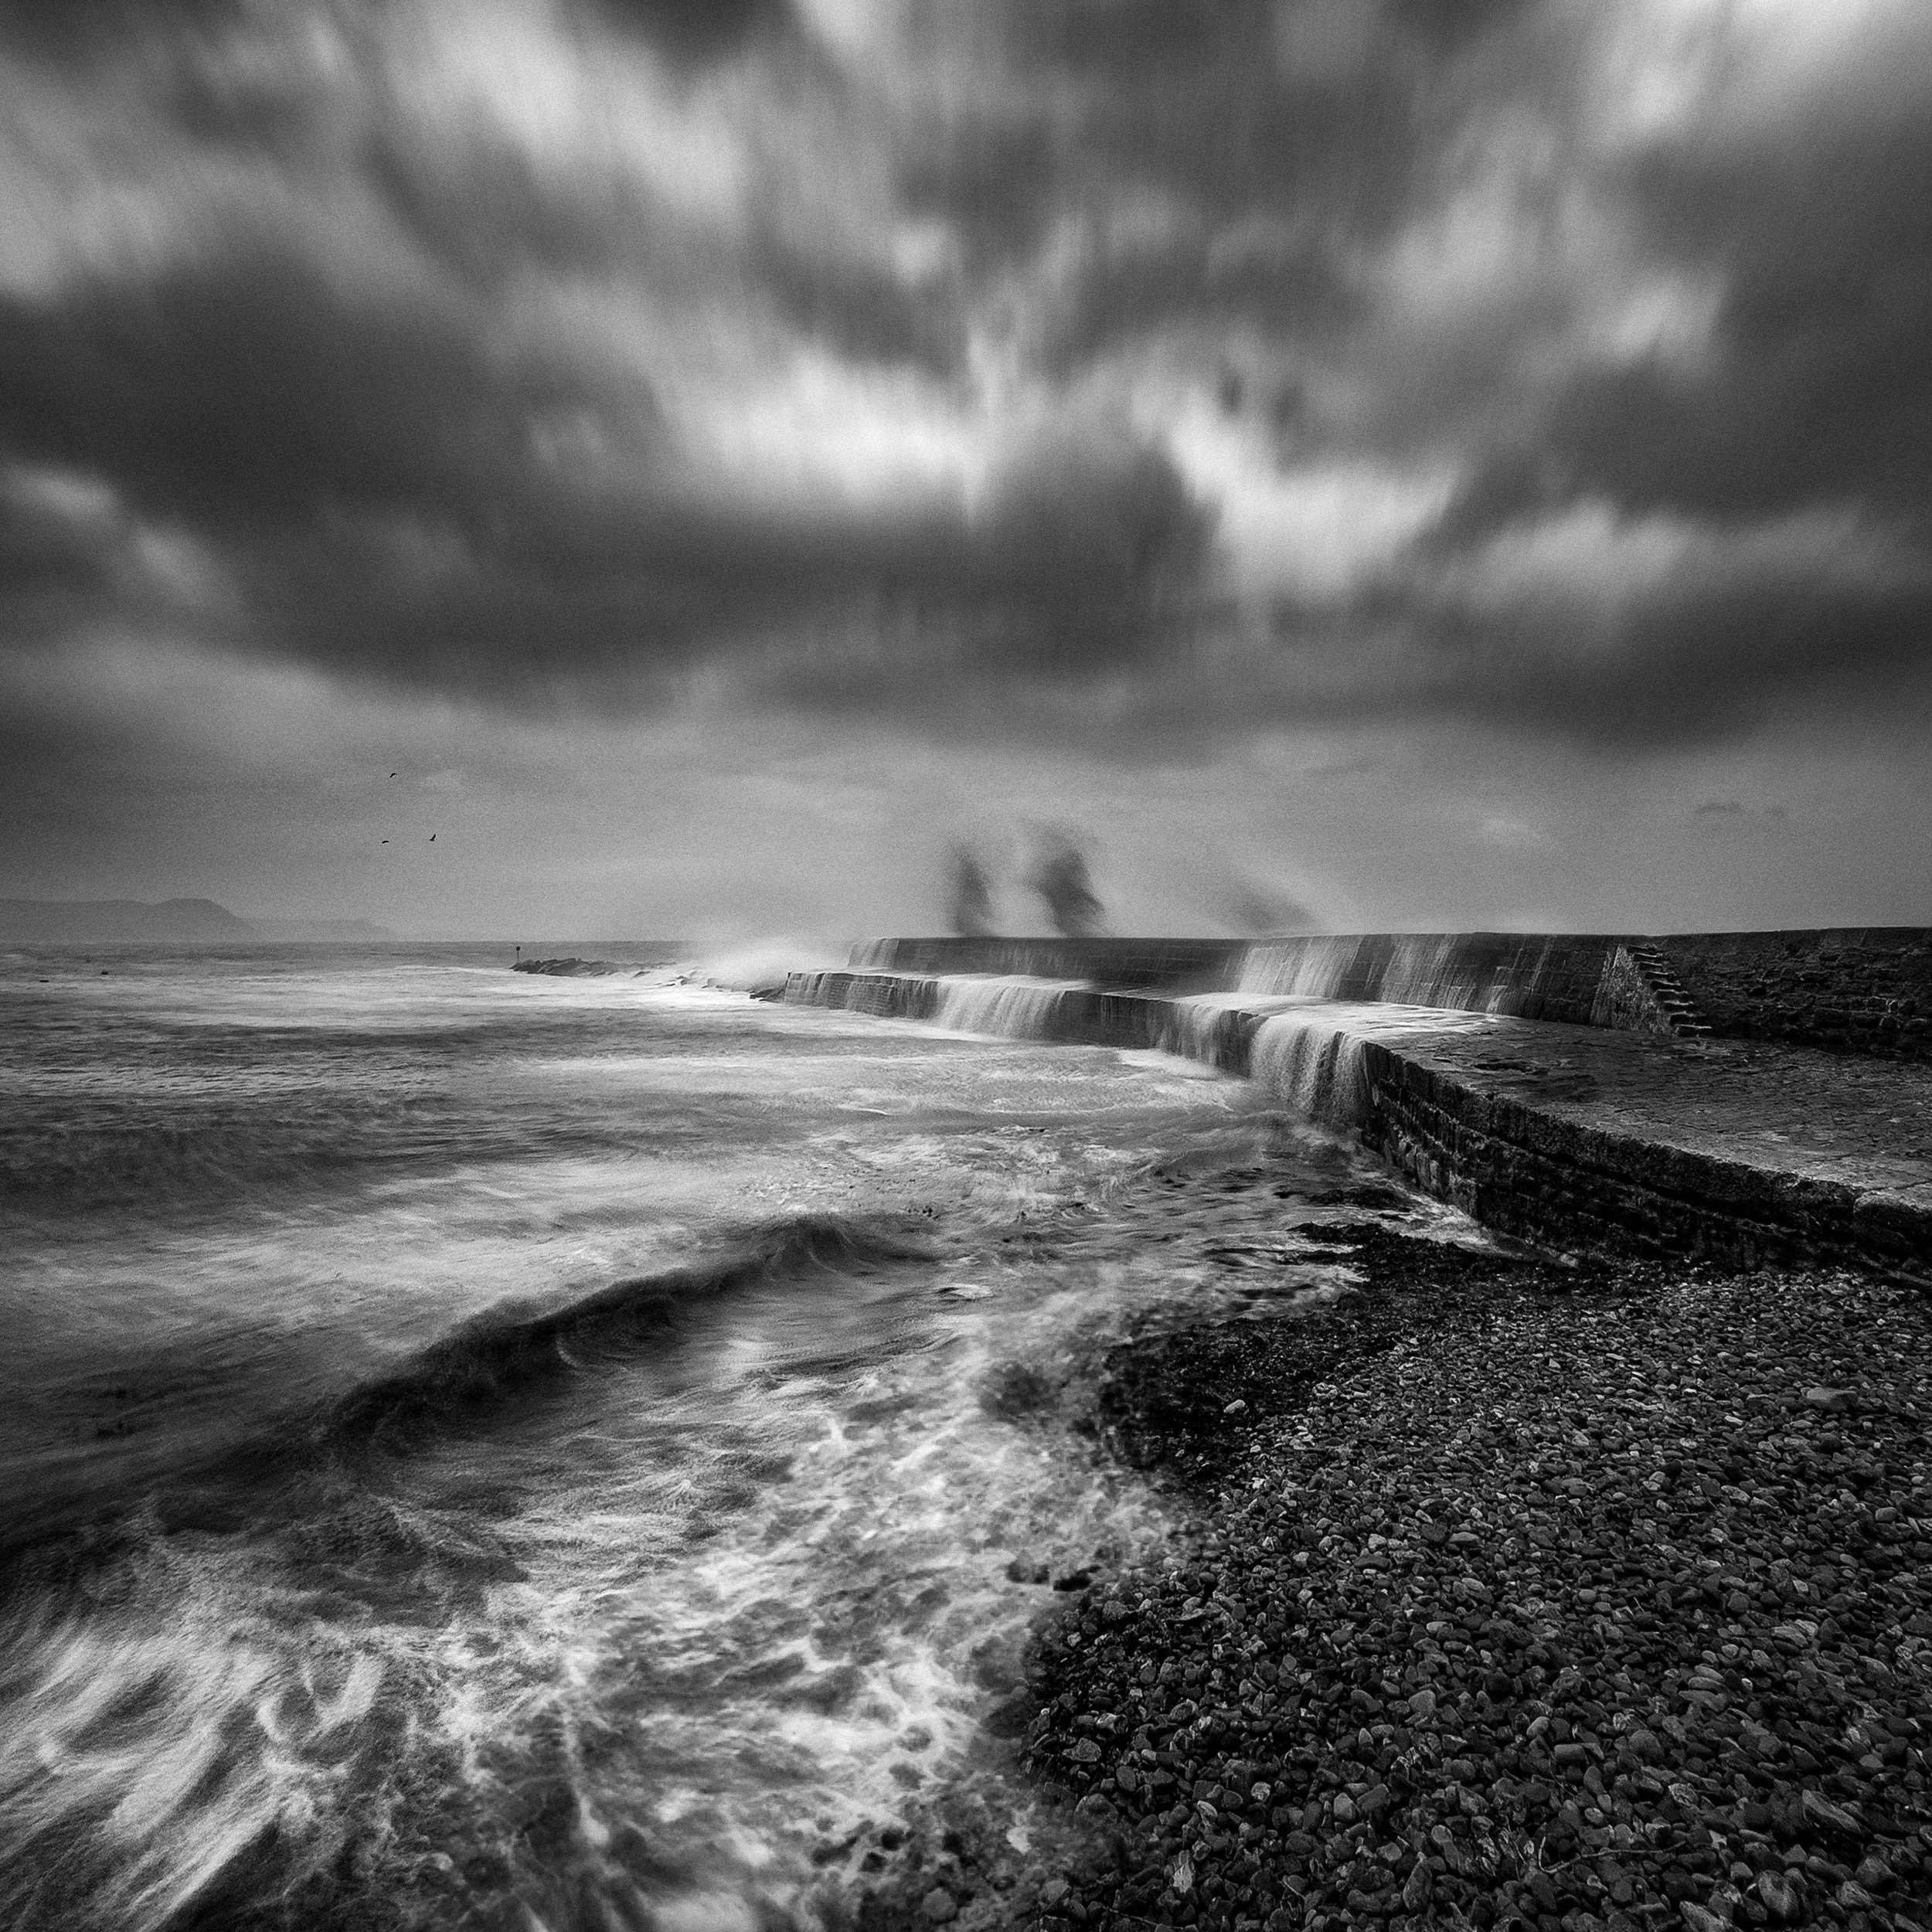
Using Neutral Density Filters made it possible for me to correctly expose the image with a 2 second exposure to give motion and blur to the waves as they crash against the rocks …
I’ve also used them with my Sony to capture this 30 second exposure of Teignmouth Pier in Devon …

long exposure seascapes with my iphone
Over the past year or so I’ve been capturing seascapes more and more with my iPhone thanks to apps like ReeXpose that make all of this possible by instead of the need for Neutral Density Filter, computatiopnally blending a series of images together to create the long exposure effect … and doing so incredibly quickly.

The app works incredibly well and allows the user to capture exposures from ½ second all the way to Bulb Mode, and using it I’ve taken what I consider my best seascape images to date …

Lyme Regis
Blend of ½ Second and 1 Minute Exposures in Photoshop taken with ReeXpose Long Exposure App
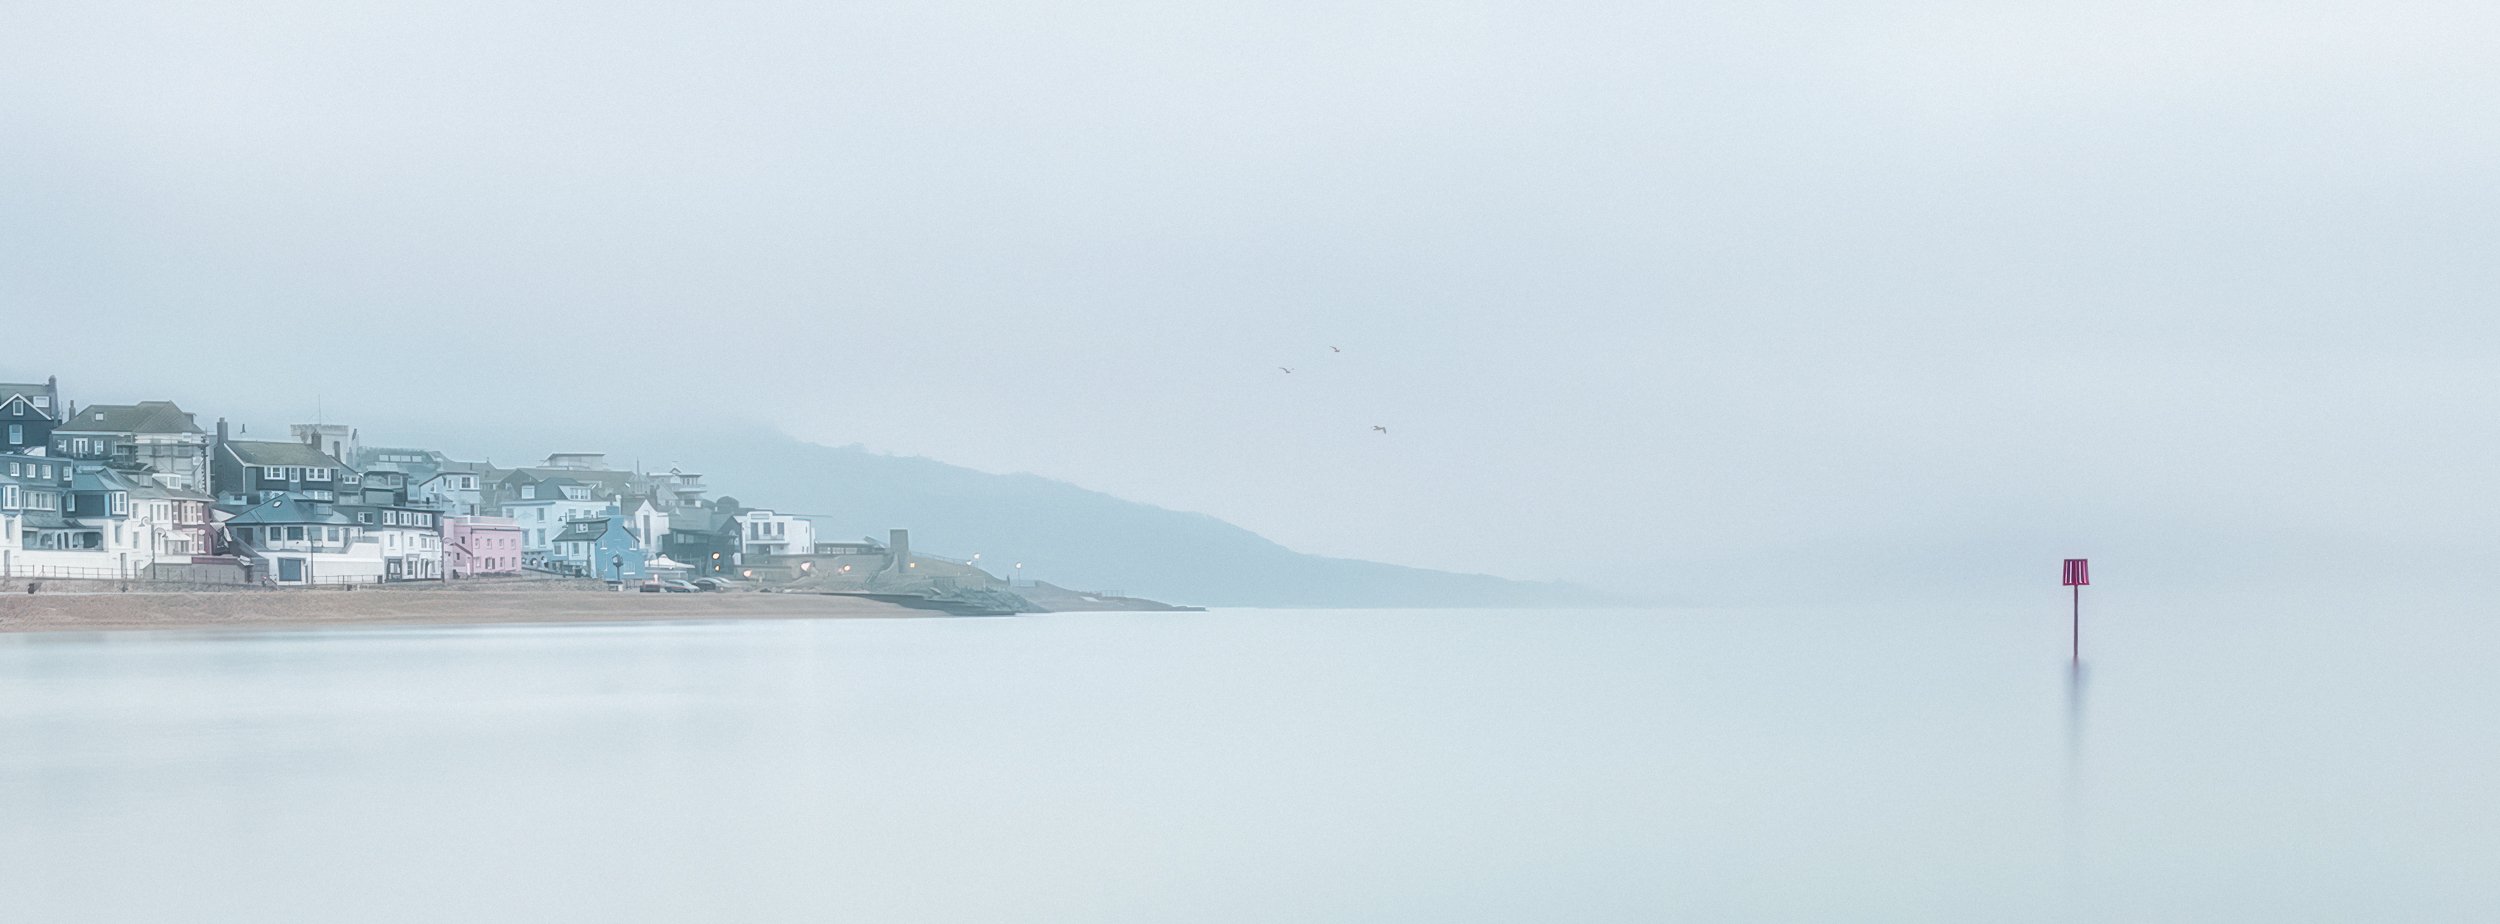
Lyme Regis
1 Minute Long Exposure using the ReeXpose Long Exposure App

Prince of Wales / Severn Bridge over the Bristol Channel
1 Minute Long Exposure using the ReeXpose Long Exposure App
The ReeXpose app produces Raw files, but like every other long exposure app available at the moment, those are limited to 12MP Bayer Raw files, which despite not sounding much by todays standards, are very acceptable and workable. Digitalab even printed one of my iPhone long exposure 12MP Bayer Raw File images at 72” on the longest edge, and it came out looking great …
However, despite being 12MP and me being VERY happy with the results I wish there was a way to produce 48MP long exposure files from my iPhone using these kind of apps but that’s just not possible at the moment.
So when I got hold of the new range of Neutral Density Filters from ReeFlex for use with my iPhone it got me thinking …
Would it be possible to use the Neutral Density Filters with one of the Pro Camera Apps that are available so that I could use them to shoot at 48MP in Apple ProRaw AND slow the shutter down … basically capture a long exposure the traditional way? I mean why else would there be Neutral Density filters available for the iPhone?
close but no cigar
So can it be done?
Well, the short answer is NO.
You see first of all when using the iPhone along with one of the Pro Camera Apps available like ReeFlex, Moment, CameraPixels and so on, if you set them to shoot at 48MP in Apple ProRaw and then adjust the exposure using the Shutter Speed or ISO, the file instantly drops to 12MP.
The only adjustment you can make and keep in 48MP is using the EV (Exposure Vlaue) slider which is basically the equivalent of dragging your finger on the screen to brighten or darken image as you would in the native Apple iPhone camera app, so no good for long exposure.
If you leave the settings alone though and then just add on the Neutral Density filters, sure enough you can slow the shutter down … but don’t get too excited, because no matter how many Neutral Density filters you stack on top of each other, the shutter speed will NOT go slower than 1/15 sec
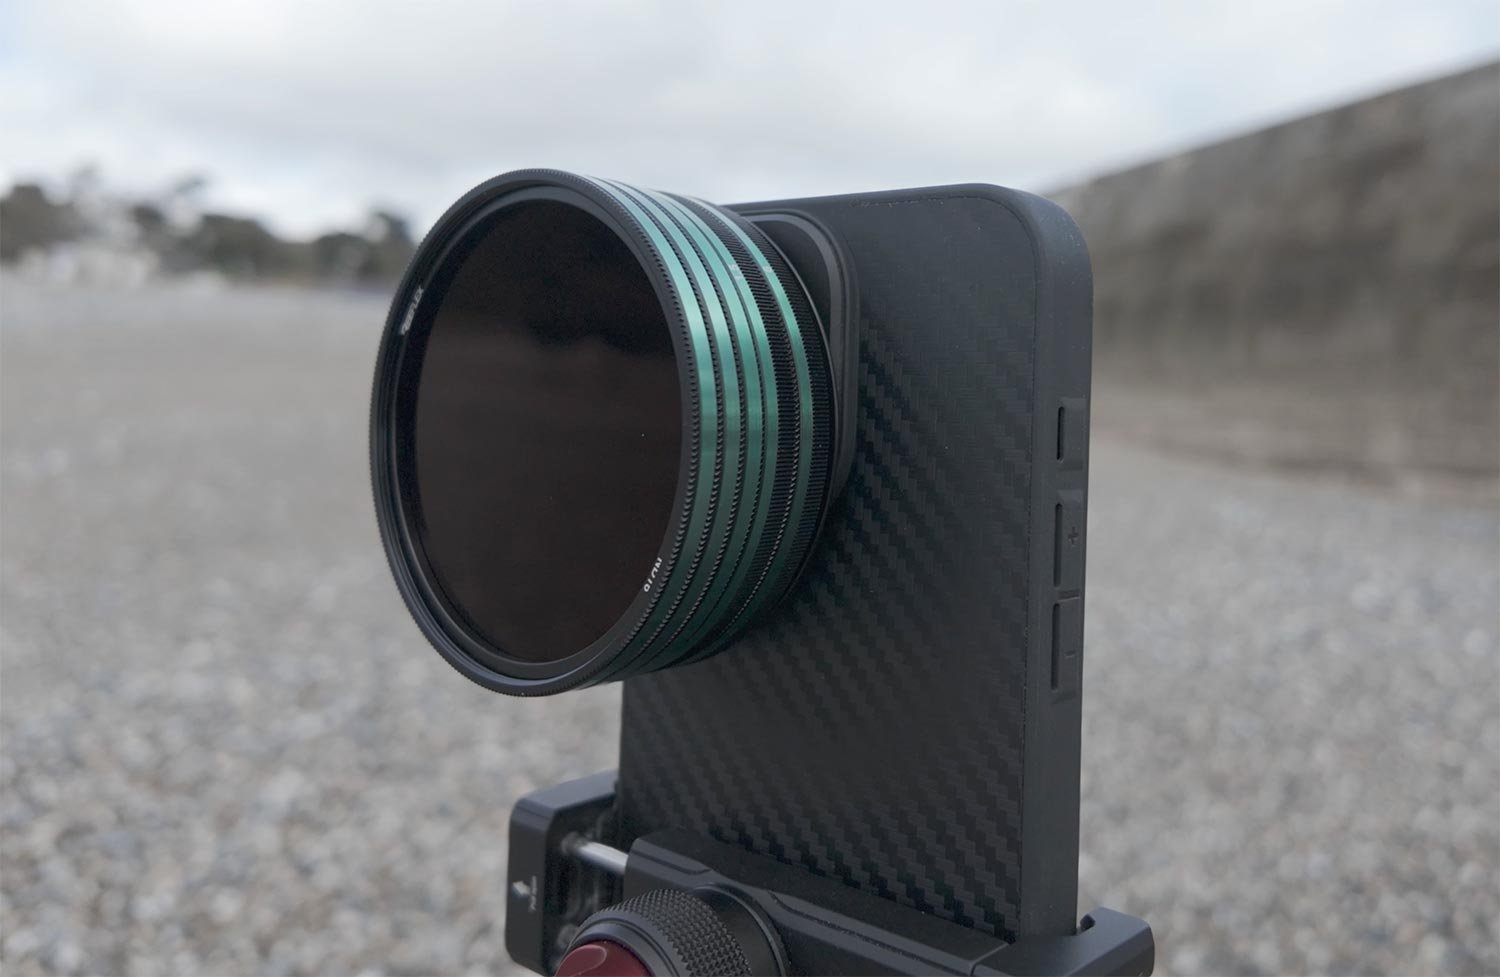
Even with all the ND Filters I have stacked on front of my iPhone … 1/15 sec is all that’s possbile in ProRaw at 48MP.
Oh and by the way that’s 29 Stops of Neutral Density right there 😳
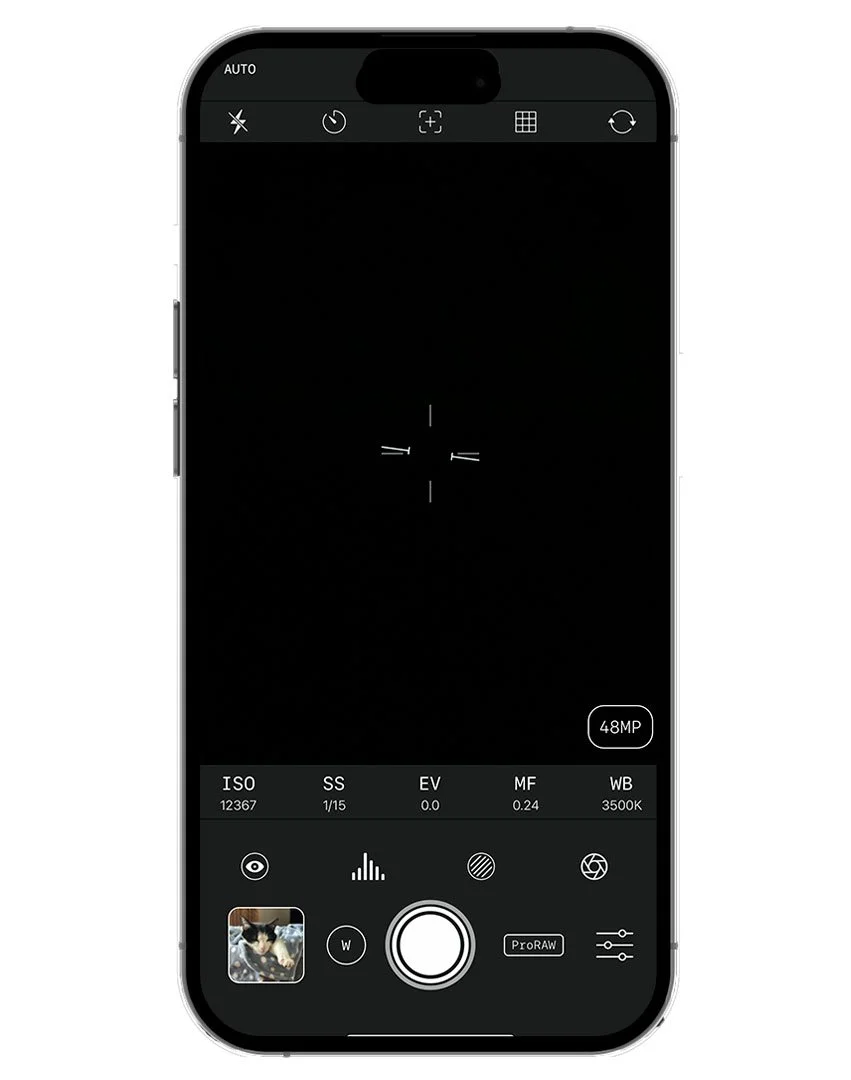
ReeFlex Pro Camera App
48MP ProRaw in AUTO
If you make ANY changes to the Shutter Speed or ISO then the file drops to 12MP …

ReeFlex Pro Camera App
12MP ProRaw
So looking at this, with the way the current iOS works, what is the point of Neutral Density FIlters for Photography with the iPhone?
If you want the scene darker or brighter then you could just use the EV slider and that would remain in Apple ProRaw at 48MP, but you can’t take the shutter speed slower than 1/15sec and remain in 48MP. Period!
are all 12mp files the same?
Now if we just accept the whole 48MP and 12MP thing how about this …
Raw Long Exposure Apps for the iPhone do so by computationally blending a series of shots to create the final long exposure image as a 12MP Bayer Raw File.
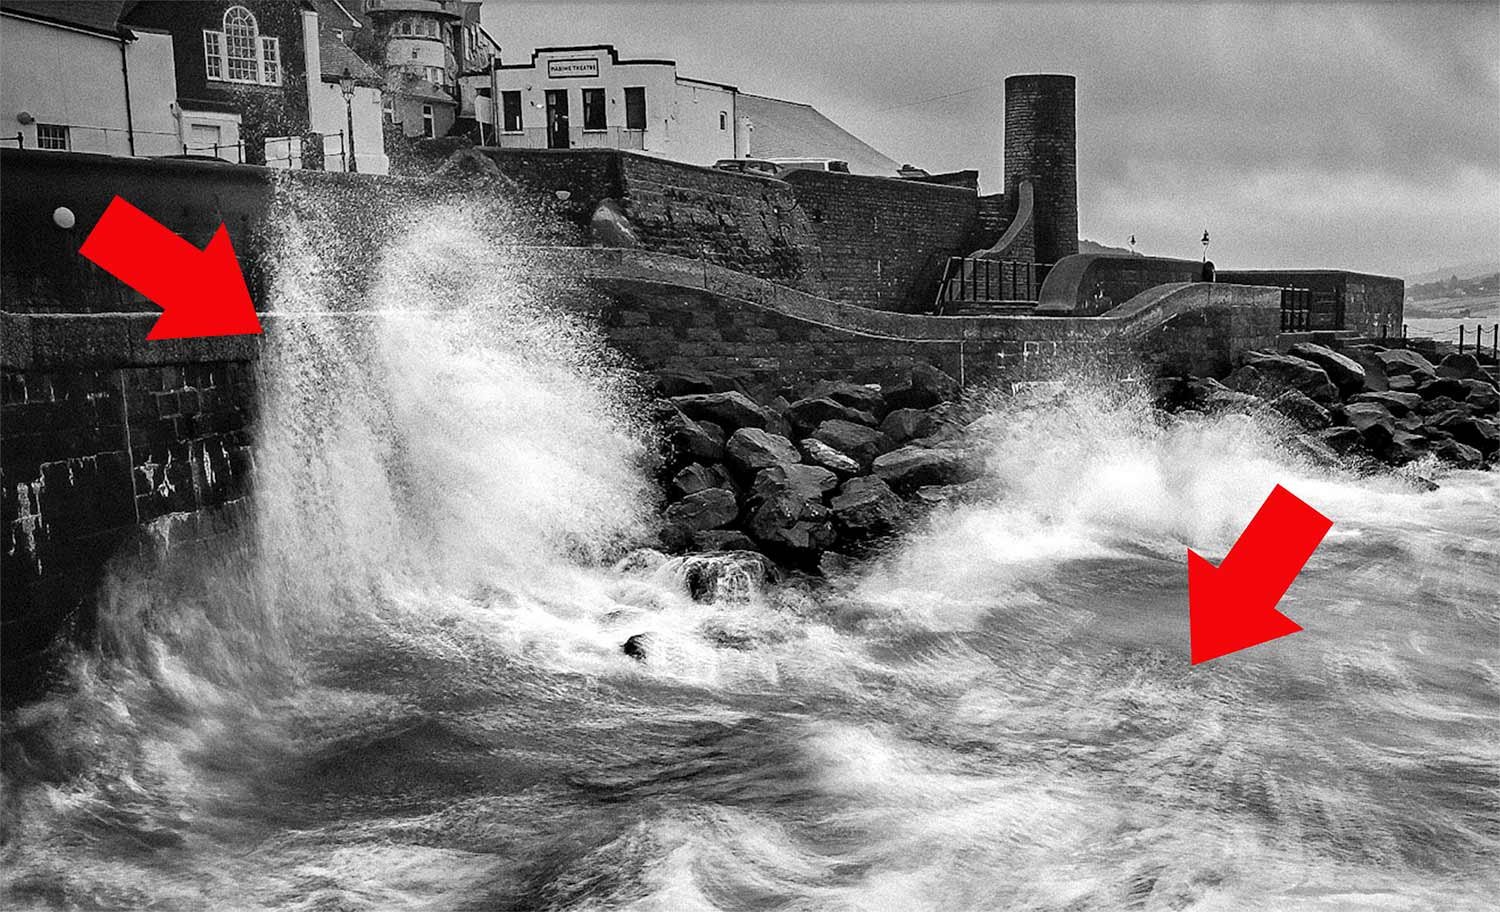
You can see this really clearly when you set a ½ second exposure time.
Look at the image below and notice the overlapping of files. You don’t notice this at longer exposure times but with fewer images taken at a faster long exposure (if that makes sense) it makes it harder to blend together … because there’s less files to overlap.
You do need to really look to see it but once you do, you can’t un-see it as shown in the zoomed in image below …
So here then is my thinking, which I hasten to add I am popping out tomorrow morning to test …
Accepting that if I use manual controls the file will drop to 12MP, what if I use the Neutral Density Filters to get a correct exposure with a shutter speed of ½ second or the maximum of 1 second?
Thinking of this in really basic terms … as that’s not being used to blend images together, it should in theory produce a single shot long exposure right? When I’m sat in my office with the phone in those manual settings and move it around the image is blurry so that should work for moving objects like the sea right?
I’ll keep you posted with the testing once I’ve been out tomorrow.
Just to add though … the slowest shutter speed you can set is 1/1 sec so for anything longer than that it calls for one of the long exposure apps that does the computational blending thing.
Apple Proraw isn’t really raw
Whatever the technical reason / limitations there are for this I really do hope in the near future this is overcome, otherwise Apple continually calling the camera system “Pro” could start to get a little bit "Boy who cried Wolf” if you know what I mean.
That said though, because of how Apple ProRaw works, there may well be times you wouldn’t want to use it anyway because of the processing it applies to the files i.e. Noise Reduction and Smart HDR.
I’m going to be covering that very soon in another article and video.
ND FILTERS WITH iPHONE FOR VIDEO ???
This is a definite YES though and I’ll be covering that in a post and video VERY soon.
Right, I’ll go charge my filming kit for tomorrow and keep you posted once I’m done with the testing 👍🏻