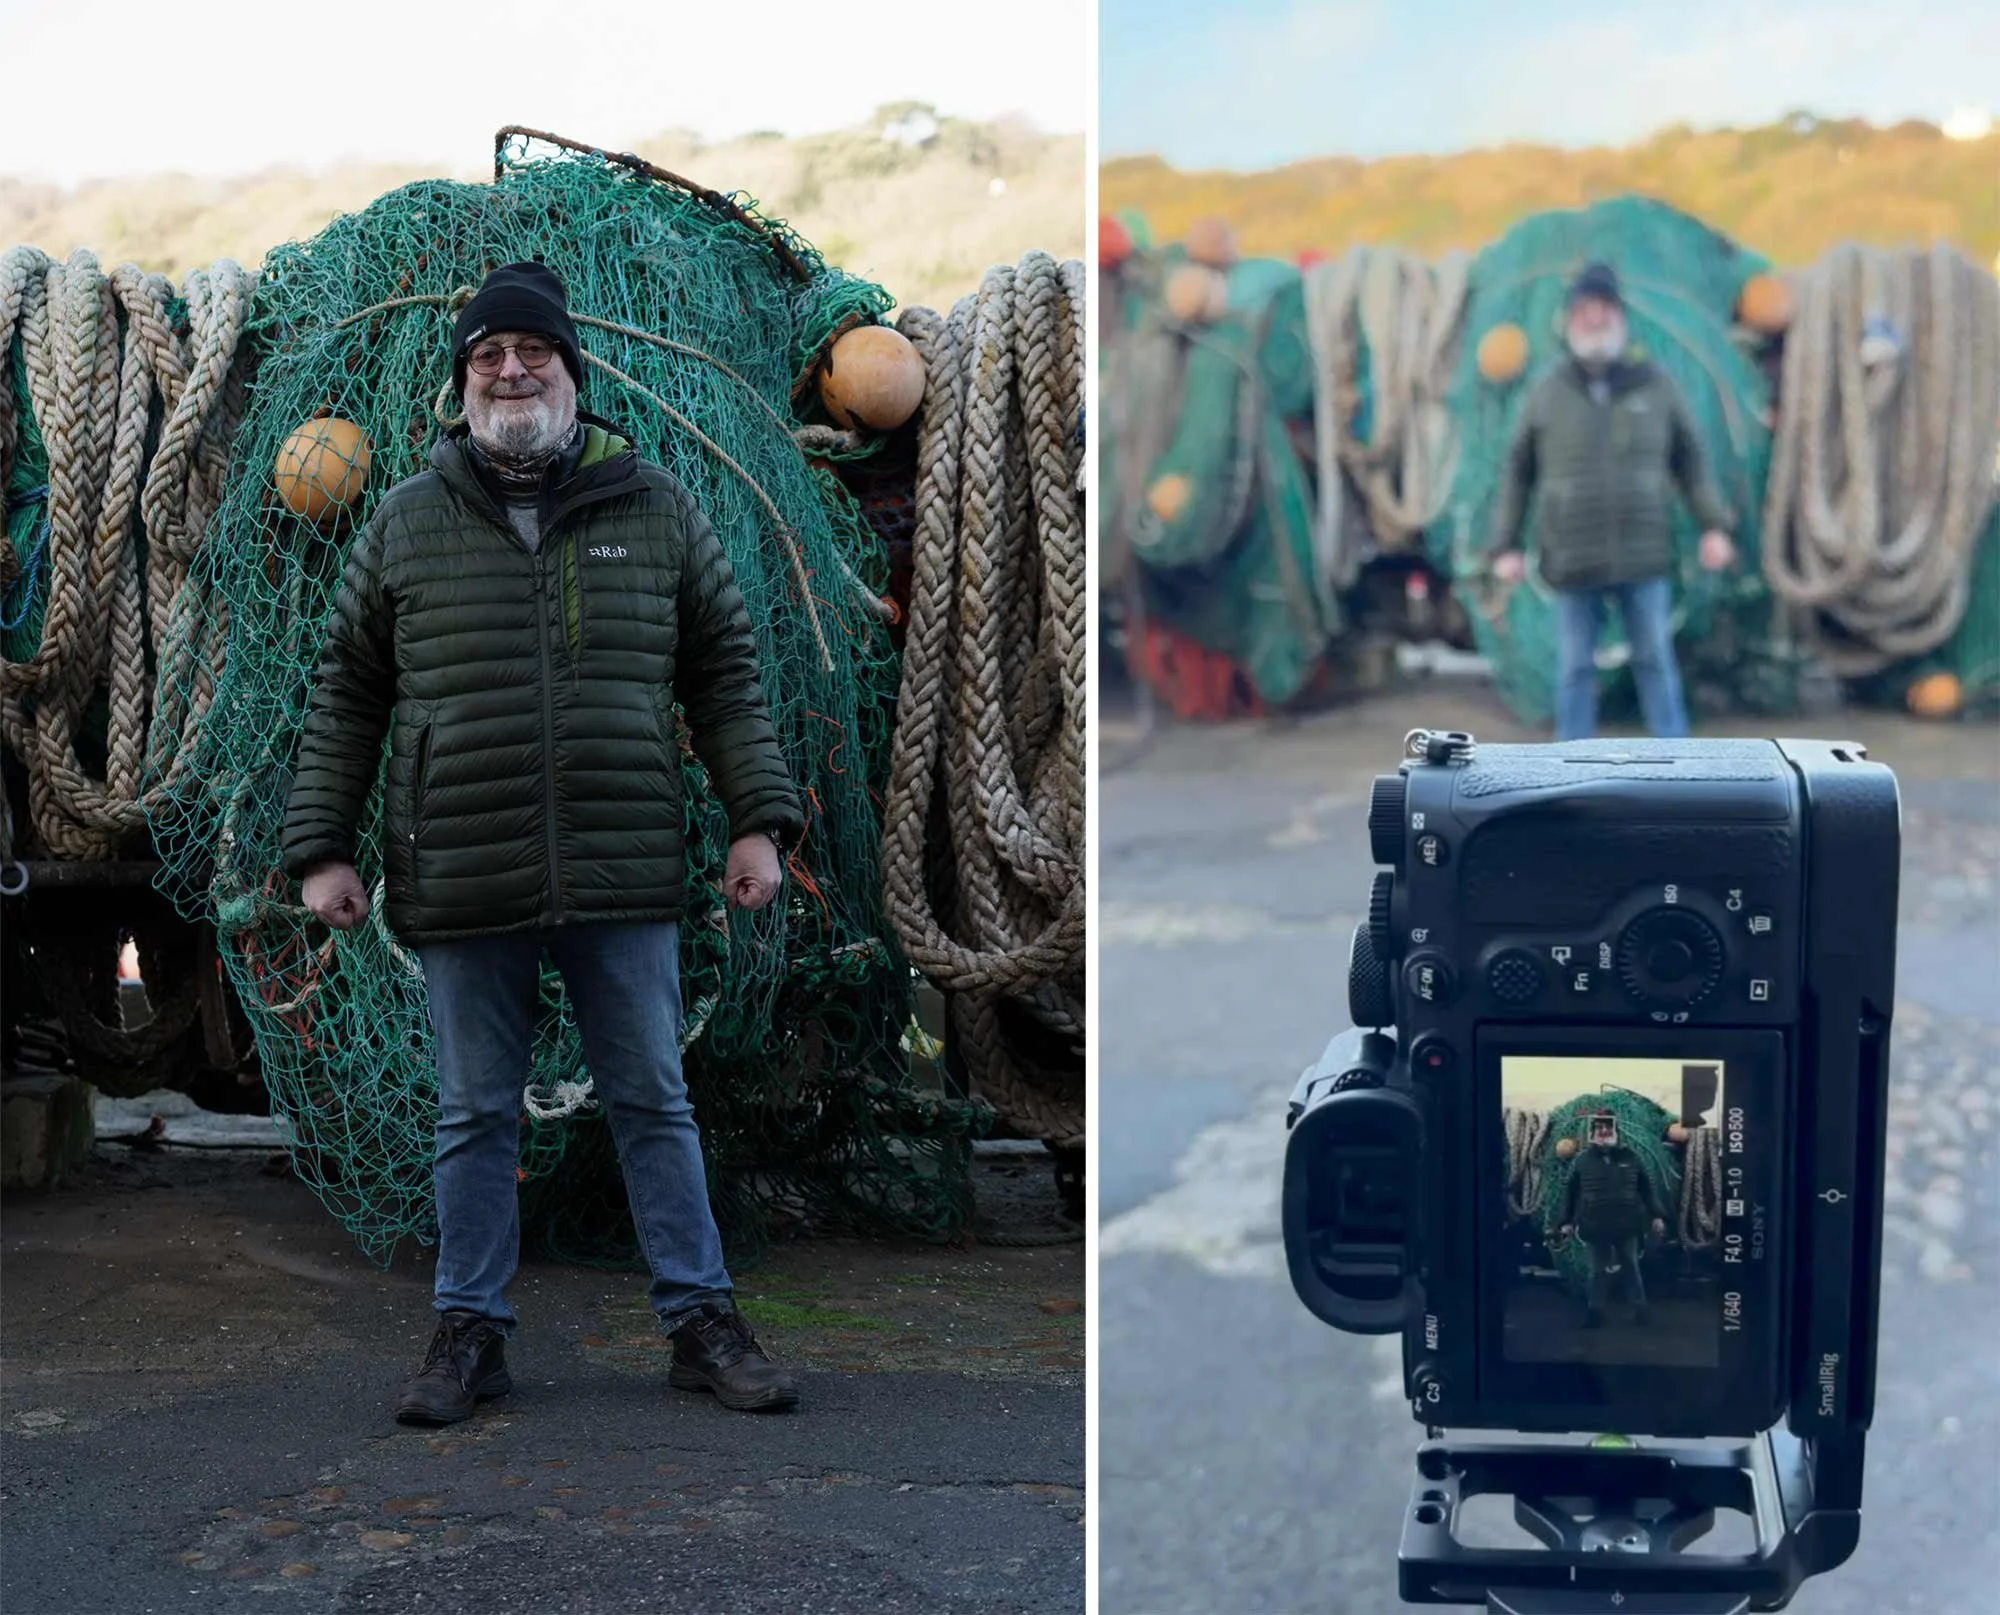
I've put together this short video because I need to ask a favour from anyone who uses Photoshop Camera Raw or Lightroom. There's a fundamental feature that's been missing for years, and it seriously impacts how we edit our images and the results we achieve.
The Missing Piece in AI Masking
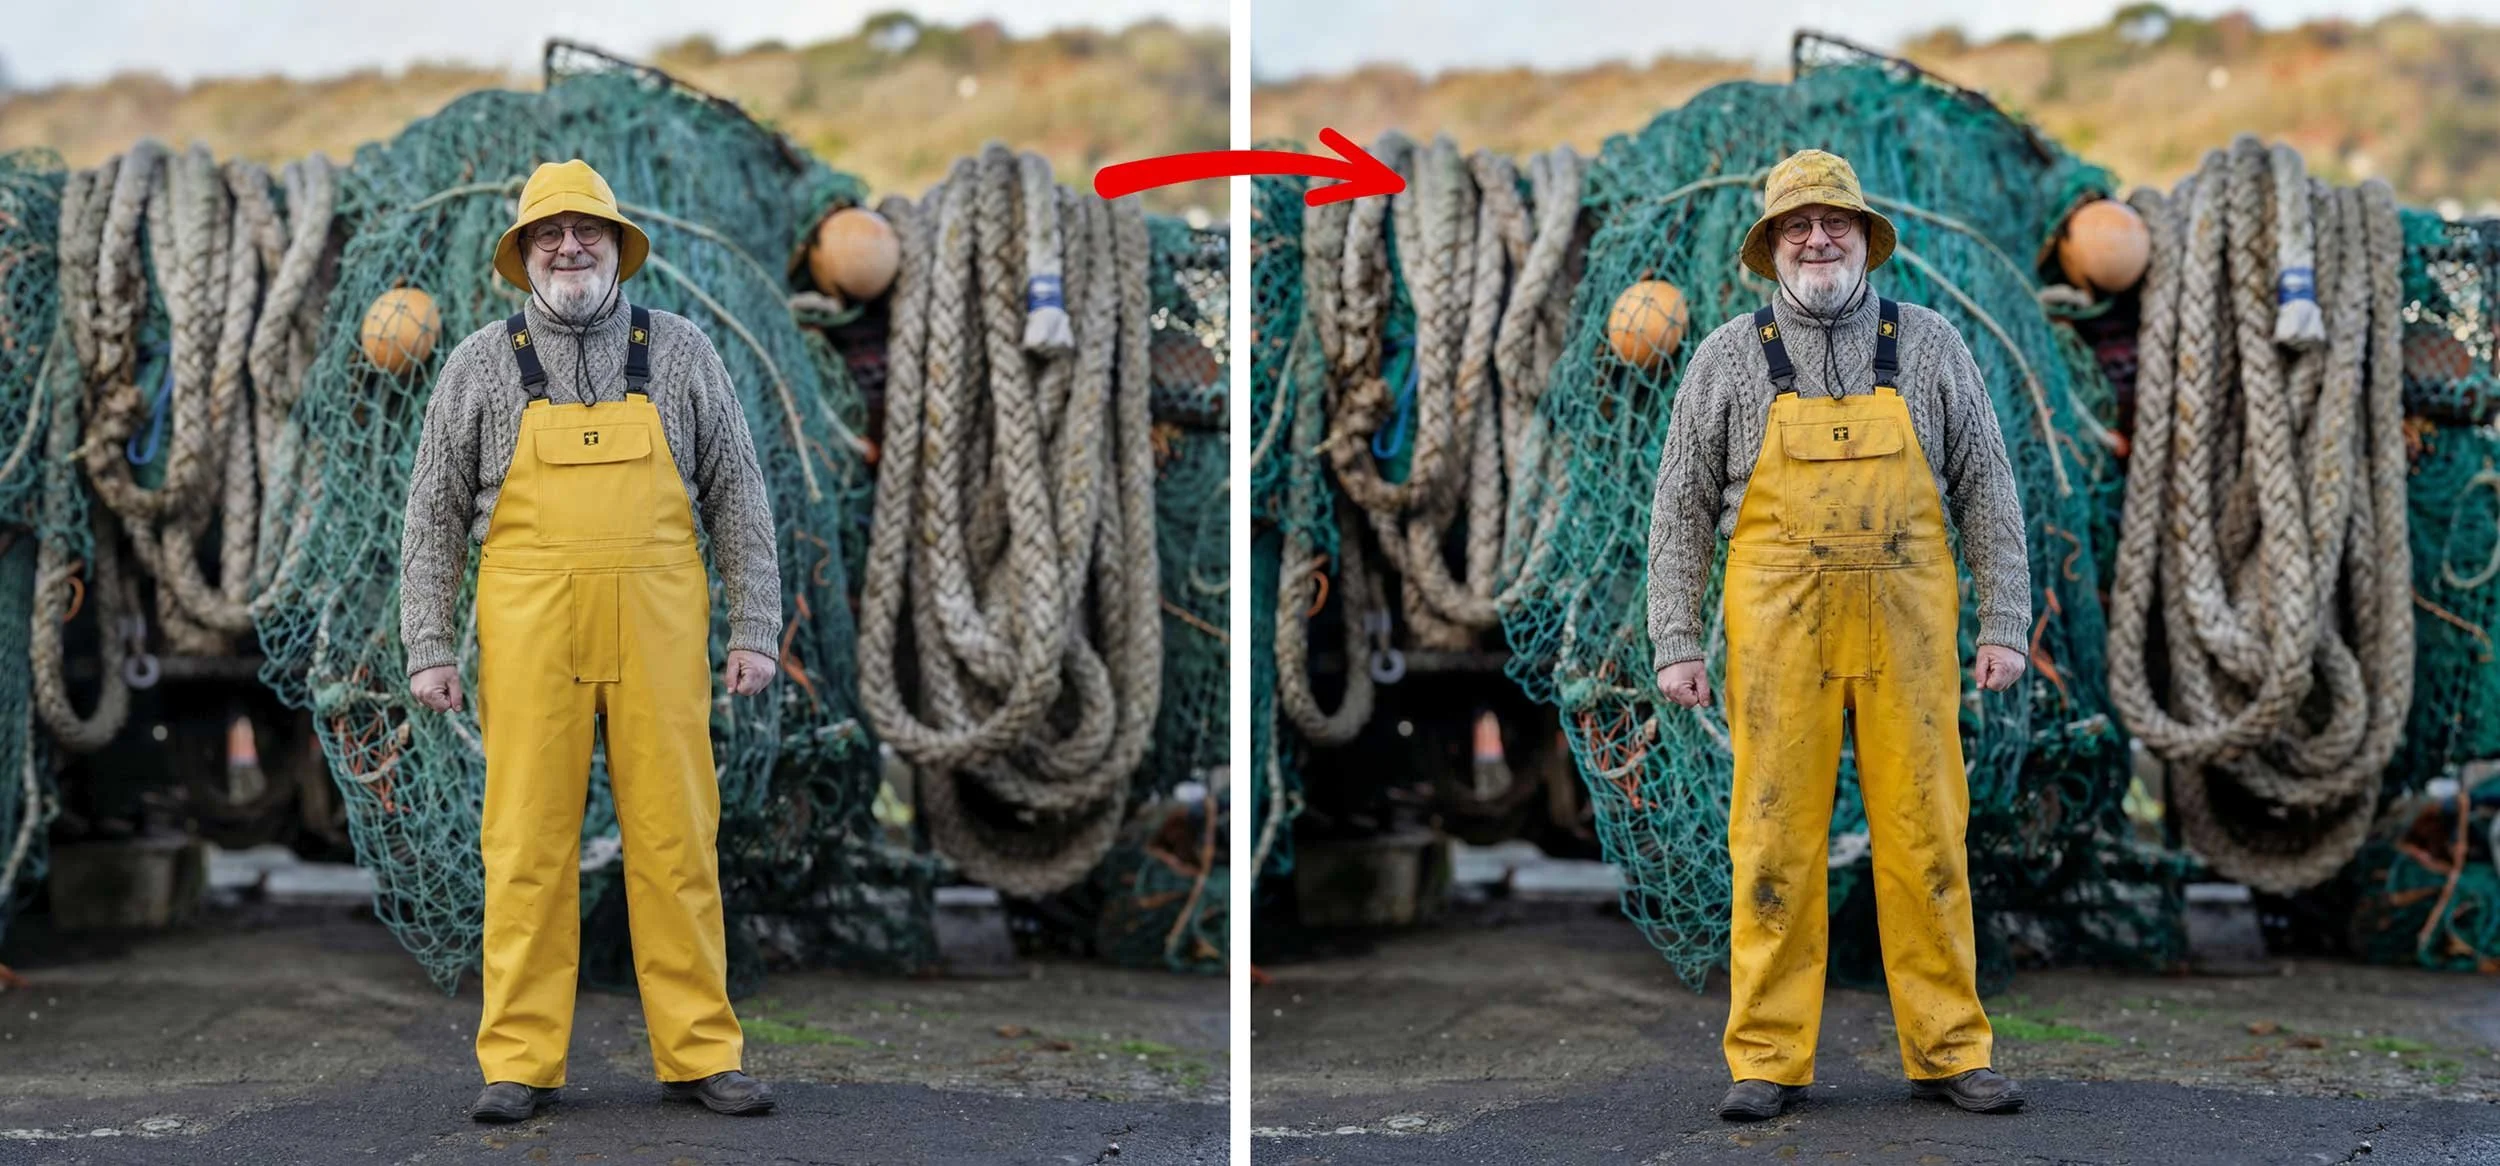
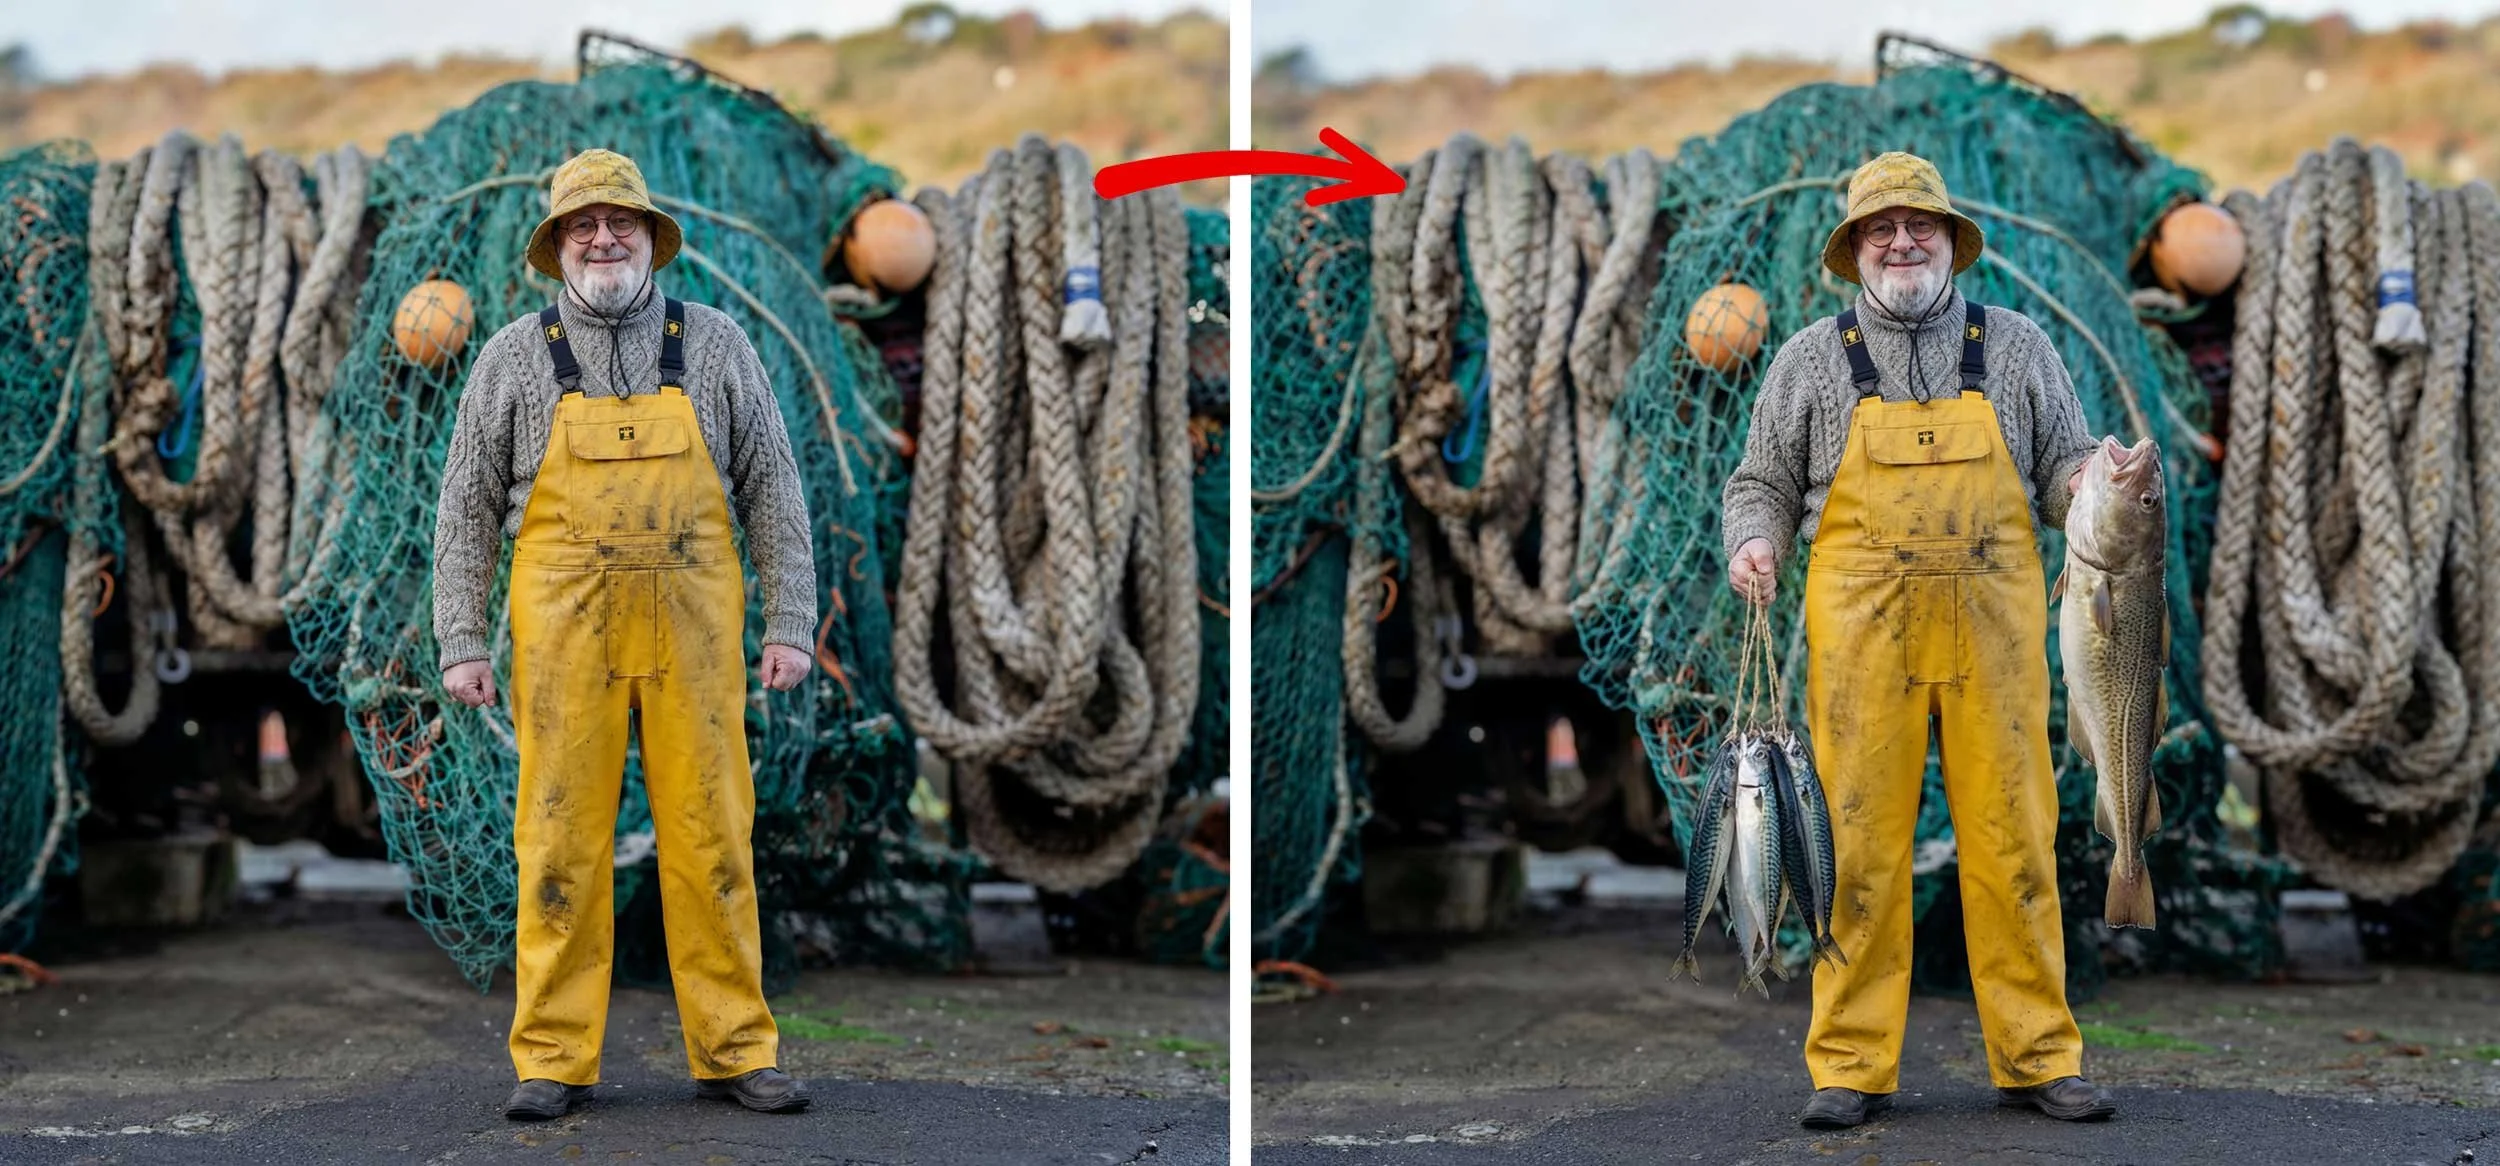
The issue centres on masking, specifically the AI-generated masks available in the masking panel. Being able to select a sky or subject with one click is genuinely incredible, but there's a massive gap in functionality. We have no way to soften, blur, or feather those AI masks after they've been created.
Instead, we're left with incredibly sharp, defined outlines that sometimes look like poorly executed cutouts. This makes blending our adjustments naturally into the rest of the image much harder than it needs to be.
Years HAVE PASSED
Adobe introduced the masking panel back in October 2021. It changed the way we work and represented a huge step forward. Yet here we are, years later, still without a simple slider to soften mask edges.
If you want to blend an adjustment now, you're often stuck trying to subtract with a large soft brush, using the intersect command with a gradient, or employing other crude workarounds to hide the transition. It feels like excessive work for what should be a standard function.
The Competition Gets It Right
What makes this even more frustrating is seeing other software solve this problem elegantly. The new Boris FX Optics 2026 release includes AI masking controls where a single slider softens and blurs the mask outline, and it works incredibly well. Luminar has been offering this functionality for quite a while too.
These tools understand that a mask is only as good as its edges. When the competition provides ways to feather and refine AI selections, the absence of this feature in Adobe's ecosystem feels glaringly obvious.
Adobe's Strengths and Opportunities
Don't get me wrong. I appreciate that Adobe constantly pushes boundaries. We've witnessed tremendous growth over recent years, with developments from third-party AI platforms like Google's Gemini, emerging models, and innovations from Black Forest Labs with Flux and Topaz Labs. It's an exciting time to be a creator.
But I wish Adobe would take a moment to polish what we already have. Adding flashy new features is great, but refining the core workflows we use every single day would be a massive leap forward for all of us.
How You Can Help
Rather than simply complaining about this issue, I've created a feature request post in the Adobe forums. It's been merged with an existing thread on the same topic, which actually helps consolidate our voices into one place.
Here's what I need you to do: click the link below to visit the post and give it an upvote by clicking or tapping the counter number in the upper left. If we can get enough visibility on this, Adobe might finally recognise how much the community wants and needs this feature.
I believe refining existing tools is just as important as inventing new ones. Thank you for taking the time to vote. It really does make a difference when we speak up together.