It’s been a good few years since I did any compositing but recently I’ve been getting the urge to get back to it again. I don’t know if it’s because of all the updates that have come into Photoshop over the past few years or what, but something is drawing me back to start working in this area again … and I’m really excited about it.
So rather than just start creating random images, I’ve taken my own advice and decided on a project that brings together my photography, retouching and something outside of that world that I have a genuine interest and fascination with … and that’s Vikings. I’m a BIG fan of the Vikings Drama Series on Amazon Prime with incredible characters like Ragnar Lothbruk and Ivor the Boneless.

So not being one to hang around I started gathering ideas for the first pictures I wanted to work on and so for this I made use of technology that wasn’t available a few years ago when I was last doing composites … Adobe Firelfy AI and the ‘Text to Image’ technology.
This is such an incredibly useful piece of technology for coming up with concepts by simply writing your idea.
So using the Generate Image function in Photoshop I wrote …
Viking with beard and plaited hair and holding an axe stood on cliff looking down onto the sea
… and this is just some of the results that were created …

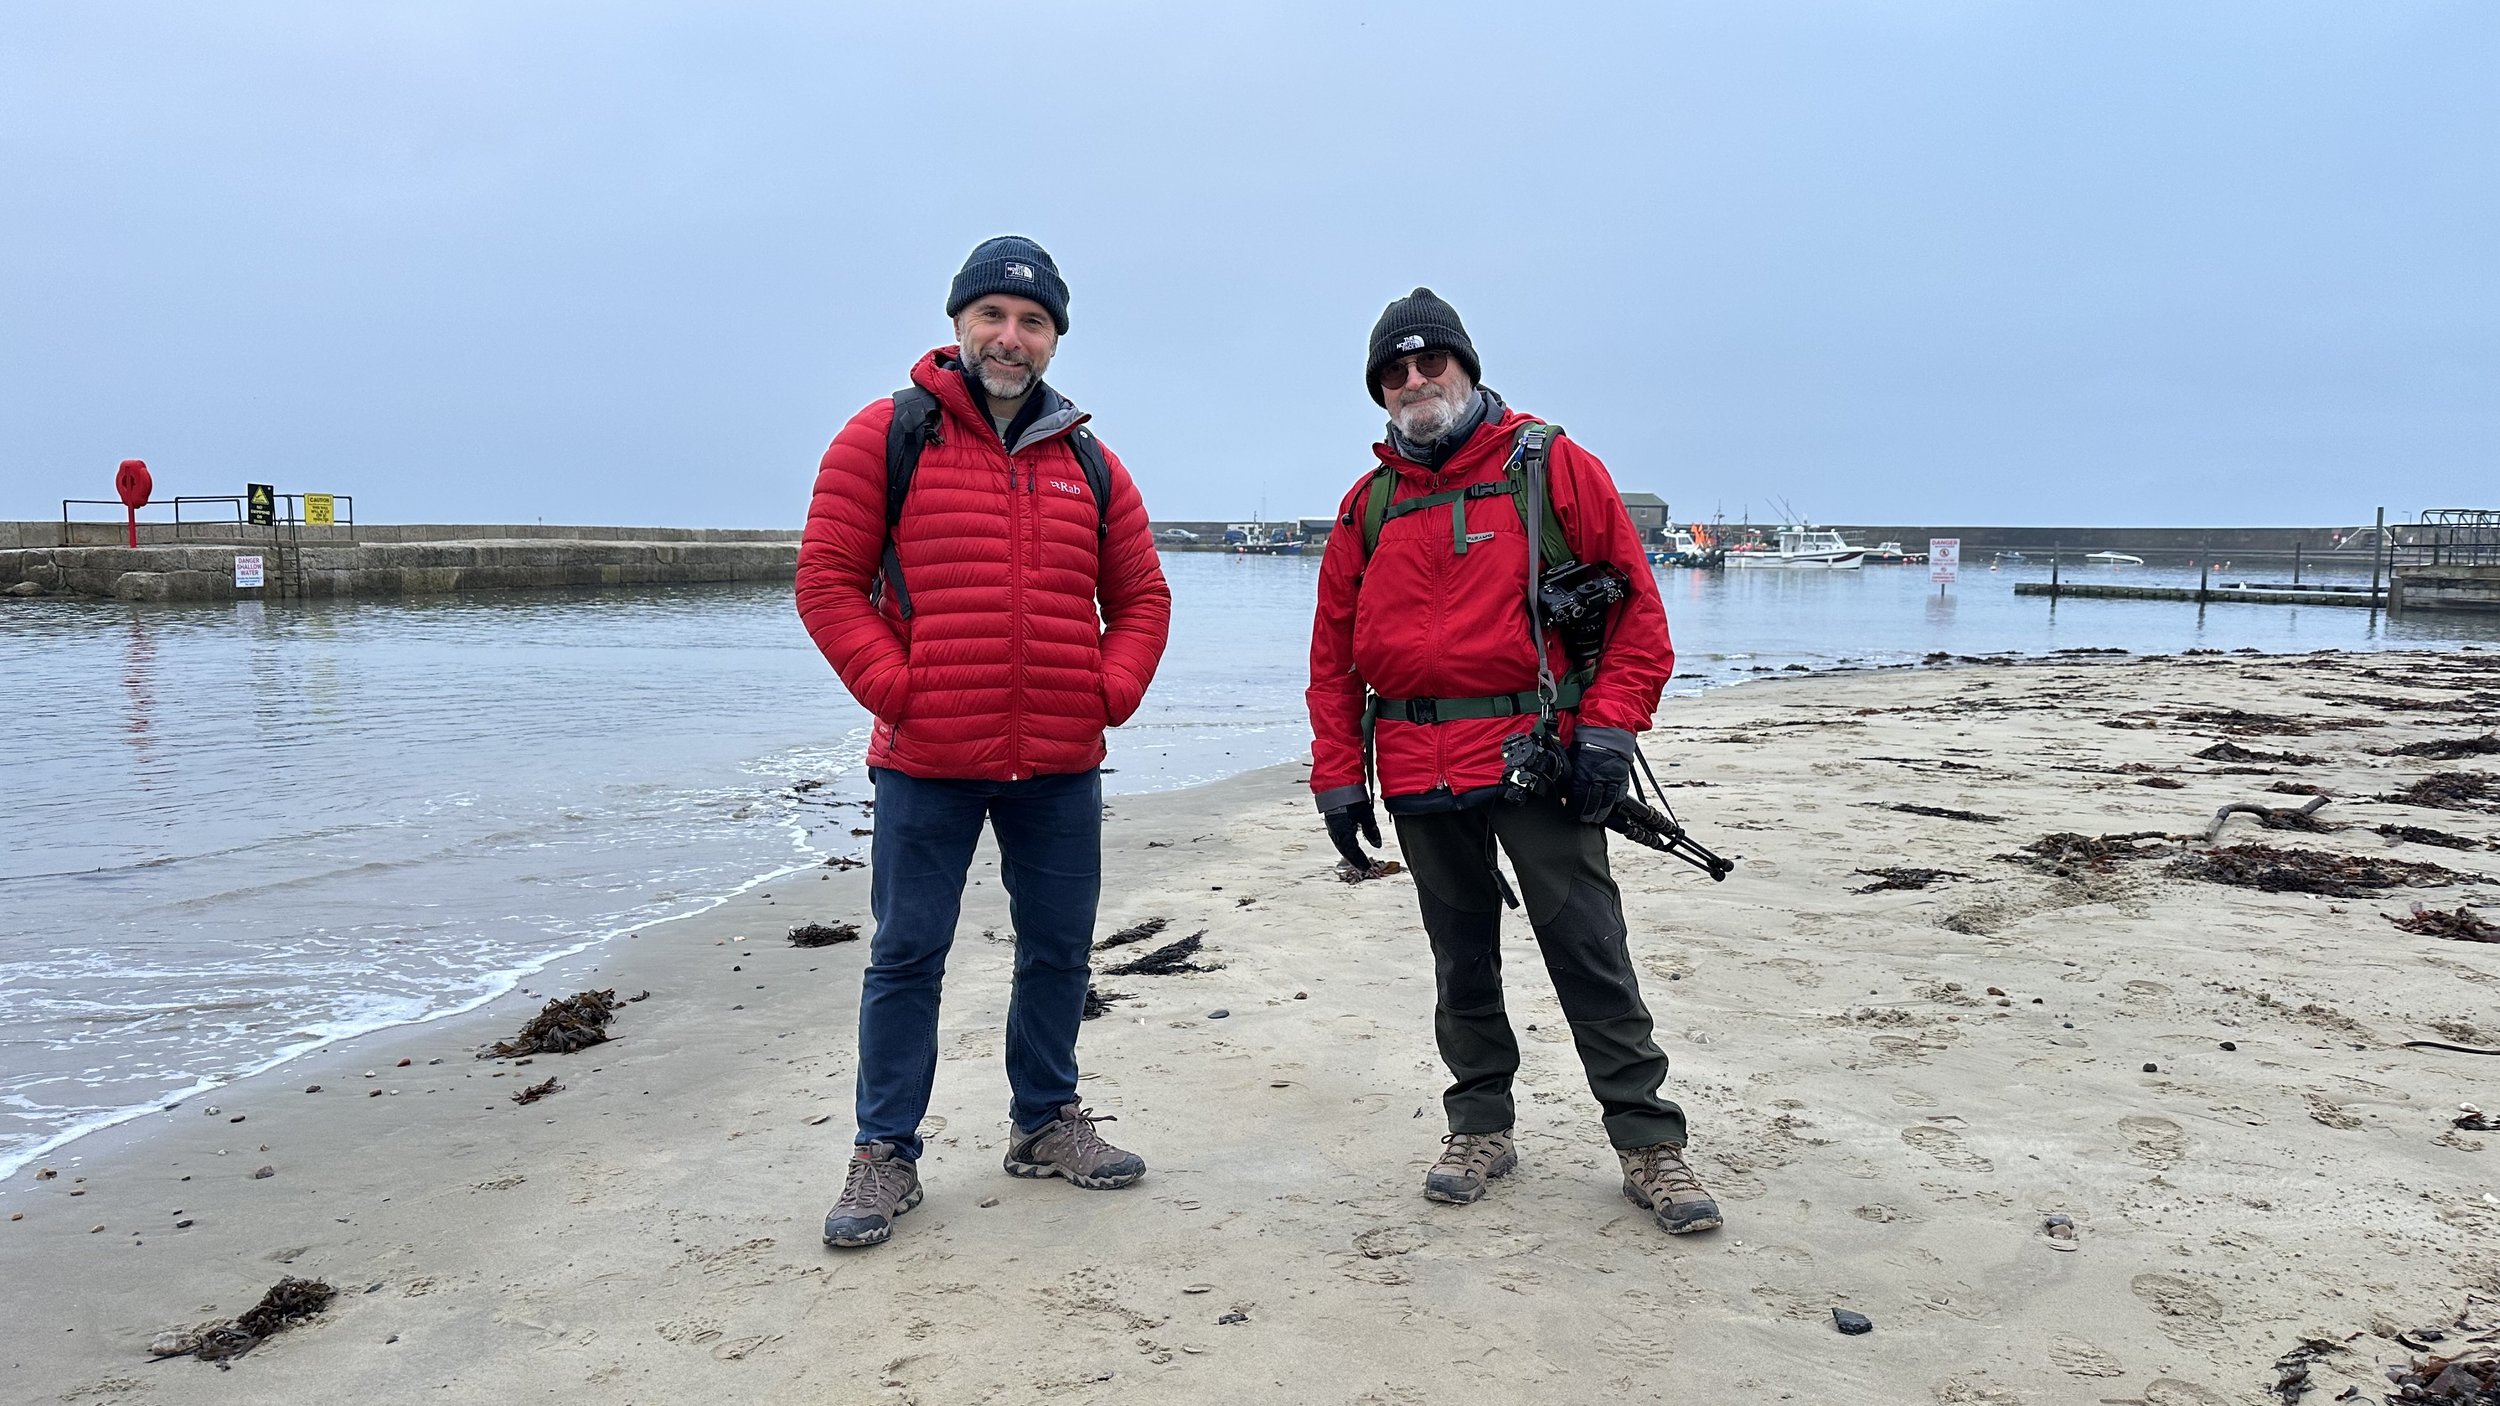
Now with images of what ideas I had in my head it was so much easier to first of all message my friend Simon Fowler aka Foxy and send him a picture of what I wanted to create of him as a Viking.
Then it was time to source the appropriate clothing for Foxy to wear, and for that I headed to Marigold Costumes in Cardiff and arranged to meet Simon and another friend Anthony Crothers there.
I’ve used Marigold Costumes a few times in the past for other photo shoots as there’s such a huge choice of costumes, and sure enough within no time we’d sorted out what was needed …


With clothing sorted it was then just a few days until the gang were all together in the studio for the photo shoot.
Here’s a look at the set up for the first image which is the one where the Viking will be looking down from the cliffs onto the sea below …

Doing this using the LED Constant Lights made it so much easier for everyone to see what was being captured … before it wss captured. It also made setting up so incredibly easy.
kit used:
To the front of Foxy I used the light and soft box combination below …
This was used to mimic the light / highlights coming from the sun.
Now when it comes to composting, I was always someone that liked to get the backgrounds first and then photograph the model / subject. I did this because having the background first meant I then had a light style and direction to mimic in the studio.
However I knew where I was going to photograph the background location … Hartand Quay in North Devon.
This is a location I have been to many times and know really well. It’s perfect for the picture I had in mind. I also had a good idea of where the sun would be located at a certain time of day which is why I positioned the light as I did to the front of Foxy.
I did check using the PhotoPills App though just to be sure …

And here’s one of the ‘out of camera’ shots, which as you can see shows that I also photographed Foxy against a grey background.
The reason for this is two-fold; firstly it contrasts against Foxy so makes it easier to cut him out later in Photoshop. Secondly, because it enables me to capture the real cast shadows, and being grey gives me the option of using a blend mode later in Photoshop to retain them and have them appear in the final composite rather than me paint them in …

The background / scene
As for the background I intend to add the photograph of Foxy into, I headed over to Hartland Quay over this past weekend with my friend Brian Dukes.
Conditions ended up being perfect with the clouds and incoming tide, and in addition to getting the shots I wanted, it made for a great day hanging out with a close friend in a fabulous location …


back to the studio
Anyway, back to the studio, there was one more shot I wanted and that was with Foxy stood facing directly towards the camera. I had an idea of creating a movie poster type of picture.
the set up
For this picture I changed the set up having rim lighting on either side of Foxy and a single light infront …

I really should get another 1x4 Softbox to use for the rim lighting, but as it happened, just using the 3x4 softbox and positioning it facing directly across the back of Foxy and him slightly forward worked out just fine. The other 1x4 I positioned on the opposite side, again facing directly across the back of Foxy.
The light directly to the front of Foxy was another Westcott L60-B Bi Color LED and this one was in a Westcott Rapid Box Switch Medium Octa (36”).
With it being on a C-Stand and on a boom, it was easy to get the camera on the tripod directly below so the light was on camera axis.
Here’s the out of camera photograph …

And below is the final edit.
Genuinely loved working on this adding textures, shadows on the background, dodging and burning, lighting effects, colour grading and creating the text from scratch along with the glow from the fire below and the sparks.
It was so much fun seeing how the updates can help with what I’m doing such as using Adobe Express for the fire and sparks and also Generative Fill AI to change the look of the axe head. Loved it!

So that’s my new Viking Series officially started and I cannot wait to get working on the other picture from this photoshoot.
Needless to say I’ll share it once finished. I’ll also look at creating some tutorial walk-throughs going through all of the retouching for both.
It sure feels good to be back doing this kind of work 😃 and as always a BIG thank you to my ever supportive friends … Ian Munro, Foxy, Anthony Crothers, Gerwyn Williams and Brian Dukes.