behind the scenes

Movie Inspired Portrait in the Mountains of Wales

So last week I met up with my mate Anthony Crothers just outside of Cardiff, Wales and then we both headed to Newport in Pembrokeshire.

It was there that I’d arranged to meet up with Dai O’Toole ; a friend I’d not seen since my 39-45 Portraits Project Exhibition at the Soldiers of Oxfordshire Museum back in November of 2019.

We’d always kept in touch but this was the first time we’d caught up in person since, and this was all motivated by me having seen Dai mention about a Trek he was soon to be embarking on called the GR54 ; a 120 mile trek in the French Alps which takes in elevation of 12,500ft 😳

Hearing this and his motivation for doing so, I got in touch saying that I’d love to take his portrait on location and record a short chat with him about it all … needless to say , we were ‘Game On’

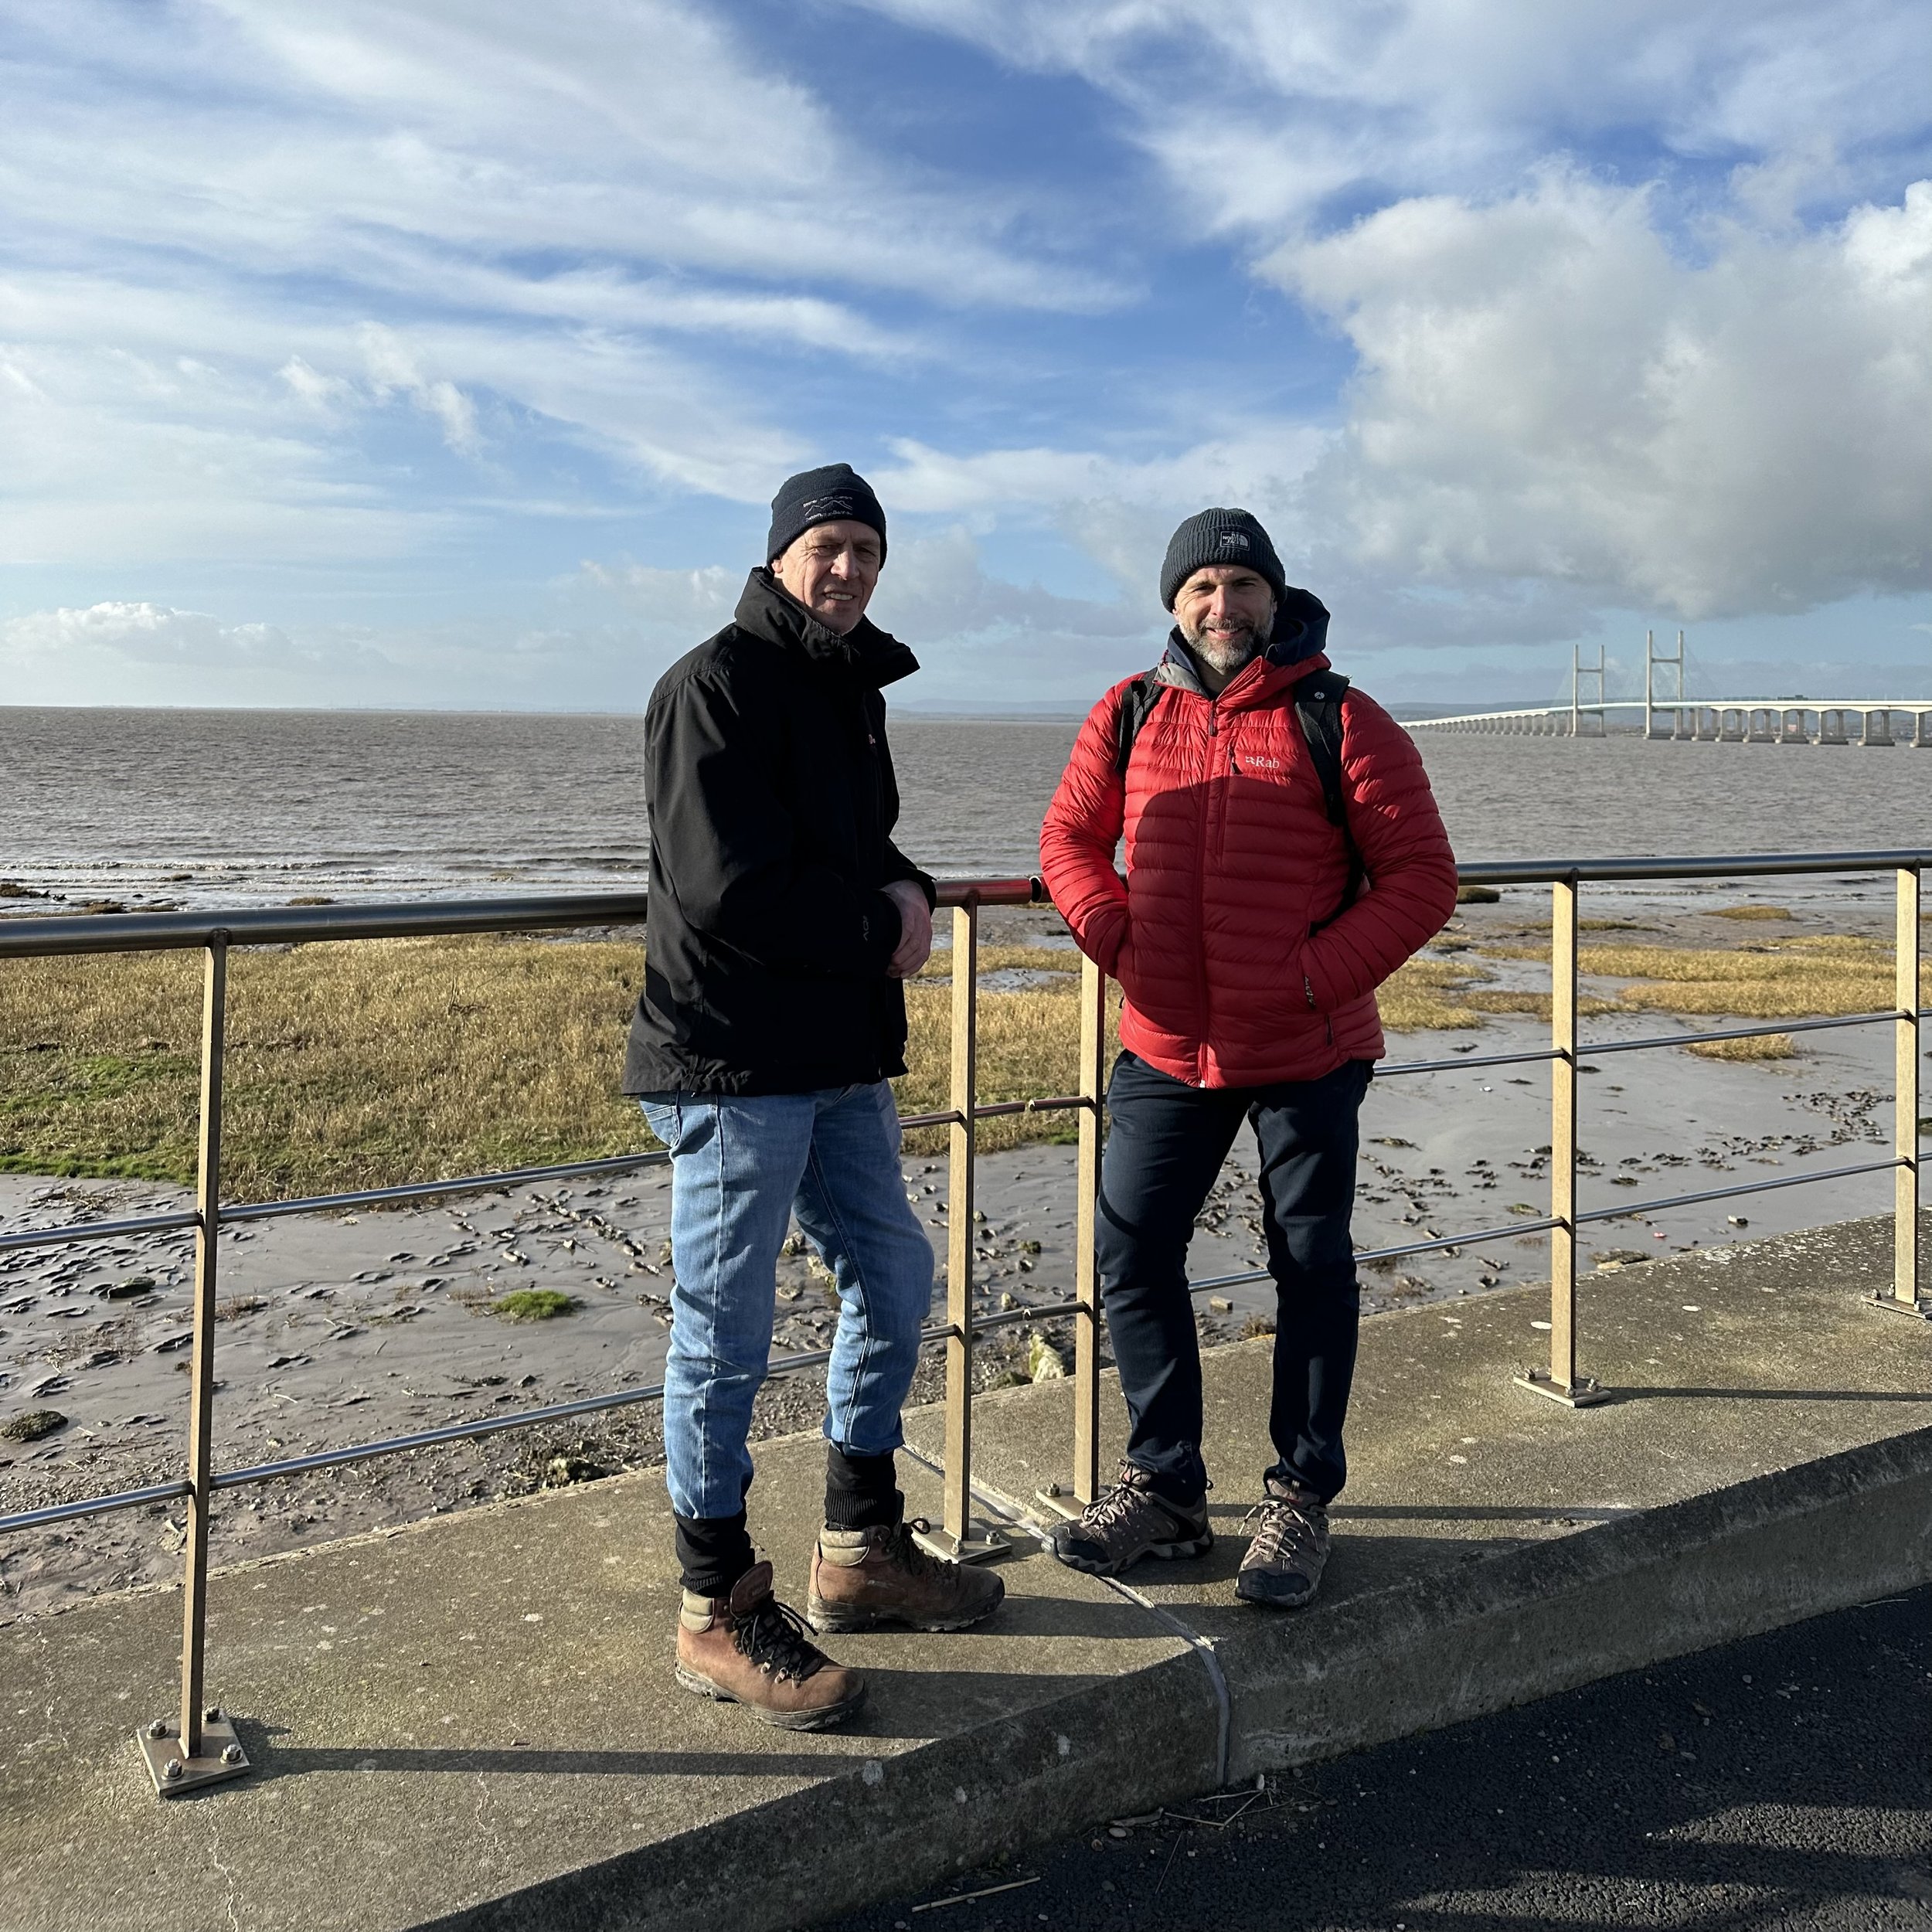
Meeting up in Newport, Pembrokeshire after some long overdue man-hugs, armed with a small amount of kit we all headed off on what Dai would call a stroll, up nearby Carn Ingli ; a mere 1500ft above sea level 😃

( Left to Right ) Anthony , Dai and Yours Truly

With no need to rush, we took our time making our way to the top whilst chatting , laughing and chatting and laughing some more whilst stopping regularly to take in waht can only be described as spectacular views.

I cannot stress enough how enjoyable and uplifting this was and it didn’t take much to understand why Dai goes out trekking every week.

Once at the top and in between repeated cries of “WOW” , with the help of Anthony on lighting, I took a series of full length portraits of Dai.

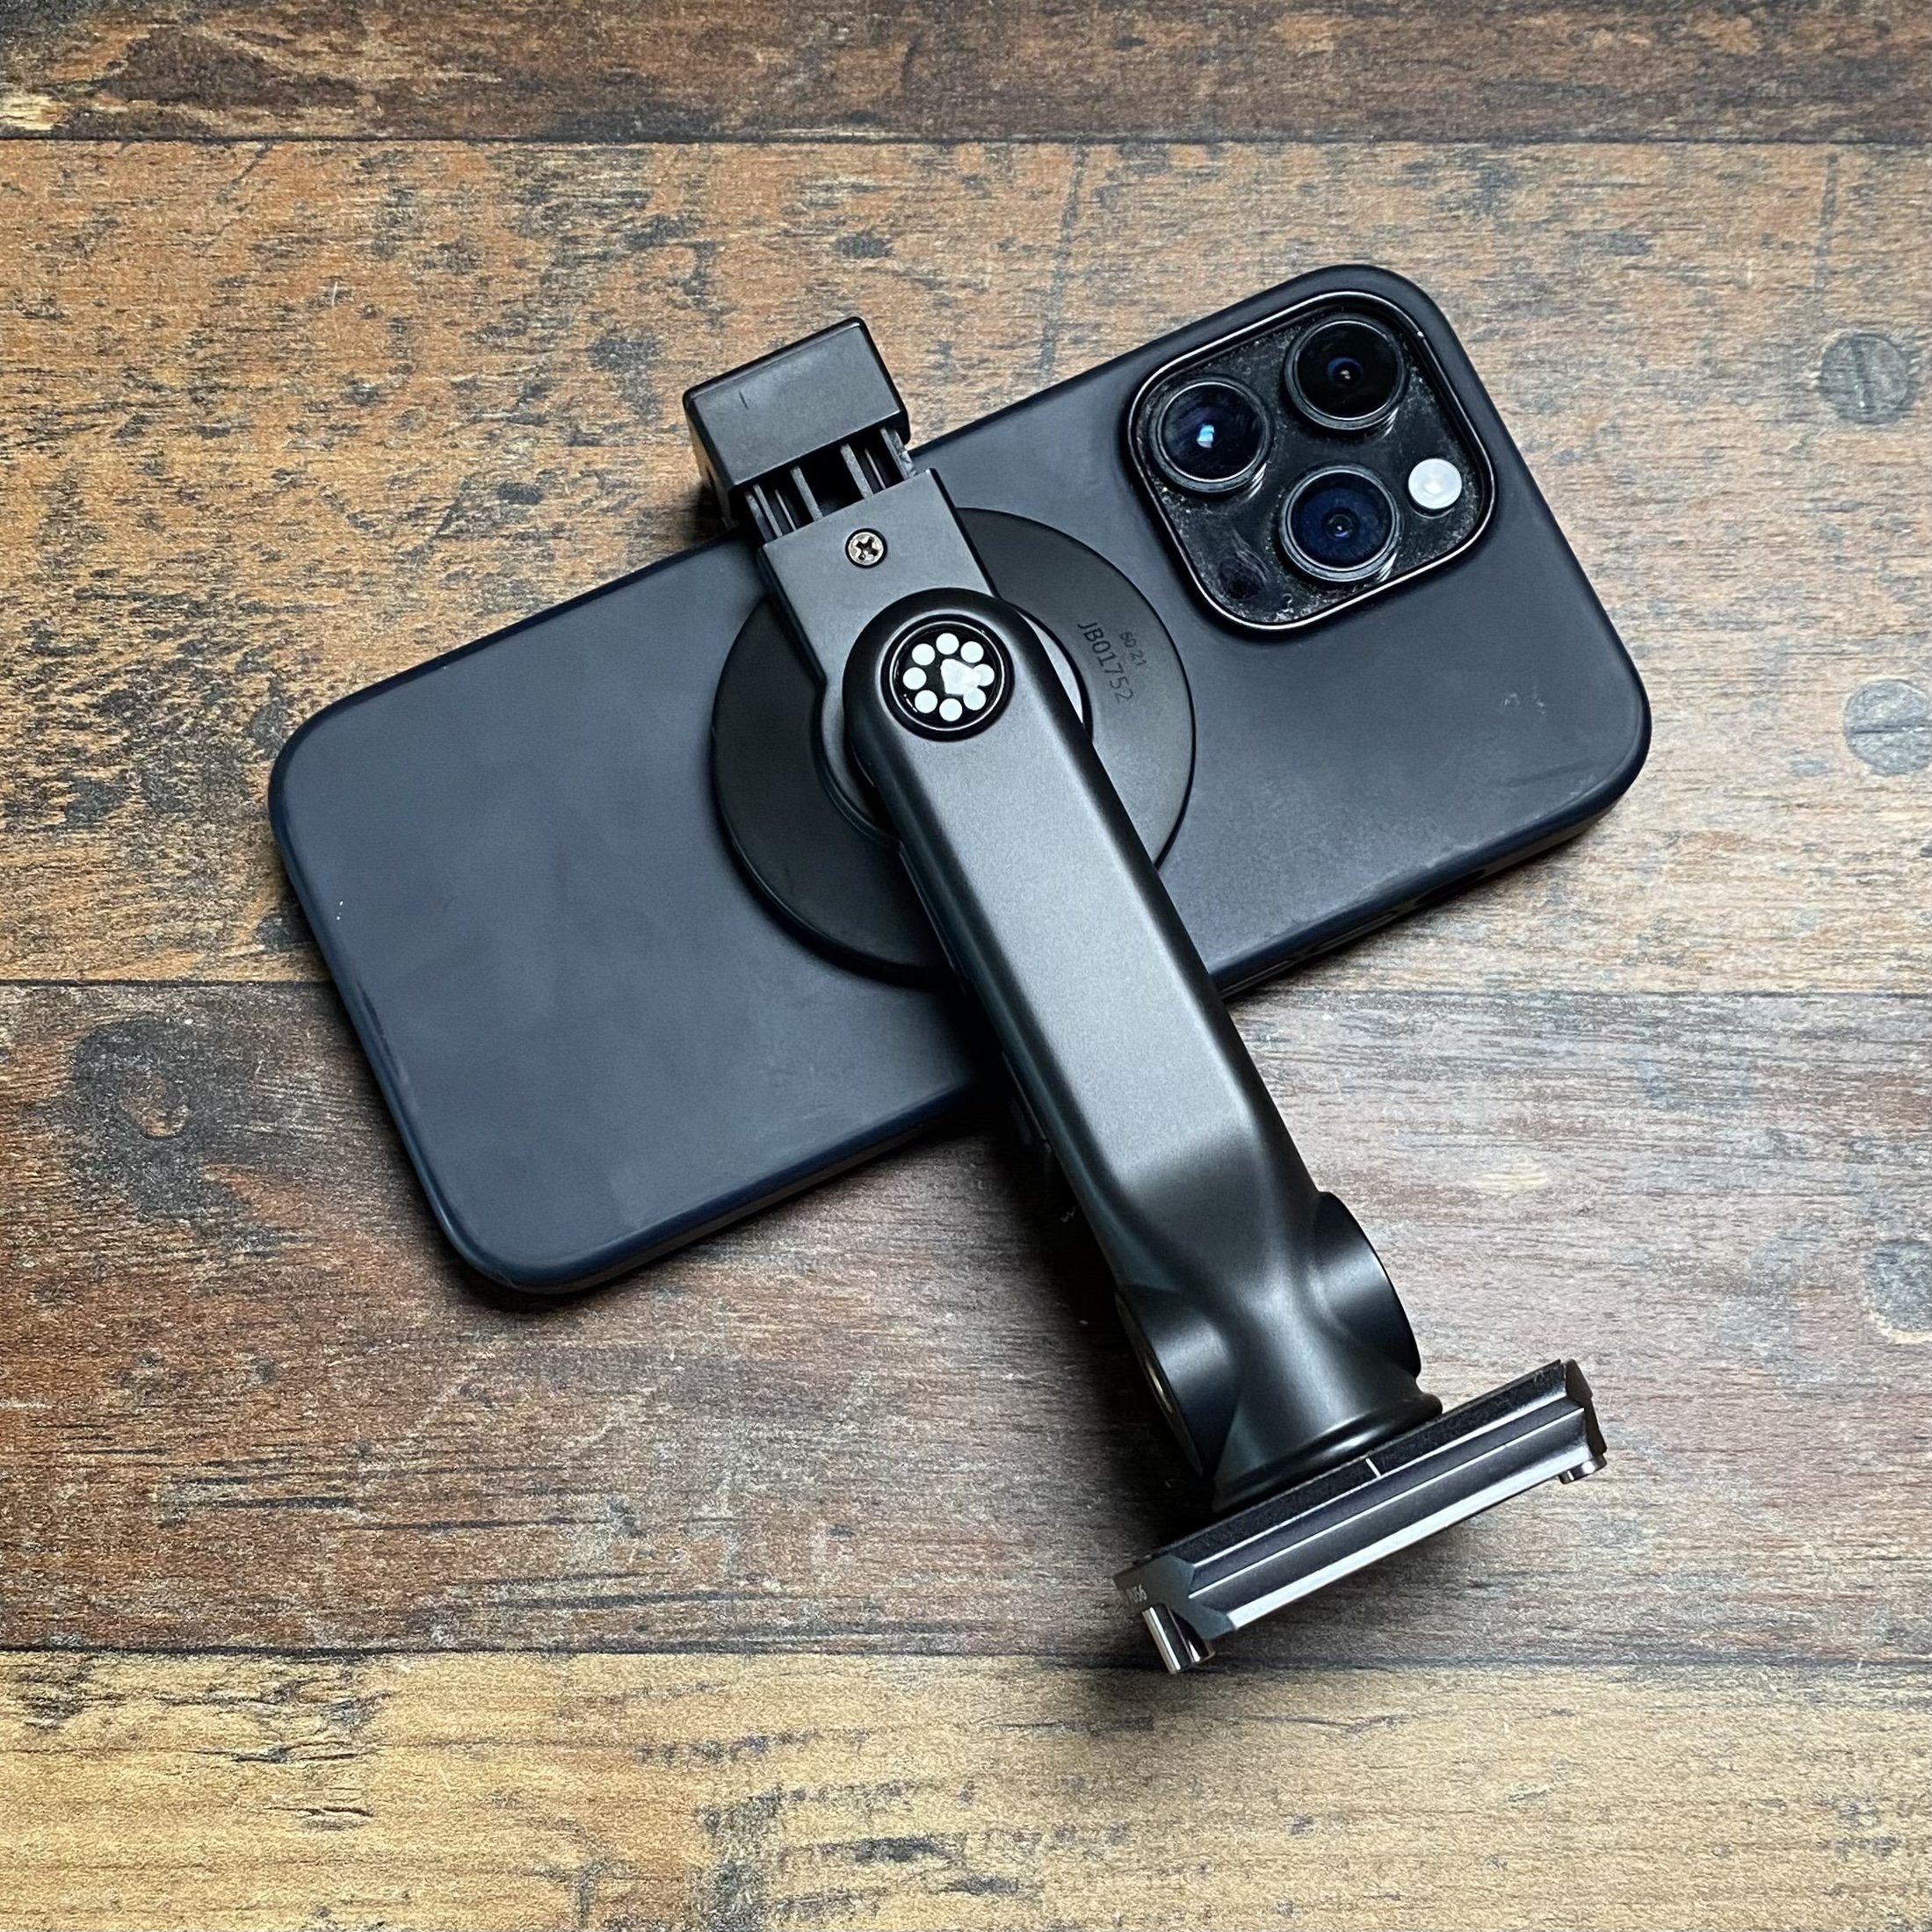
The main image from this I’m currently working on but with regards to kit, this is what I used …

Due to the winds on top of Carn Ingli I decided not to take a softbox but as there was a lot of cloud cover and consequently soft light, this I needed to match on Dai.

The solution was to take along the 45 Degree Deep Focus Reflector

This would help to give more control over the light, add an extra stop of power but also by aiming it slightly off Dai, the outer softer area of the light would light him. The result … soft light from a modifier that would ordinarily produce a hard light source.

Of course using the outer area of the light isn’t as powerful / strong but for this combined with the Fj200 and conditions on the day was more than adequate.

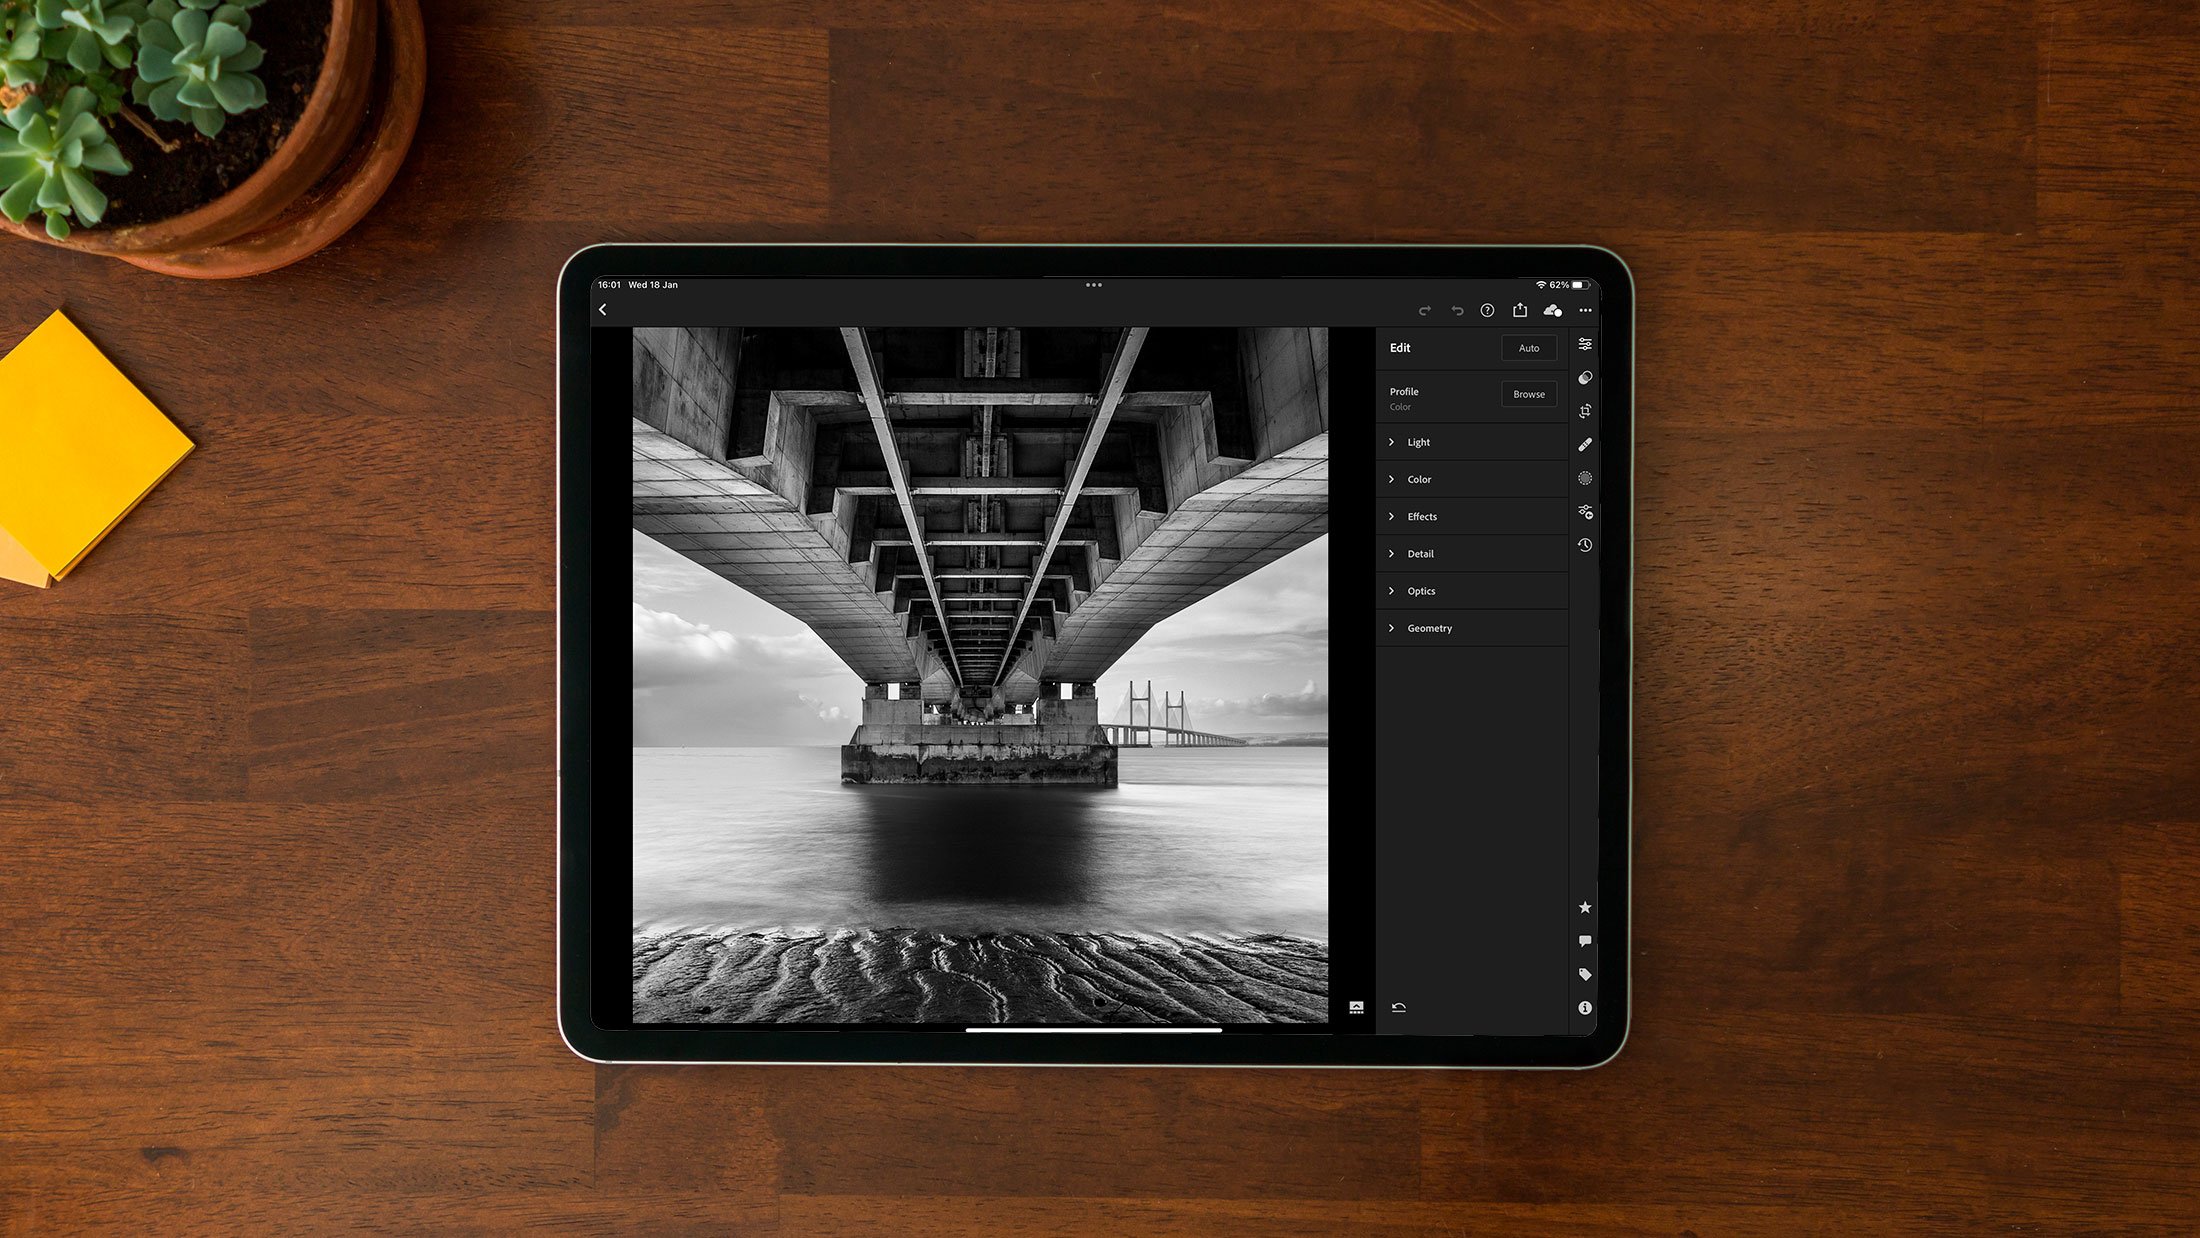
I was also shooting tethered into my iPad using a TetherTools USB-C to USB-C cable directly into CaptureOne Mobile; shooting tethered does not get simpler and it works an absolute treat!

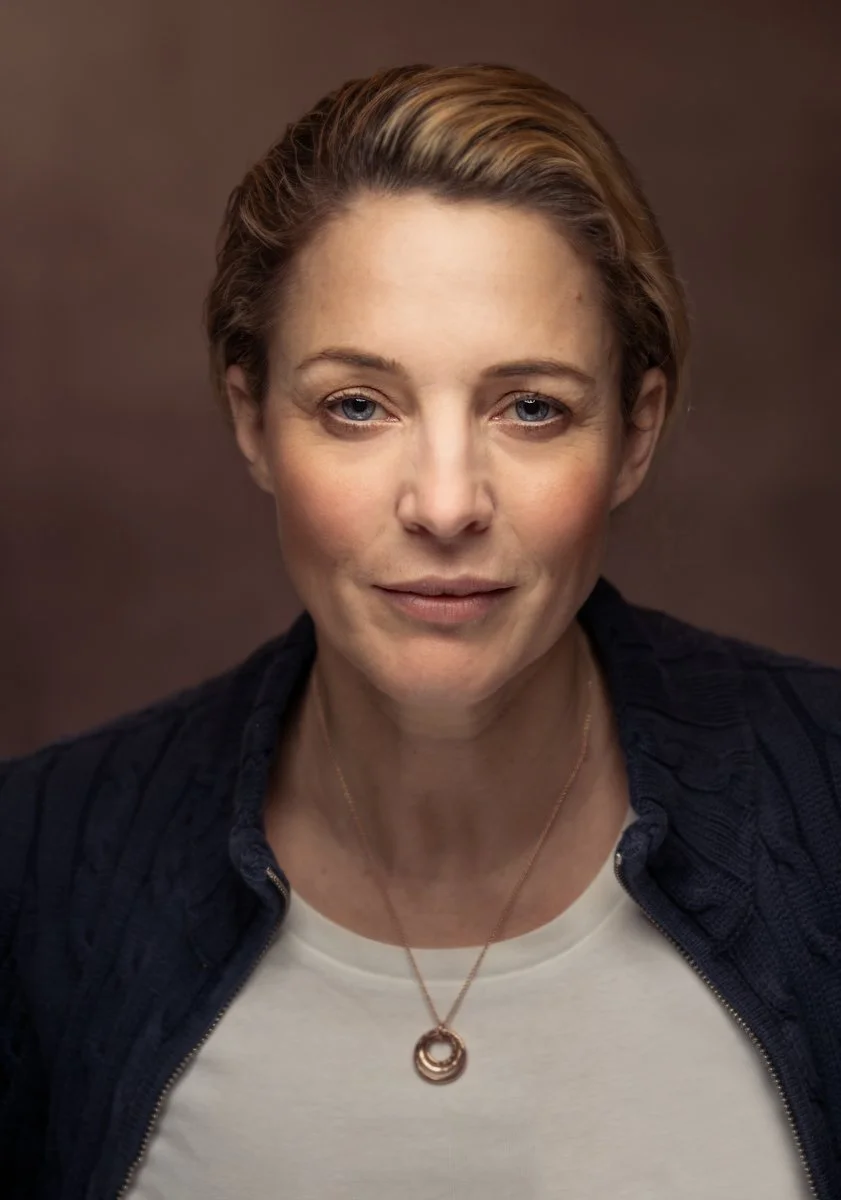
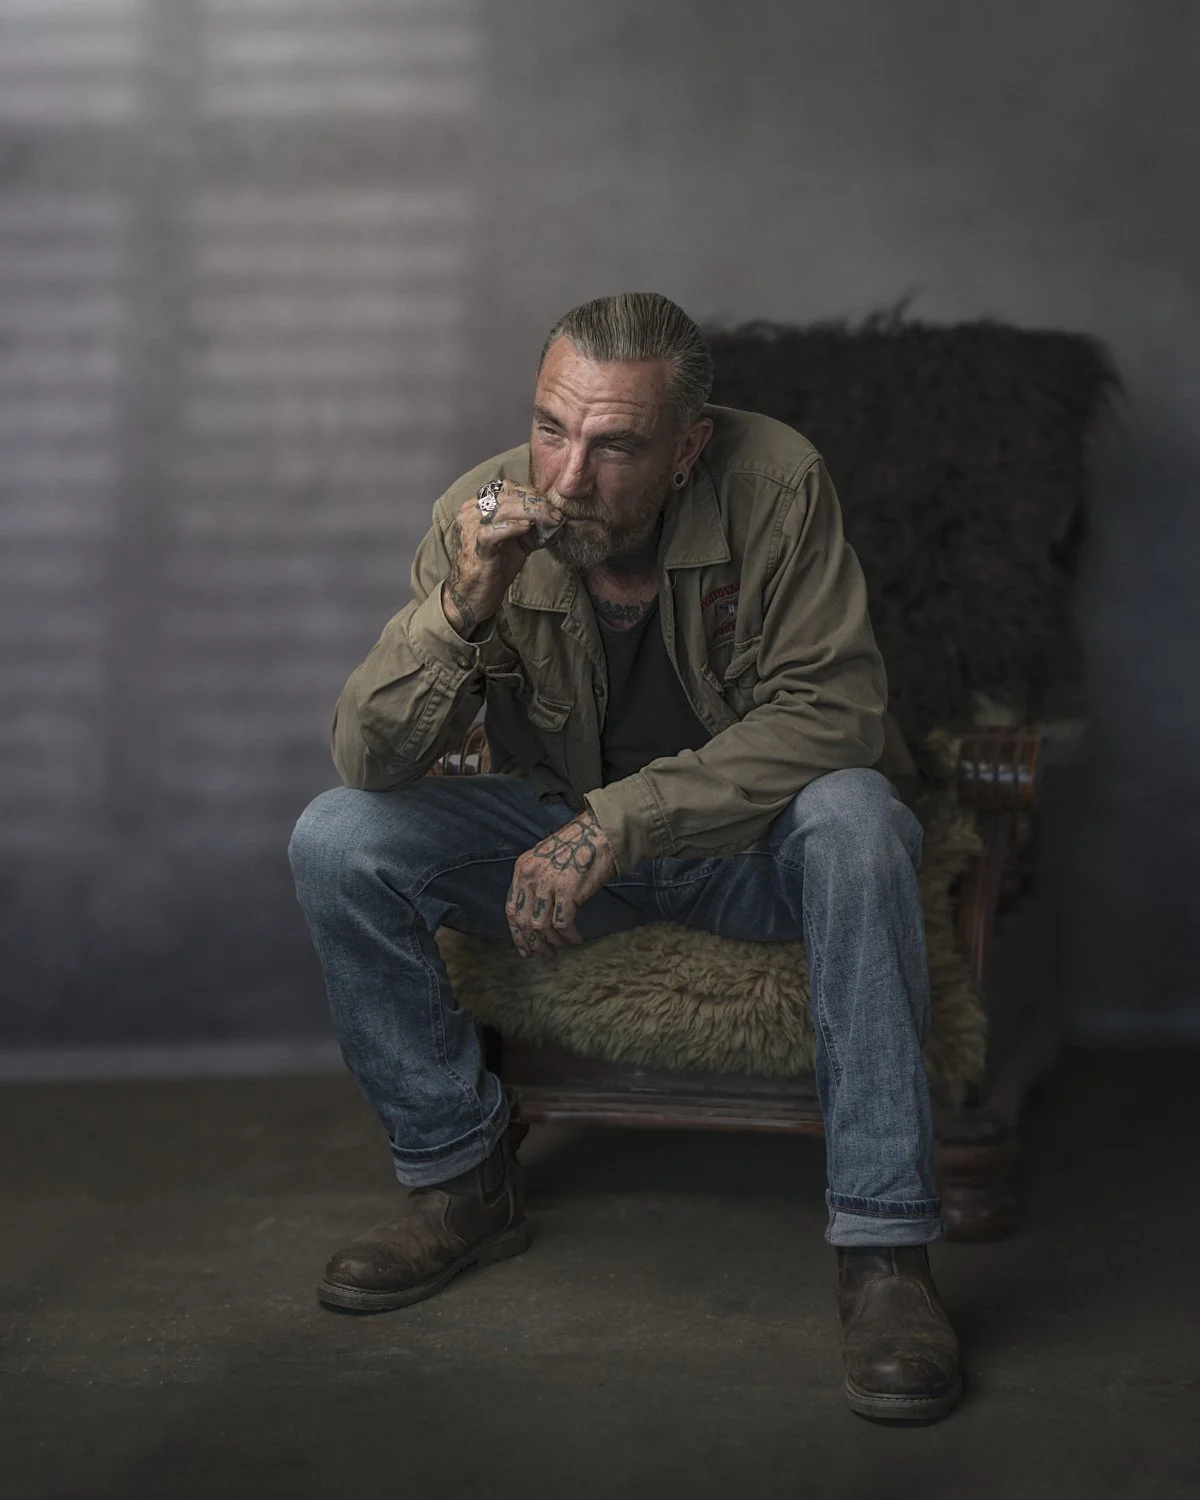
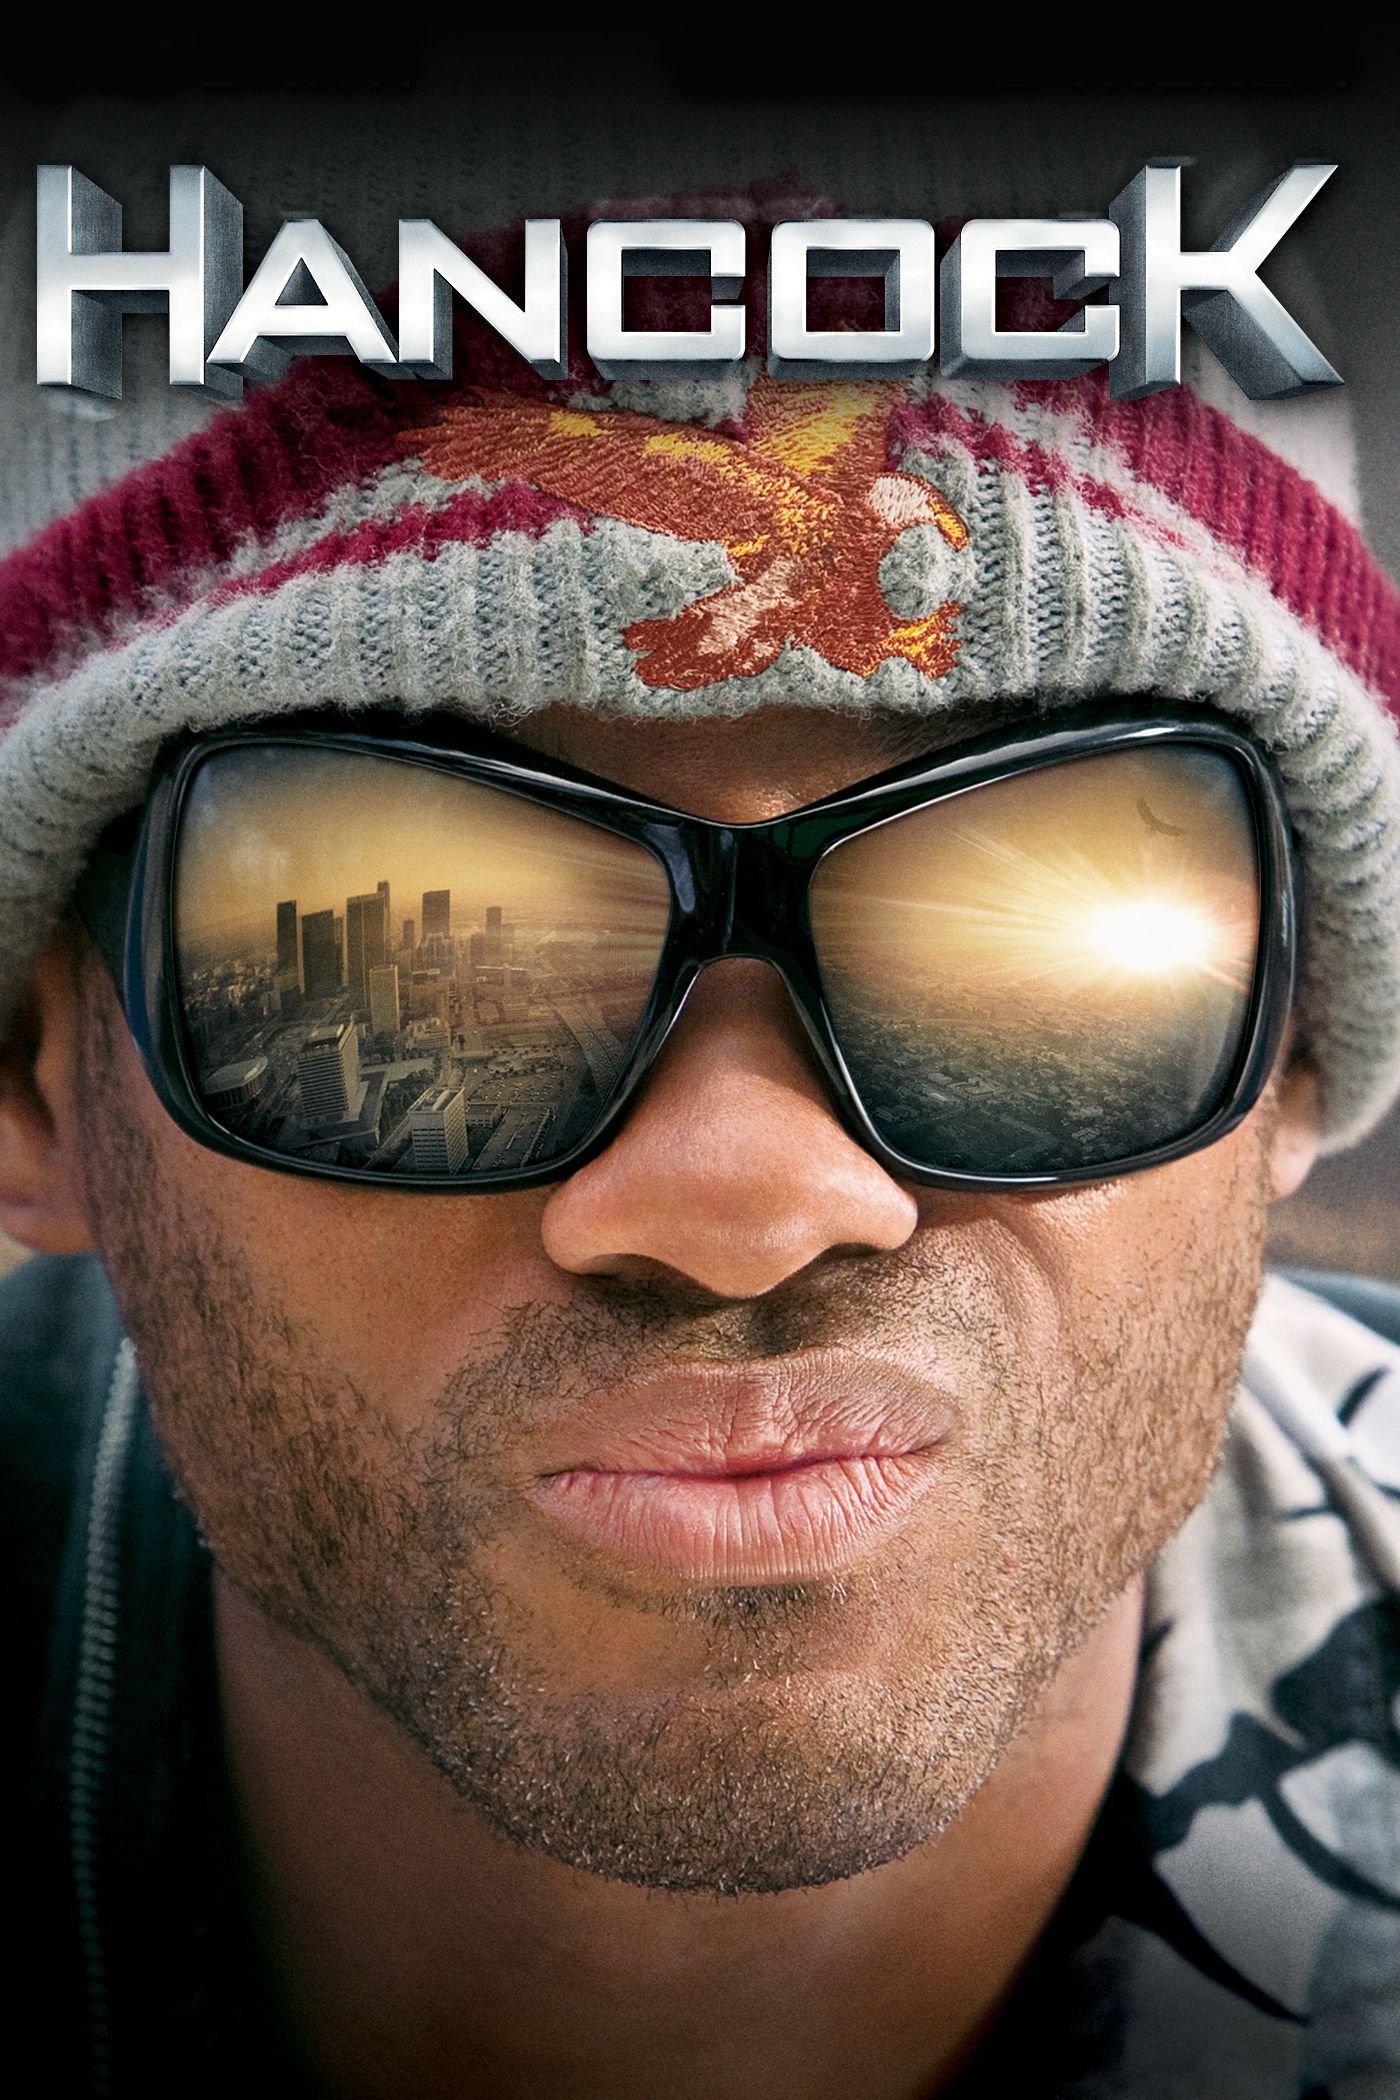
Having finished on ‘the top’ we made our way down ( not quite so direct as the way up mind you 🤣 ) and after grabbing a coffee and chatting more and more, we headed back to the cars which is where I wanted to take a headshot portrait of Dai for an idea I had, inspired by the original ad for the movie Hancock starring Will Smith …

To control the light on Dai I opened the boot of my car and had him sit on the bumper.

Doing this reduced the light from above , behind , and to his right hand side ( camera left ) resulting in an obvious and controlled direction of light rather than his head being evently lit in all directions.

Using my Sony A7RIV on a tripod and my 85mm G-Master lens I took a series of headshots with Dai simply looking straight down the lens but now wearing some fantastic reflective and tinted sunglasses.

I tried a few shots using the FJ200 in the Rapid Box Switch Beauty Dish and bouncing some light onto a reflector which Dai held horizointal to the ground in front of him to bounce some light up onto his chest and beard.

However, I ended up going with the natural light as positioning Dai on the rear bumper under the car boot lid produced superb light with great direction.

These were the dialled in settings:

  • Manual Mode , f/4.0 , 1/125sec , ISO 160

And this is the final retouched portrait …

Genuinely loved every minute of this …

Getting to hang out and have a mini road-trip with my mate Anthony Crothers , catching up with and photographing Dai , working on the edit and to top it all, being out and about in the fresh air surrounded by stunning scenery.

What’s not to love about that?

Cannot wait now for the next adventure!

100 MEGA PIXEL Female Portrait PLUS Retouching in Lightroom and Photoshop (Hasselblad X2D)

Here’s the recording of a recent LIVE Broadcast I hosted over on my YouTube Channel where I went through the lighting and retouchingsteps of a female portrait PLUS likes and dislikes of the cameraa I used … the Hasselbald X2D.

🎬 𝐂𝐎𝐍𝐓𝐄𝐍𝐓𝐒 𝐎𝐅 𝐓𝐇𝐈𝐒 𝐕𝐈𝐃𝐄𝐎

00:00 - Introduction
01:21 - Hasselbald X2D
05:29 - Things I didn't like
11:11 - Lighting the Portrait
15:18 - Lightroom
20:33 - Remove Tool ( Photoshop )
25:10 - Dust & Scratches ( Clean Glasses )
30:42 - Even-Out Skin Tones
36:12 - The 20/10 Technique
39:17 - Dreamy Glow
42:34 - Presets in Lightroom
44:45 - Di Edwards Sees her Portrait
47:19 - Questions

How I Lit and Photographed this Portrait of a Female Attendee

A couple of weeks back I was in Stoke on Trent presenting at the Guild of Photographers Event on behalf of Sony.

Kicking off first thing I hosted a workshop for a limited number of 10 people ( although 11 were there 🤣 ) and went through how I set up and light portraits but more importantly how I interact and help subjects in front of the camera to relax.

I love sharing this kind of stuff; stuff that I learned mainly from when I was full-on photographing World War 2 Veterans for my 39-45 Portraits Project. These portraits were of people who maybe weren’t so keen initially on being photographed or felt self conscious in front of the camera as opposed to me photographing models. 

No eye tracking, sharpness, dynamic range or whatever will help with this.

Anyway the reason for this was mainly to share one of the portraits I took when showing a lighting set up that is incredibly simple but so incredibly effective.

I only took one photograph but this is the result; a portrait of workshop attendee & Photographer Jo Bullas …

And here’s a Behind the Scenes photograph showing the set up I used however in this one I’m now holding the light for one of the attendees…

KIT USED

Aside from my camera ( Sony A7RIV with the 85mm G-Master Lens) , this is all the kit I used for this portrait …

If you saw an earlier post you’ll recognise the set up as being the same as when I photographed my friends Ian Munro, Anthony Crothers, Dave Clayton, Brian Dukes and Gerwyn Williams; I even jumped in front of the camera too …

The difference this time was simply down to a camera setting using a wider aperture and a slightly slower shutter speed to allow more ambient ‘ natural light into the shot.

Anyway if you didn’t see the original video I shared on my YouTube Channel going through exactly how I do this, I’ve shared it below.

Enjoy,
Glyn

Photographing the Iconic Prince of Wales Bridge with my iPhone

A few days ago I met up with my great friend Anthony Crothers at a Café in Bristol to spend some quality time together and also to try photographing the Prince of Wales Bridge that spans 3.2 miles from the South West of England, across the River Severn, to the South East of Wales …

Having seen some photographs of it in a photography book I own, I thought it would be both interesting and a challenge to see what I could capture using just my iPhone 14 Pro Max.

Conditions following a recent storm were perfect with great light and a sky full of clouds, although it was a little on the chilly side and once under the bridge, the wind blowing around caused some initial challenges keeping the phone perfectly still on the tripod.

I’d taken along my new Joby MagSafe Phone Holder which is so incredibly well made, however ended up not being suitable because of the wind causing a little bit of movement …

Instead I resorted to my trusty SmallRig Mobile Phone Cage that locked everything down and held it rock steady …

Lately I’ve been using the Lightroom Mobile App for creating Long Exposures, however that is restricted to a maximum of 5 second long exposures, so instead opted for another App I have on my phone called Even Longer.

This is an incredibly easy app to use with a clean interface and a menu system that is simple and very intuitive.

The set up couldn’t have been easier: dial in the exposure I wanted, choose the length of the long exposure and press the shutter button which then kicked into action after a 3 second delay to ensure no movement.

There’s so many composition opportunities at this location, but my favourite was when I was directly under the bridge to capture all the structure underneath and then the view as the bridge disappears across the River Severn …

To edit the image I intentionally limited myself to using my iPad and the Lightroom Mobile and Photoshop Apps which worked an absolute treat. In fact they made the editing process a joy!

I’m loving the mobile workflow where I can take photographs with my mobile phone and without having to involve memory cards, the images I take are automatically synced to my iPad so that in the comfort of the nearby café I can look through and start editing.

Final Image edited in Lightroom Mobile on my iPad

Once back home, the photographs I’ve taken, along with any images I’ve started editing (and all of the edits) automatically appear on my desktop computer so that I can then check them over on a Colour Calibrated Screen, and then confidently print them out knowing that what I see, is what I get. Such an incredibly portable and convenient workflow … that also gives peace of mind knowing that photographs you take are instantly backed up.

My video this week on my YouTube Channel, will be going Behind the Scenes from this photo shoot, as I show all of the steps involved from taking the photographs, editing in Lightroom Mobile on my iPad, and the final print …

The 'Friends' Portrait Project

Yesterday … a great day with friends which also saw the start of our ‘Friends Portrait Project’ which, over the next couple of months is a project that will intentionally mean we get to know each other way more than we currently do.

Back Row (L to R): Ian Munro , Gerwyn ‘Gez’ Williams , Anthony Crothers

Front Row (L to R): Brian Dukes , Dave Clayton & Yours Truly

This is to be a very personal project that’s going be quite a ride with the conclusion seeing us each revealing a portrait , composite , design … whatever, that visually describes and explains who the person is, what they mean to you, and how you ‘see’ them.

What really makes that person tick? Why are they like they are? What is important to them? What is there in their past and present that makes them the person they are? Their values. Their motivations. Likes, Loves, Dislikes. Life events.

There are no rules. There’s no competition. This is a project with the sole purpose of not just knowing, but understanding each other, and an exercise that will make close friends, even closer.

Each and every part of the process is being filmed, with the final part bringing us together and revealing to each other, the pictures we’ve created.

The first part today … Who will Photograph Who?

And so it begins …

HOW I made these PORTRAITS: Complete Workflow including PHOTOGRAPHY, LIGHTROOM and PHOTOSHOP

In this video I cover EVERYTHING that I did to create these Portraits including: KIT , SET UP and RETOUCHING in Photoshop and Lightroom …

Here’s a list of all the kit I used to take the portraits, which you’ll also find on my GEAR Page …

  • Westcott FJ80 II Speedlite

  • Westcott FJ-X3 Remote Trigger

  • Westcott Rapid Box Switch Beauty Dish

  • Westcott 32” 2-in-1 Reflector

  • Westcott X-Drop Poro Background Support

  • Glyn Dewis Vintage Grey Canvas (for X-Drop Pro)

I did a Workshop in Oxford at PhotoHubs

A couple of weeks back I was in Oxford at PhotoHubs on behalf of the Guild of Photographers who asked if I would do a workshop for some of their members.

I've not done 'in person' workshops for a few years now but this was so much fun with such a great group of folks.

I went through how I take portraits in the style of my veterans project but also other equally simple set ups that can create some great results. It was so good to see everyone active , chatting and enjoying the time we spent together. THE most important part of the time together though was showing how important 'talking / conversation' is in making your subject more comfortable and relaxed in front of the camera.

At the end I couldn't resist grabbing a quick portrait myself using just one light and one reflector ... I mean when one of the attendees has such a great look, how could I not??? 😃

Thanks so much to everyone who came along and especially the folks at The Guild for inviting me in and for looking after me so incredibly well ❤️

KIT / SETTINGS:
Sony A7RIV (1/250 , ISO 100 , f/8.0)
Sony 85mm GM
Westcott FJ400 Strobe
Westcott Rapid Box Switch Beauty Dish
Westcott Silver Reflector
Westcott X-Drop Pro with my new material Glyn Dewis Vintage Grey Background

You can see all of this kit over on my GEAR page ( LINK )

Cheers
Glyn

DOG PORTRAIT from START to FINISH in Lightroom and Photoshop

Did you see the dog portrait I did a couple of weeks back?

If not, this is the one.

The dog belongs to my friend Trigga, and I I took it after I’d finished taking his portrait…

So here’s a video showing all the editing / retouching I did in both Lightroom and Photoshop …

Hope you like it, but as always, if you have any questions, just post them in the comments section below and I’ll make sure to reply.

Cheers,
Glyn

Portrait of a Biker with his Triumph on Dartmoor (Behind the Scenes)

So last week I was out in the Dartmoor National Park in the South West of the UK photographing a GREAT Guy and a GREAT Motorcycle.

With rolling hills and roads that twist and turn and disappear over the horizon line, Dartmoor is a fantastic location for photography … especially the motorbike kind, so when Matt agreed to being in front of my camera, we just had to head out …

When there, the very first thing to do was to find a composition; not an easy task with so many possibilities but so few safe areas to park up with the roads being narrow.

Finding the composition is always the hardest part, and it’s all about finding a fine balance between the background, but also where you are going to place the subject.

Now this here (below) would have been great, and maybe I'll try next time, but placing the subject (Matt and his Triumph) to the right of the frame would have meant that his head would be blocking part of the road in the distance.

So that didn't work for me.

We tried moving along a little bit and tried some different compositions, some with the camera angle, much lower down so that Matt was above the horizon line to give a bit more of a dramatic feel …

But, the one I was most happy with was the one below, which to me gives a nice balance between the scenery, the road and the biker, and although you don't see the way the road twists off to the left down and then up, you do still know it's the same road that the bike is on, that then goes off into the distance …

LENS CHOICE

Now you'll notice in this behind the scenes pictures that I'm using a telephoto lens, this was a 70 to 200mm f/4 lens, and I used that to compress the background because a telephoto lens will bring those distant areas much closer to form part of the final picture.

You can see what I mean here with this photograph taken with my iPhone from when I was looking for a composition, how the distant road just seems so well, distant …

But compare that one to the final retouched image and hopefully you can see how the road in the distance has been brought closer by the using that telephoto lens …

LIGHTING

For the lighting side of things, this was actually quite a challenge because even though the location felt like it was in the middle of nowhere, the road we were on did end up being quite busy.

We had to go back in and out of the road with the lighting (thanks Jacob) , but also the clouds in the sky … one minute they were there, the next minute they were gone. They were moving incredibly fast.

This meant one moment we had nice soft diffuse lighting and the next minute we had quite harsh lighting.

The light I used was a Wescott FJ 400; a 400ws light that has its own battery, and I used that with the Large Octa (Rapid Box Switch) which measures 48 inches; the combination of these made them very portable and easy to move around (thanks again Jacob)

Now because it was a bright day I needed as much power out of the light as possible, but I also needed a soft-ish kind of light to match the lighting in the scene. So to do that, I removed the outer diffusion material of the soft box, meaning there was only one layer of diffusion.

This gave just the right amount of balance between softness and hardness, but also didn't kill too much of the power out of the light (roughly one stop)

Because I was tethering to my laptop I was able to see, on a larger screen, what the images were looking like and check things such as sharpness, composition and so on.

This also really helped with checking out the detail in the sky and although in the out of camera shots there looks to be no detail, there was actually plenty of information there to bring back during post production. No sky replacement needed here 😃

This ultimately meant that I didn’t need to use High Speed Sync (HSS) which although great, because of how it works reduces the output of the flash / strobe so it needs to be in closer. Not using HSS meant I could have the light positioned further away out of the frame.

So there you go, a quick run through of what went on Behind the Scenes.

With the location and the conditions presenting a few challenges, keeping things simple definitely help but also the tethering came in very handy being able to not just see the images that were coming through and REALLY see what was there.

As always, if you have any questions just add them in the section below and I’ll make sure to respond.

Cheers,
Glyn

Trigga: Portrait Shoot on Location and Behind the Scenes

Here’s the result from a recent portrait shoot with Trigga whom I met at a GREAT local Bikers' Café; a completely free spirit who lives life his way embracing and respecting nature and his surroundings.

This was our first shoot together; completely relaxed and gave us time to hang out and chat, so now I simply CANNOT wait for the next one which will be out on location in the Devon Countryside with a Harley.

I get a real kick out of how, by using lighting, we can change the look and feel of a location taking especially when doing so takes just a small amount of kit…

Behind the Scenes

If you’re like me, I love to see Behind the Scenes (BTS) so I thought I’d share a grab shot that I took with my phone just before packing away, that gives you a look at what I used and where it was positioned to take the portrait of Trigger…

Lighting

Background

Tethering

This was actually the first photo shoot I got to use the new X-Drop Pro Background Stand and my new Glyn Dewis Vintage Grey Canvas Background that is now a material and able to be folded making it way more convenient to transport, PLUS it comes in 8‘ x 8’ and 7‘ x 5’ sizes.

I’ll be sharing a video very soon giving a look at the new X-Drop Pro because, if you’ve seen or have the original X-Drop, this new Pro version is VERY different in a VERY good way!

You can check out the kit above and the new X-Drop Pro over on my GEAR Page.

Anyway, I really hope you like the portrait of Trigga … such a great guy, and I’ll be sure to share images when we get out in the Devon Countryside taking photographs of Bikers and their Harleys, Triumphs, Royal Enfields and so on…

Cheers,
Glyn