
So last week I was out in the Dartmoor National Park in the South West of the UK photographing a GREAT Guy and a GREAT Motorcycle.
With rolling hills and roads that twist and turn and disappear over the horizon line, Dartmoor is a fantastic location for photography … especially the motorbike kind, so when Matt agreed to being in front of my camera, we just had to head out …
When there, the very first thing to do was to find a composition; not an easy task with so many possibilities but so few safe areas to park up with the roads being narrow.
Finding the composition is always the hardest part, and it’s all about finding a fine balance between the background, but also where you are going to place the subject.
Now this here (below) would have been great, and maybe I'll try next time, but placing the subject (Matt and his Triumph) to the right of the frame would have meant that his head would be blocking part of the road in the distance.
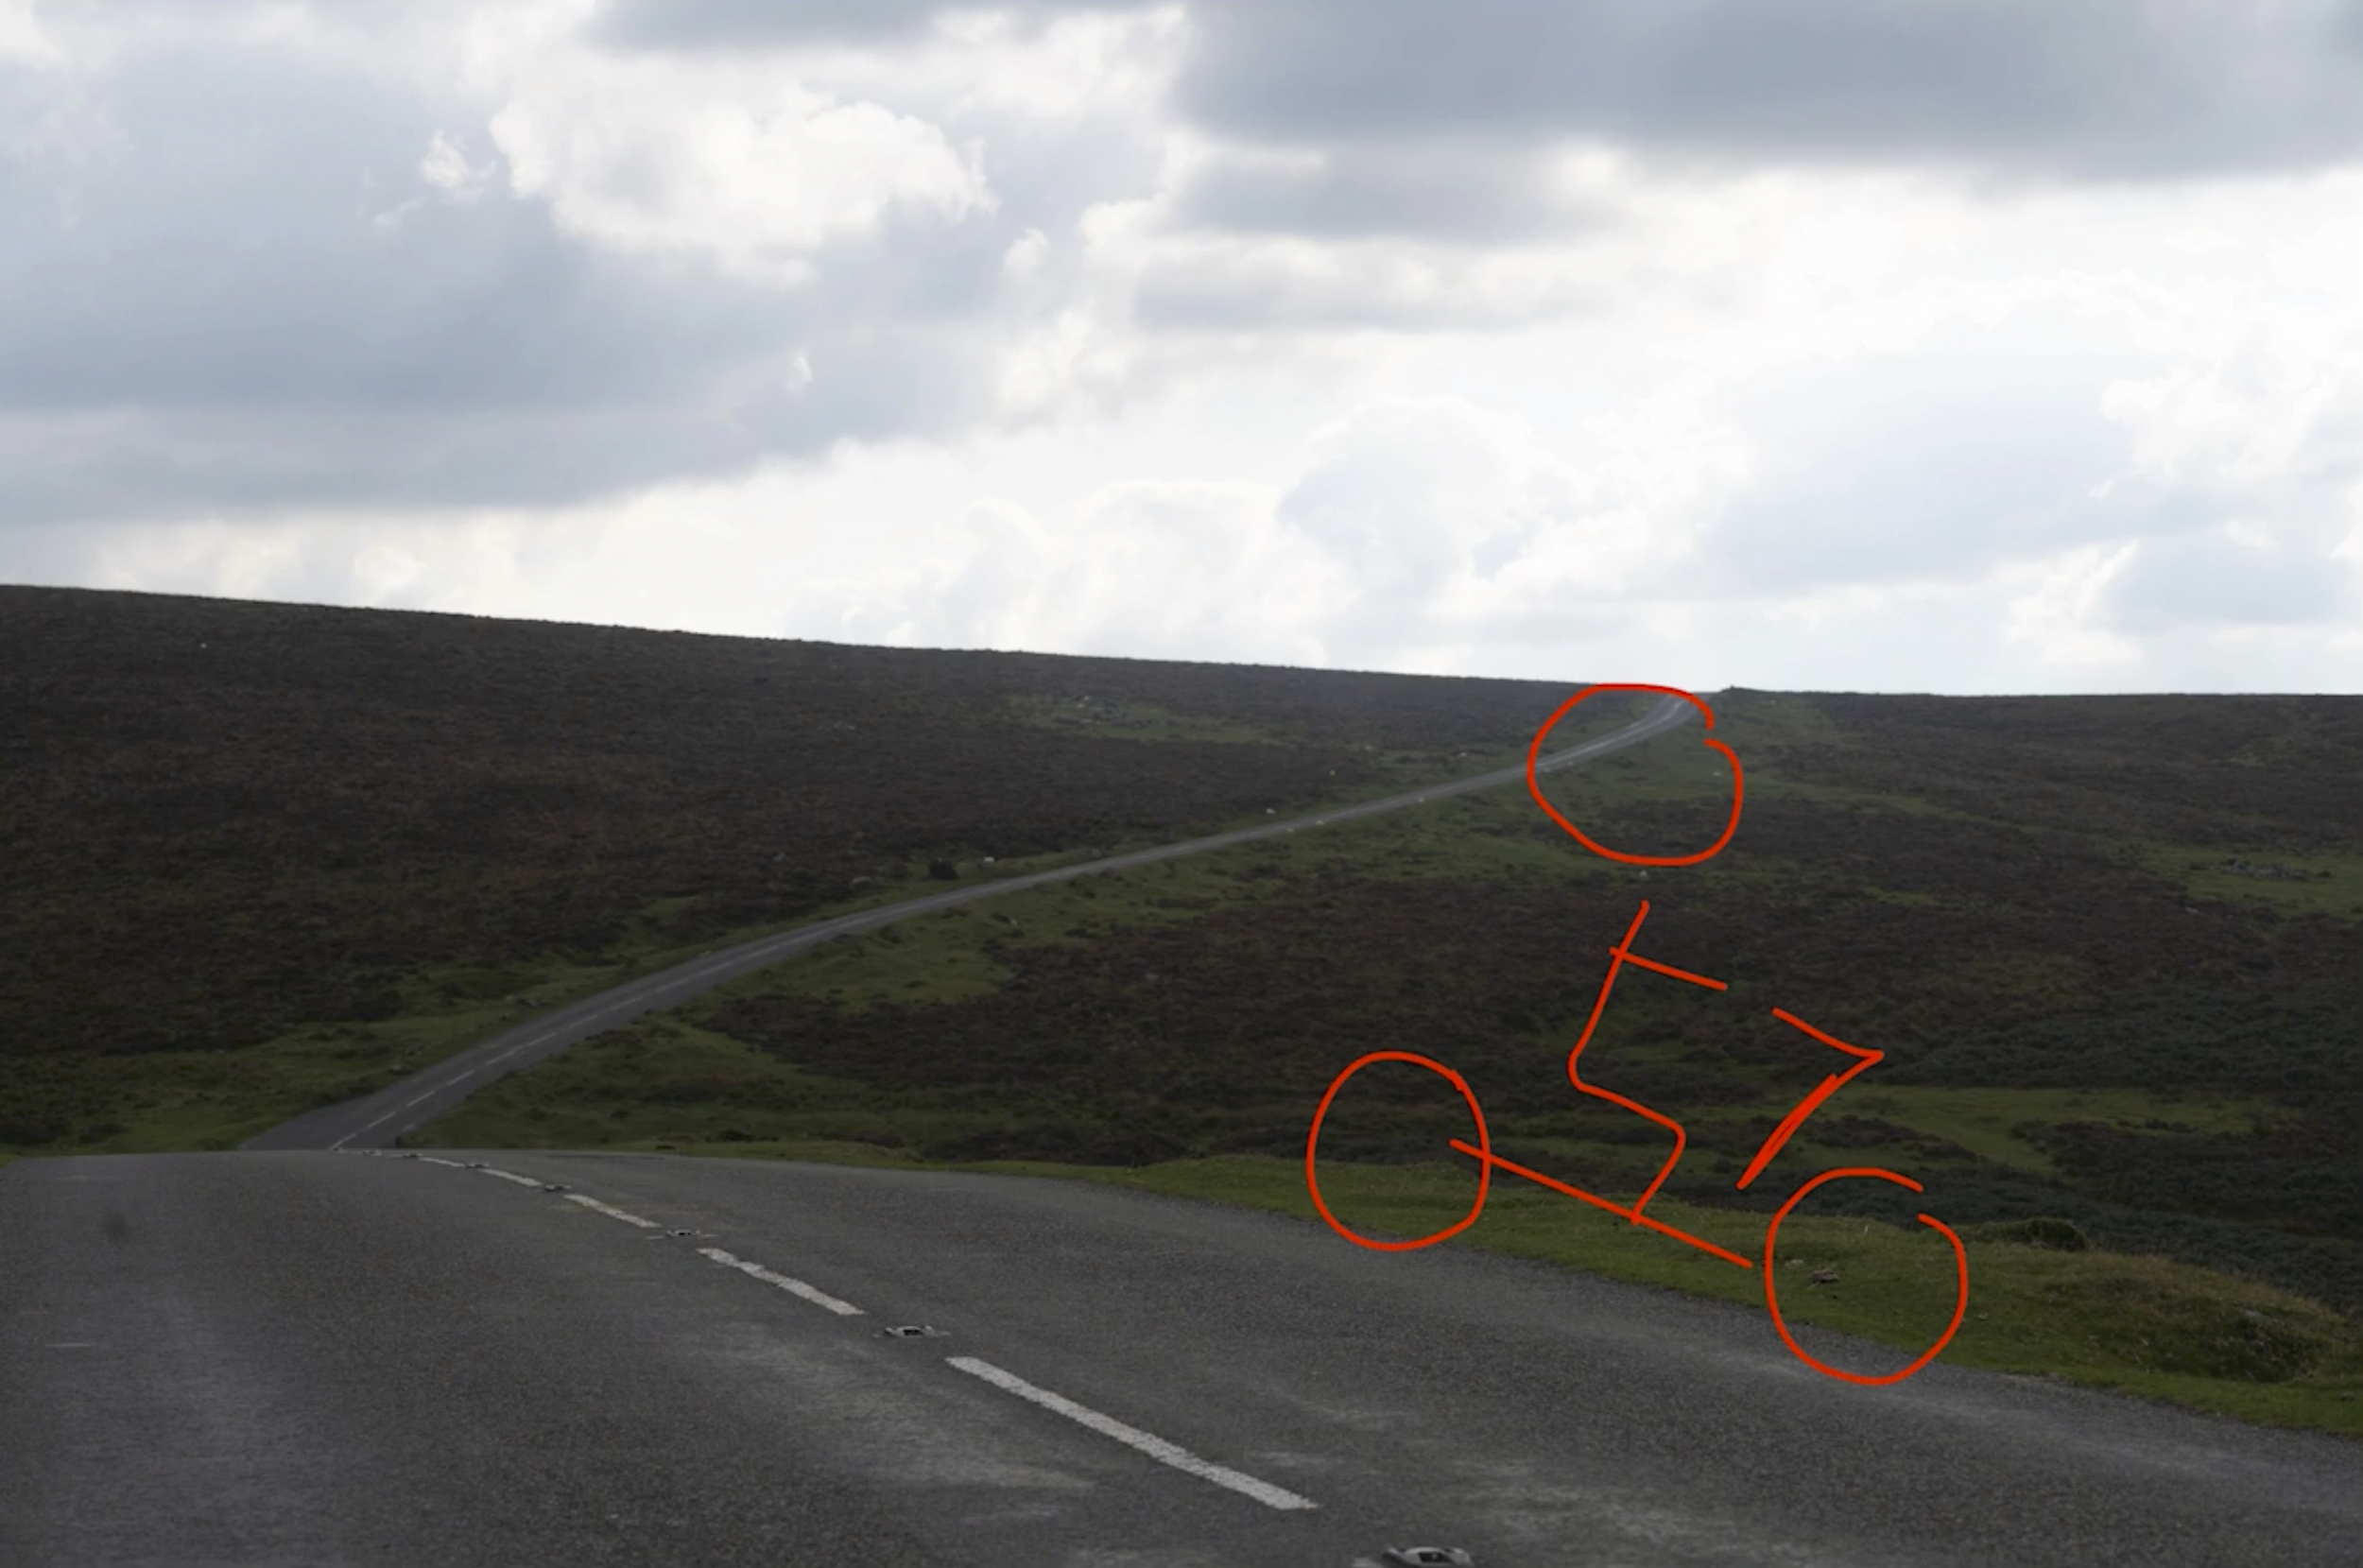
So that didn't work for me.
We tried moving along a little bit and tried some different compositions, some with the camera angle, much lower down so that Matt was above the horizon line to give a bit more of a dramatic feel …

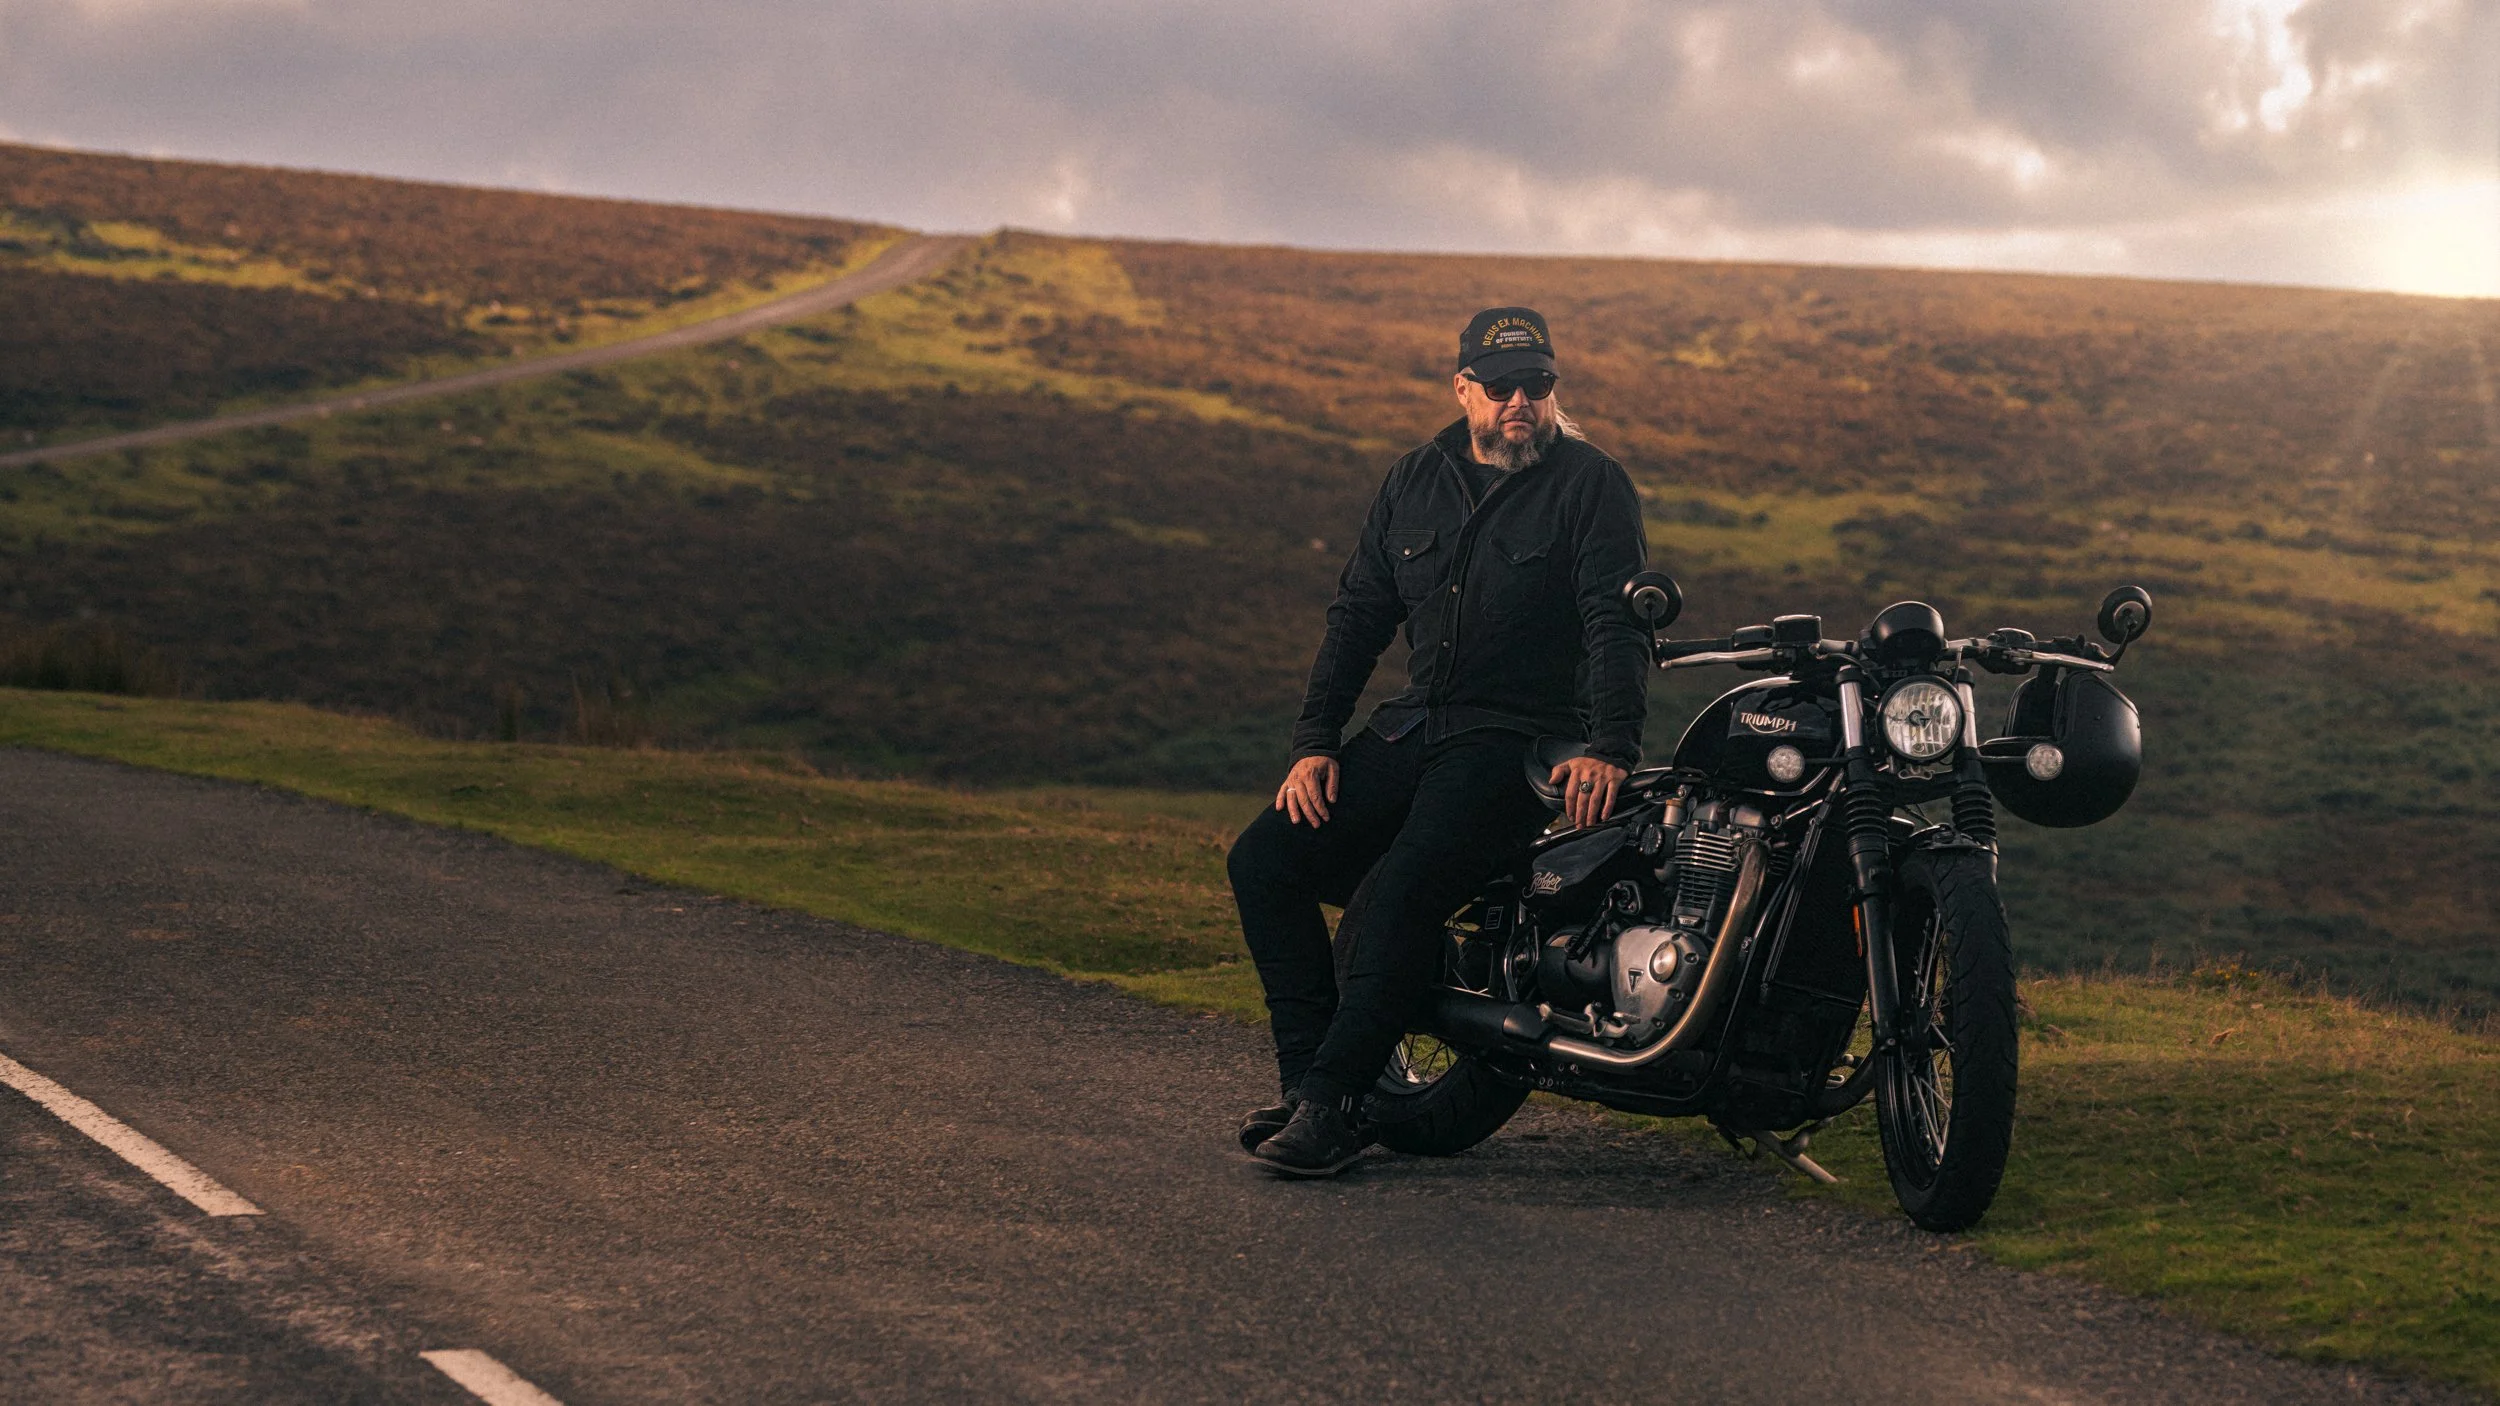
But, the one I was most happy with was the one below, which to me gives a nice balance between the scenery, the road and the biker, and although you don't see the way the road twists off to the left down and then up, you do still know it's the same road that the bike is on, that then goes off into the distance …

LENS CHOICE
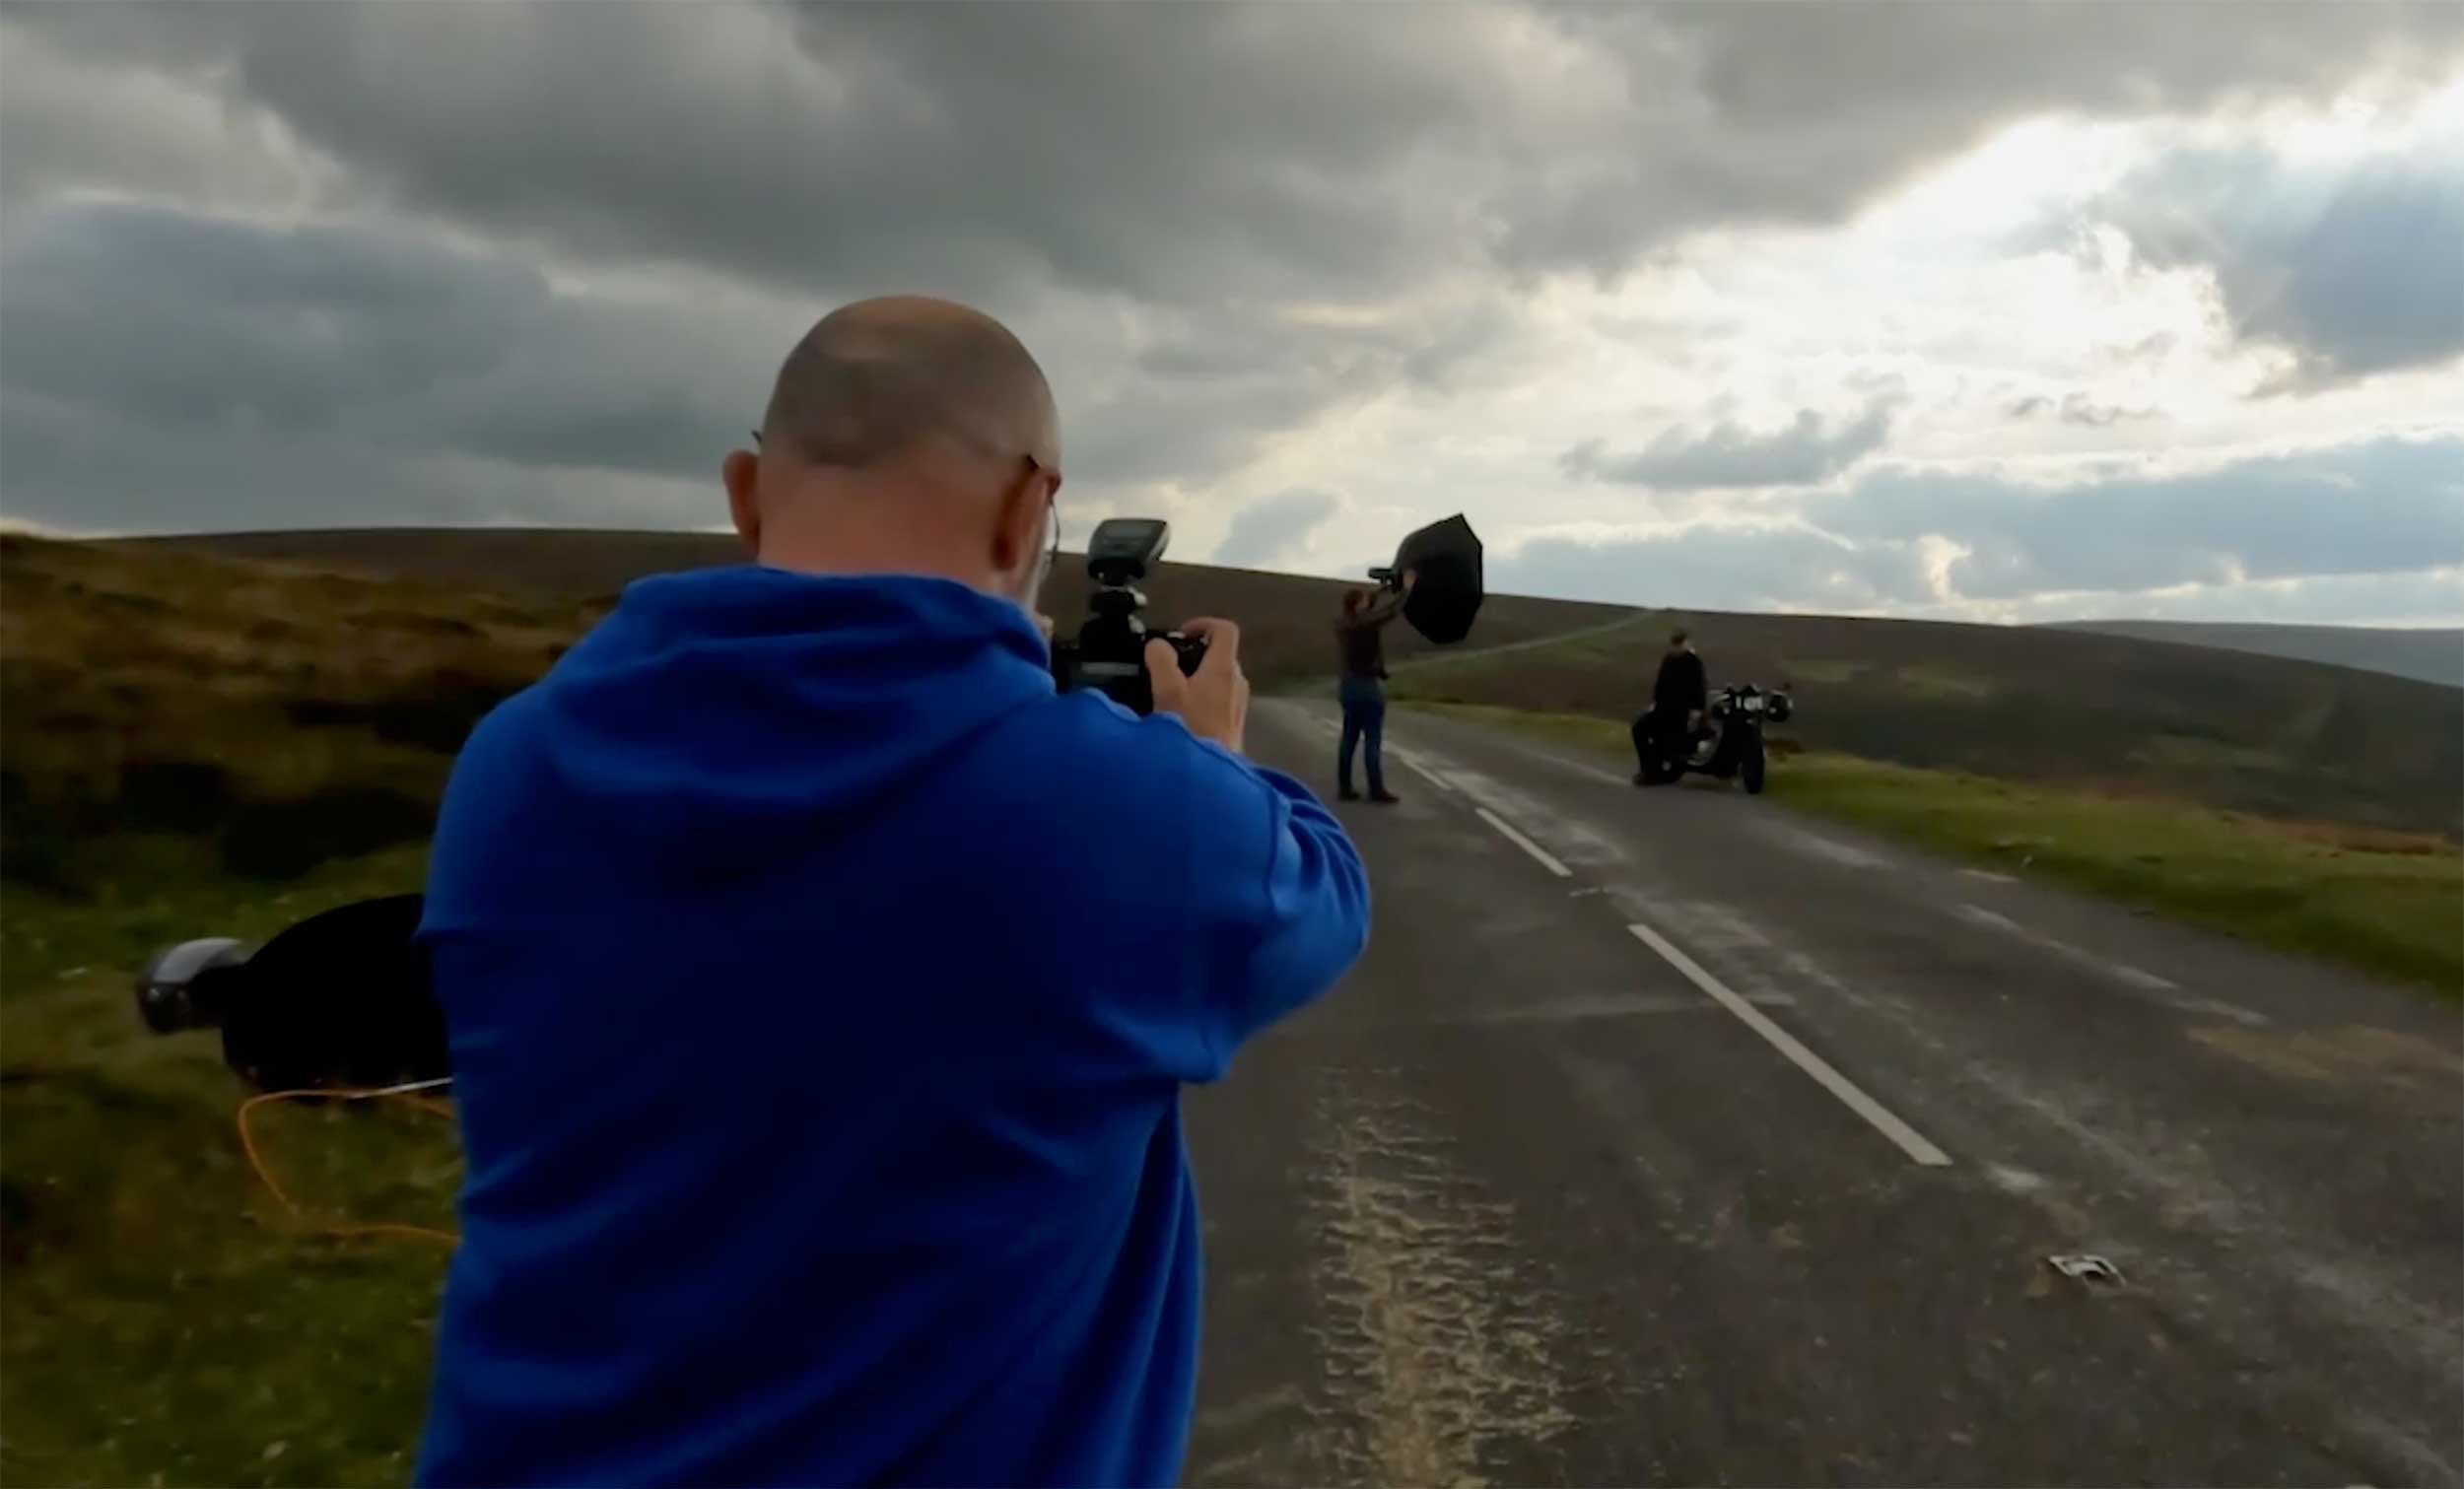
Now you'll notice in this behind the scenes pictures that I'm using a telephoto lens, this was a 70 to 200mm f/4 lens, and I used that to compress the background because a telephoto lens will bring those distant areas much closer to form part of the final picture.

You can see what I mean here with this photograph taken with my iPhone from when I was looking for a composition, how the distant road just seems so well, distant …
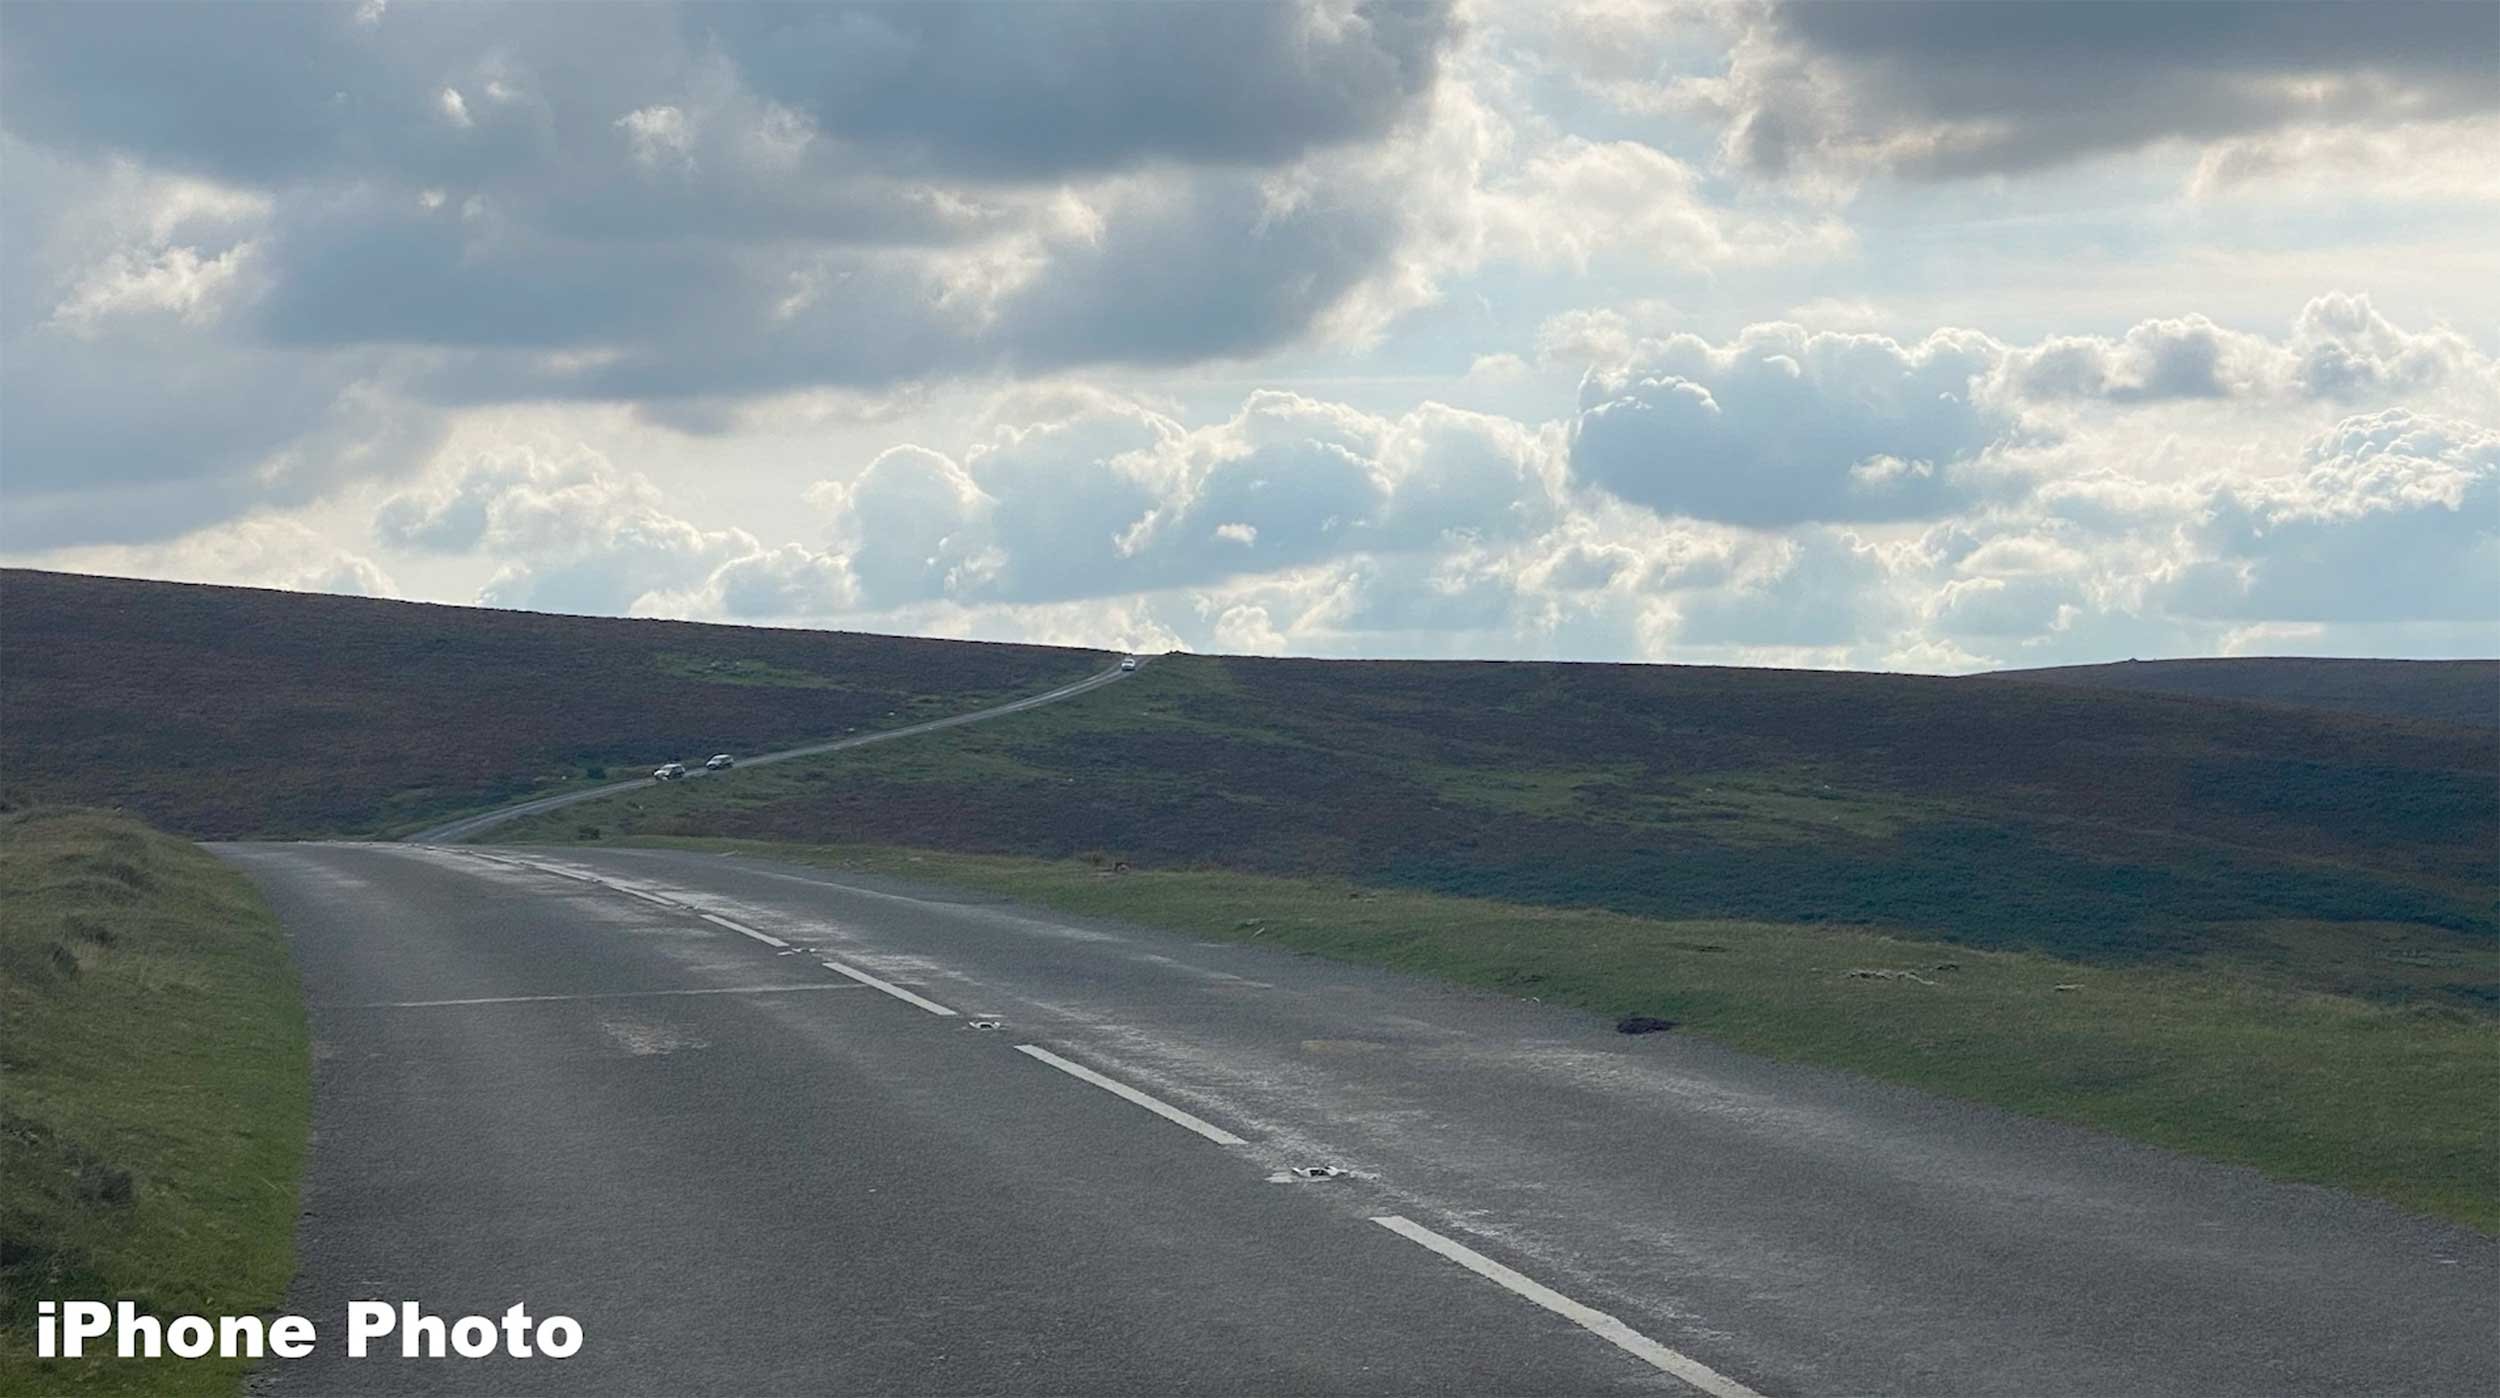
But compare that one to the final retouched image and hopefully you can see how the road in the distance has been brought closer by the using that telephoto lens …

LIGHTING
For the lighting side of things, this was actually quite a challenge because even though the location felt like it was in the middle of nowhere, the road we were on did end up being quite busy.
We had to go back in and out of the road with the lighting (thanks Jacob) , but also the clouds in the sky … one minute they were there, the next minute they were gone. They were moving incredibly fast.
This meant one moment we had nice soft diffuse lighting and the next minute we had quite harsh lighting.
The light I used was a Wescott FJ 400; a 400ws light that has its own battery, and I used that with the Large Octa (Rapid Box Switch) which measures 48 inches; the combination of these made them very portable and easy to move around (thanks again Jacob)
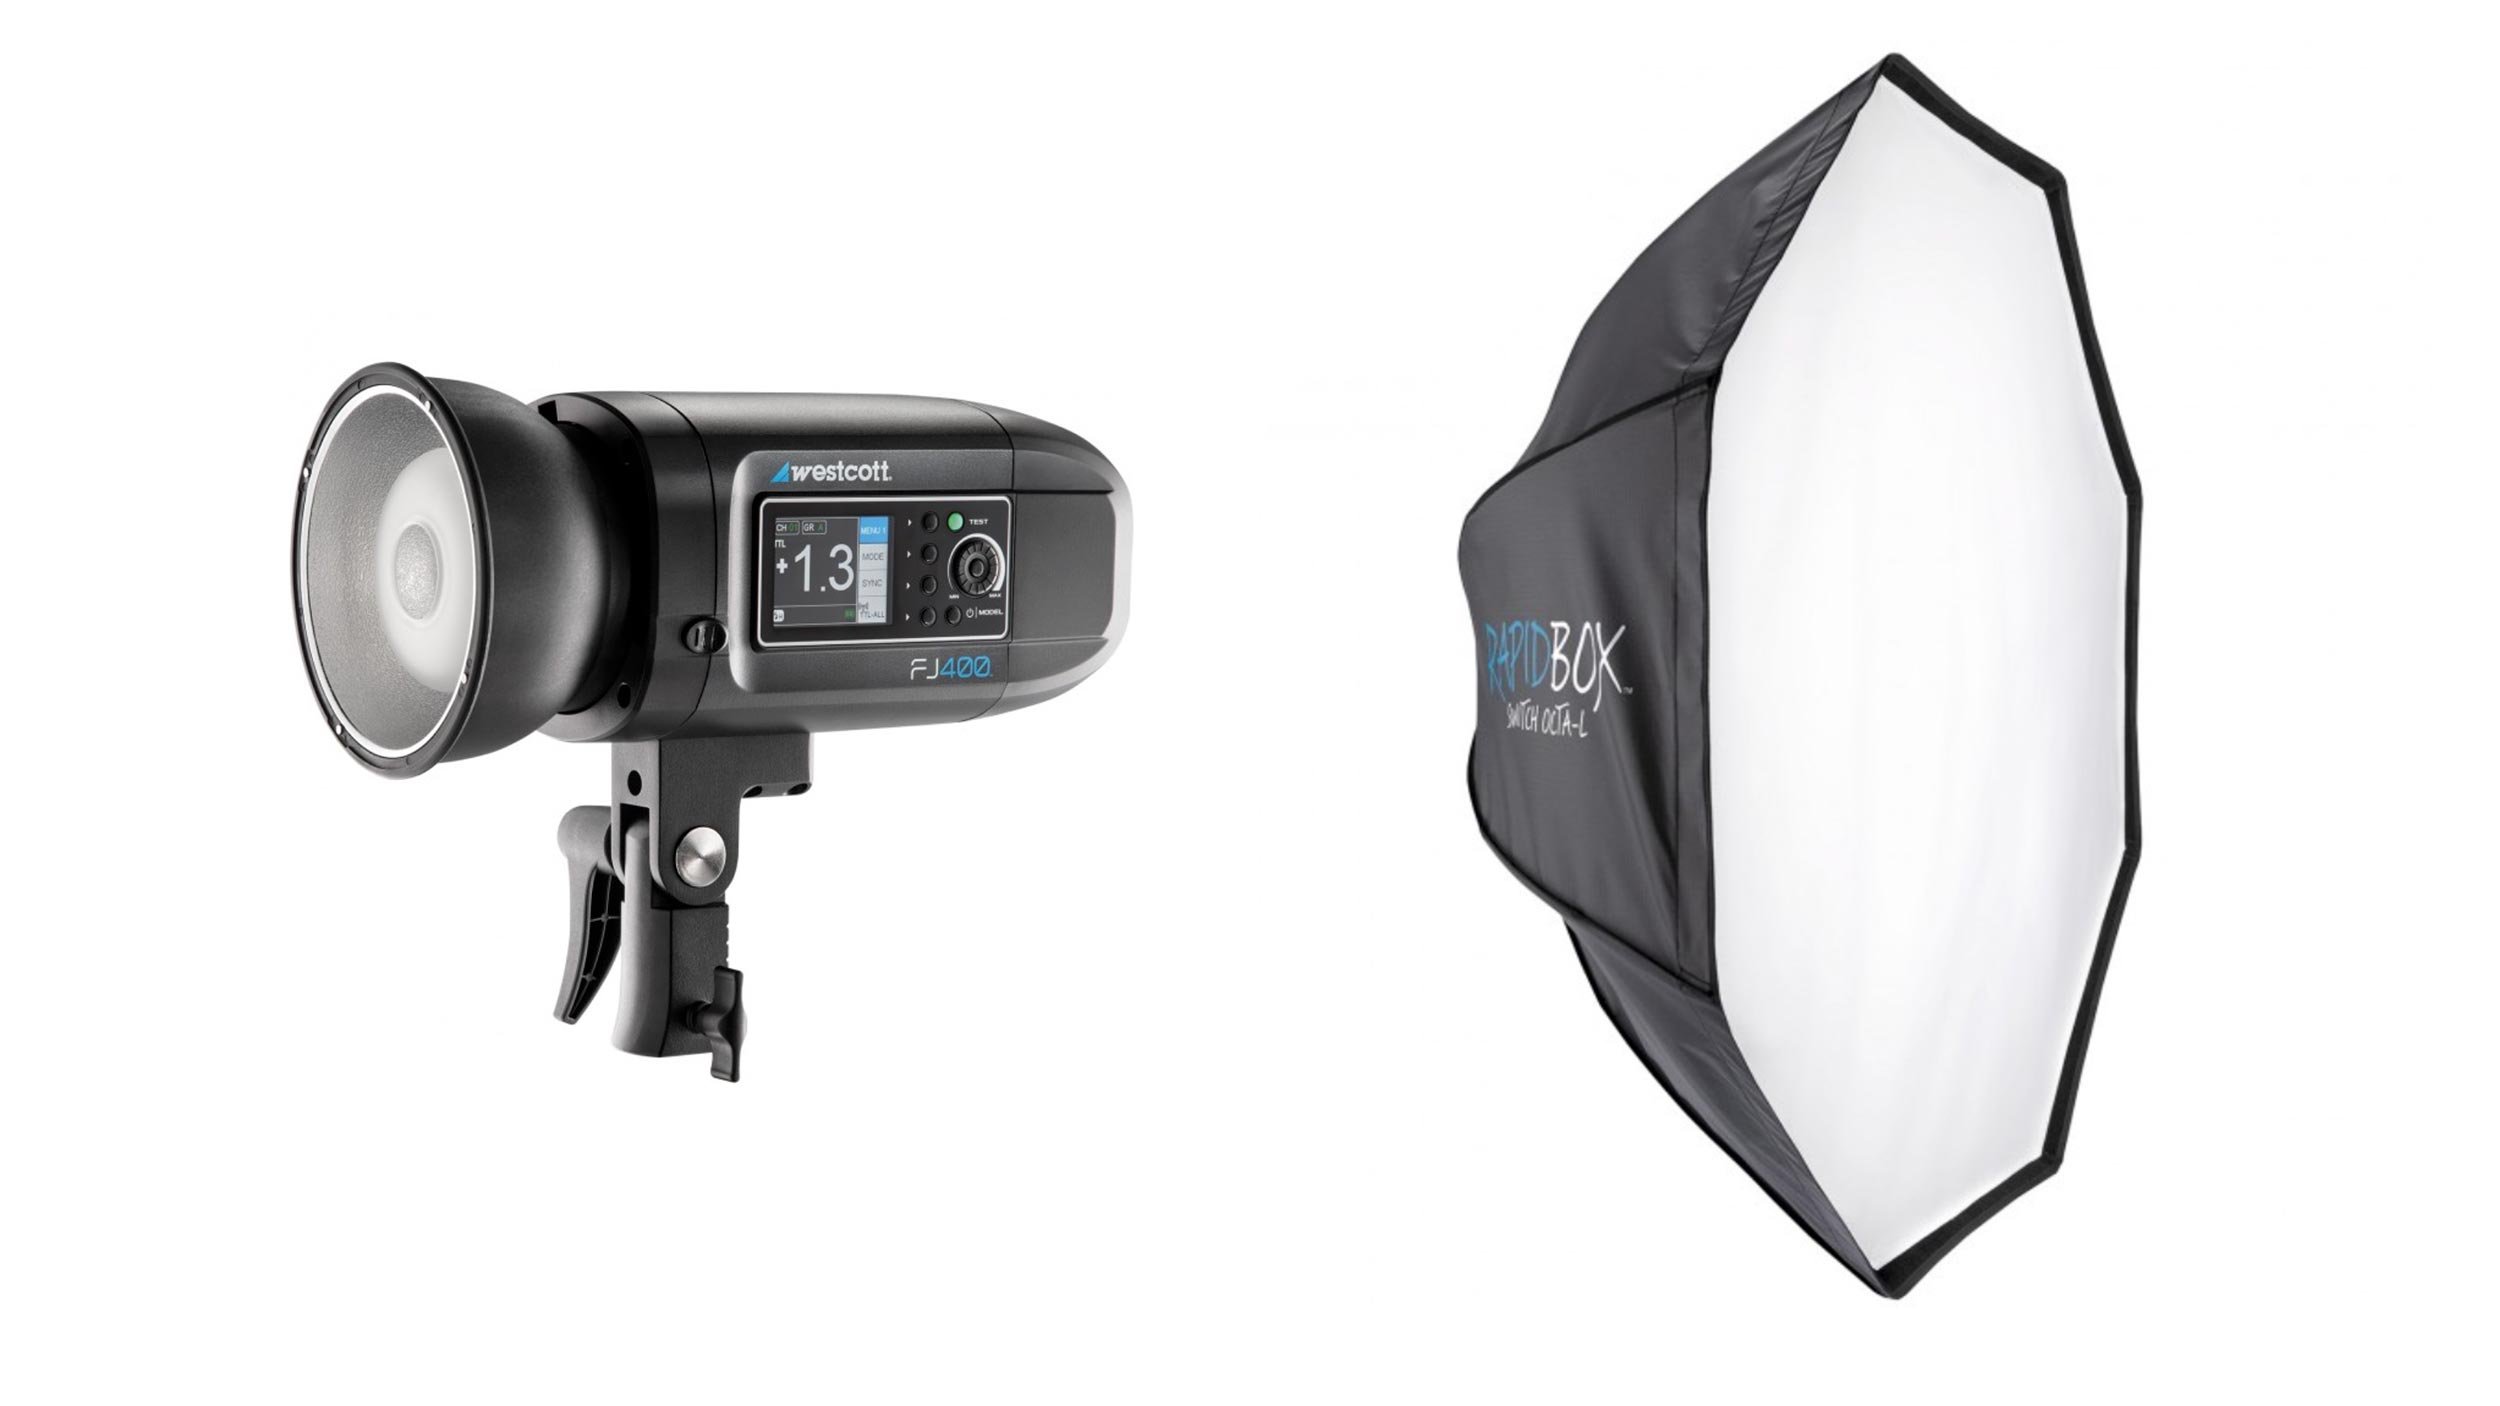
Now because it was a bright day I needed as much power out of the light as possible, but I also needed a soft-ish kind of light to match the lighting in the scene. So to do that, I removed the outer diffusion material of the soft box, meaning there was only one layer of diffusion.

This gave just the right amount of balance between softness and hardness, but also didn't kill too much of the power out of the light (roughly one stop)
Because I was tethering to my laptop I was able to see, on a larger screen, what the images were looking like and check things such as sharpness, composition and so on.
This also really helped with checking out the detail in the sky and although in the out of camera shots there looks to be no detail, there was actually plenty of information there to bring back during post production. No sky replacement needed here 😃

This ultimately meant that I didn’t need to use High Speed Sync (HSS) which although great, because of how it works reduces the output of the flash / strobe so it needs to be in closer. Not using HSS meant I could have the light positioned further away out of the frame.
So there you go, a quick run through of what went on Behind the Scenes.
With the location and the conditions presenting a few challenges, keeping things simple definitely help but also the tethering came in very handy being able to not just see the images that were coming through and REALLY see what was there.
As always, if you have any questions just add them in the section below and I’ll make sure to respond.
Cheers,
Glyn