Seriously Good One-Click Hair Selections in Photoshop

No matter the reason you use Photoshop, the one thing that’s guaranteed is that at some point you’ll need to use Selections and Masks.

Over recent years, the enhancements in Photoshop Selection Tools combined with the introduction of Adobe’s Artificial Intelligence, Adobe Sensei, have been getting better and better on a seemingly daily basis.

Without doubt, hair can be the most challenging when it comes to making a great (and believable) selection.

Of course there are techniques we can use to fake the look of a good selection that certainly get the job done but they can involve a few steps. I’ve shown many of them myself in books I’ve written and in videos over on my YouTube Channel, such as the one below…

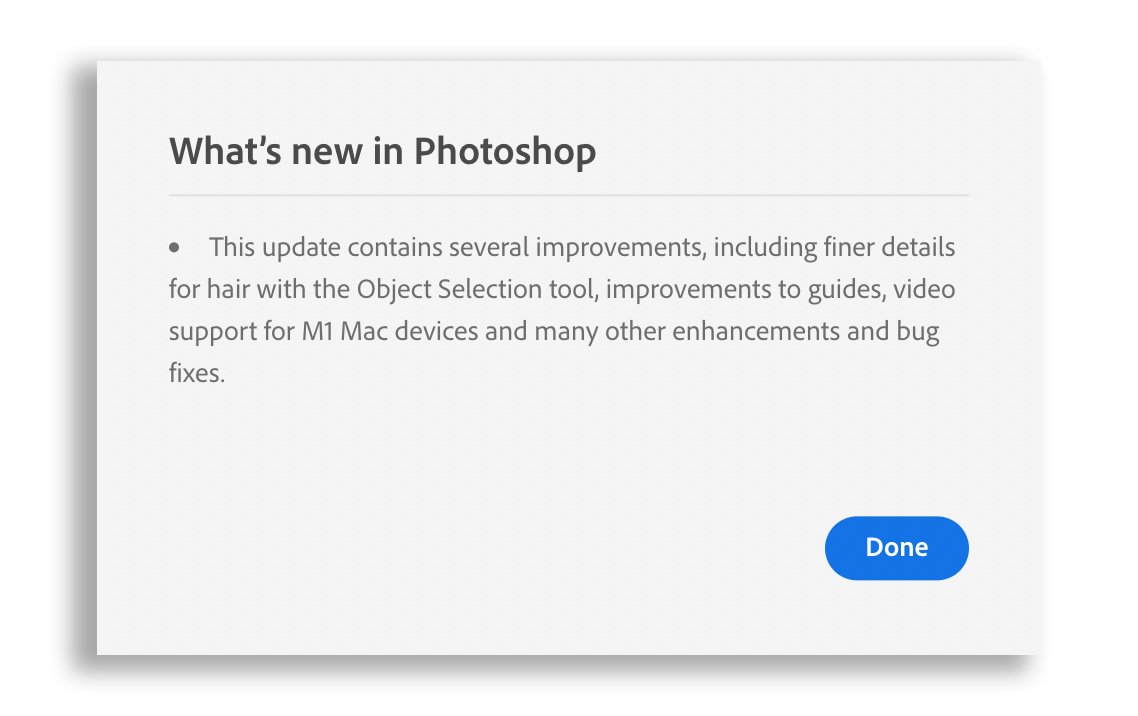
However, today I was notified by my Creative Cloud App of another update to Photoshop with the following message…

Glyn Dewis Photoshop Selections

So with a quick update downloaded and installed I just had to take a look and decided to throw one of my recent pictures of my friend Graham Currey as The Joker in, to see how Photoshop would get on with selecting fine, dark hairs off a very dark background…

So with the image open in Photoshop, here’s the steps I took…

  • Choose the Object Selection Tool

  • From the options Bar at the top of the screen click on Select Subject

  • With the active selection, click to add a layer mask

  • Add a new layer beneath and fill with 50% Grey

Glyn Dewis Photoshop

Initially it can be difficult to see how good the result is when looking at it with a transparent background…

Glyn Dewis Photoshop

When we add a layer below the selected area and fill it with a solid colour, as I have by adding grey, the result is much easier to see…

Glyn Dewis Photoshop Selections

It’s hard not to be impressed with this selection of dark hair on a dark background especially when some of the hair is out of focus due to the depth of field, and it’s all done with just one click.

Now of course I’m not saying we’ll get results like this ALL the time, but as someone who does a lot of selections and has written books about such, this is seriously good and makes the future VERY exciting.

Way to go Adobe!

UK Drone Rules: Legacy & Transition Period Extended Indefinitely? News from CAA

Well as my friend Ian put it … “You spoke, they listened!”

Following a survey sent out by the CAA earlier this year regarding the use of Legacy Drones and the C Classifications, yesterday the CAA announced their findings.

Without gong into detail here, check out the video below from my friend Ian which explains all in just over 3 minutes, along with downloading this very concise document from the CAA

LINK

Here too is a video from the great folks at UAV Hub in the Blue Skies Dronecast Podcast with details…

In short, this is great news for ALL drone owners! That the CAA are prepared to listen and take onboard not just responses from people saying it’s unfair but very justifiable remarks regarding Economic Impact, Investment Security and Safety.

Power to the People! 😃

LONG EXPOSURE with NO FILTERS 🚫 Explained Step by Step 👍

I LOVE Long Exposure Photography BUT what do you do when you're out with your camera and have NO Neutral Density Filters with you? Well, here's a GREAT TECHNIQUE for creating a Long Exposure Effect by combining a number of images together in Photoshop and using a Smart Object and the Median Stack Mode. Quick. Easy and VERY Effective!

Photographing The Joker

Looking through some files in my Lightroom Catalogue the other day and I noticed a series of images that I took when presenting for Sony at their Roadshow last year showcasing the new Sony A7IV.

The Joker

I put together a video giving my feedback on the new camera that I only got my hands on the day before the Roadshow started, and in that video you can see snippets of when I was photographing my friend Graham Currey who was dressed as The Joker..

As for the set up, I used just the one light which was positioned above Graham, slightly forward of him and angled directly down to the floor so that I could also bounce some light into his face using a silver reflector.

The resulted in a version of what is commonly called horror lighting or up lighting, and which I thought would work great for the Joker character and give the pictures a much more dramatic look.

Kit:

  • Camera: Sony A7IV

  • Lens: Sony 85mm f/1.4 G Master

  • Lighting: Westcott FJ400 + Silver Reflector

Settings:

f/5.6 , 85mm , 1/160sec , ISO 200

Hope you like the results, and as alway, if you have any questions / comments, please do make use of the comments section below and I’ll be sure to respond.

Cheers,
Glyn

❓WHO is Glyn Dewis and WHAT is this CHANNEL❓

At the beginning of the year, one of my priorities and things I wanted to spend more time on developing was my YouTube Channel, and over the past (almost) 6 months I've thoroughly enjoyed it.

I'm having so much fun putting videos together the way that is 'me' and each week learning and trying something new to add to the production value.

One thing that's been missing though is a Trailer; something that in 60 seconds or less tells folks that haven't subscribed, the WHO, WHAT, WHERE, WHY, WHEN and HOW of me and what the Channel is all about, but yesterday I put some time aside and did it…

Hope you like it 😉

New Business Cards from Awesome Merchandise

Recently my best mate Dave Clayton designed a new logo for me that in his own words “was more up to date with you and what you’re doing these days” … and I love it.

I wrote an article showing it HERE

I’d been meaning to get some new Contact Cards made up that also included an easy way for folks to navigate to my YouTube Channel as more and more I’m being asked about it when out and about with my main camera OR my drone, taking photographs or filming on the coast.

So, using Dave’s new design I came up with this for the front…

and this is what I have on the back…

Clean, simple and includes everything that’s needed but with the new addition of a QR code that can be very easily and quickly scanned by holding your camera phone to it and then pressing the button that automatically appears; doing so takes you straight through to my YouTube Channel.

No need to write details down, no need to take a card. Quick and Easy.

The cards I had printed by Awesome Merchandise who are the very same folks that printed ALL of the graphics, stationary, invites, badges, contact cards etc… for my first exhibition of my 39-45 Portraits Project held at the Soldiers of Oxfordshire Museum in Woodstock, Oxfordshire from November 2019 thru January 2020.

Highly recommended.

WeX 25th Anniversary Event

Really looking forward to being at WeX Store in Birmingham next week on Saturday 18th June 2022 as part of their 25th Anniversary Event and being asked to present on behalf of Sony.

WeX 25th Anniversary Event

The event days are completely FREE for everyone to come along to with lots going on including hands on and presentations.

I’ll be there all day at the Birmingham Store and presenting a new talk at 12midday thru 1pm …

Portrait to Landscape: How to Keep Creative

WeX Stores across the country are holding their own anniversary event days.

You can find out more by visiting the main event page on the WeX website by CLICKING HERE

Hopefully see you in Birmingham…if that’s the one you’ll be going to of course 😃

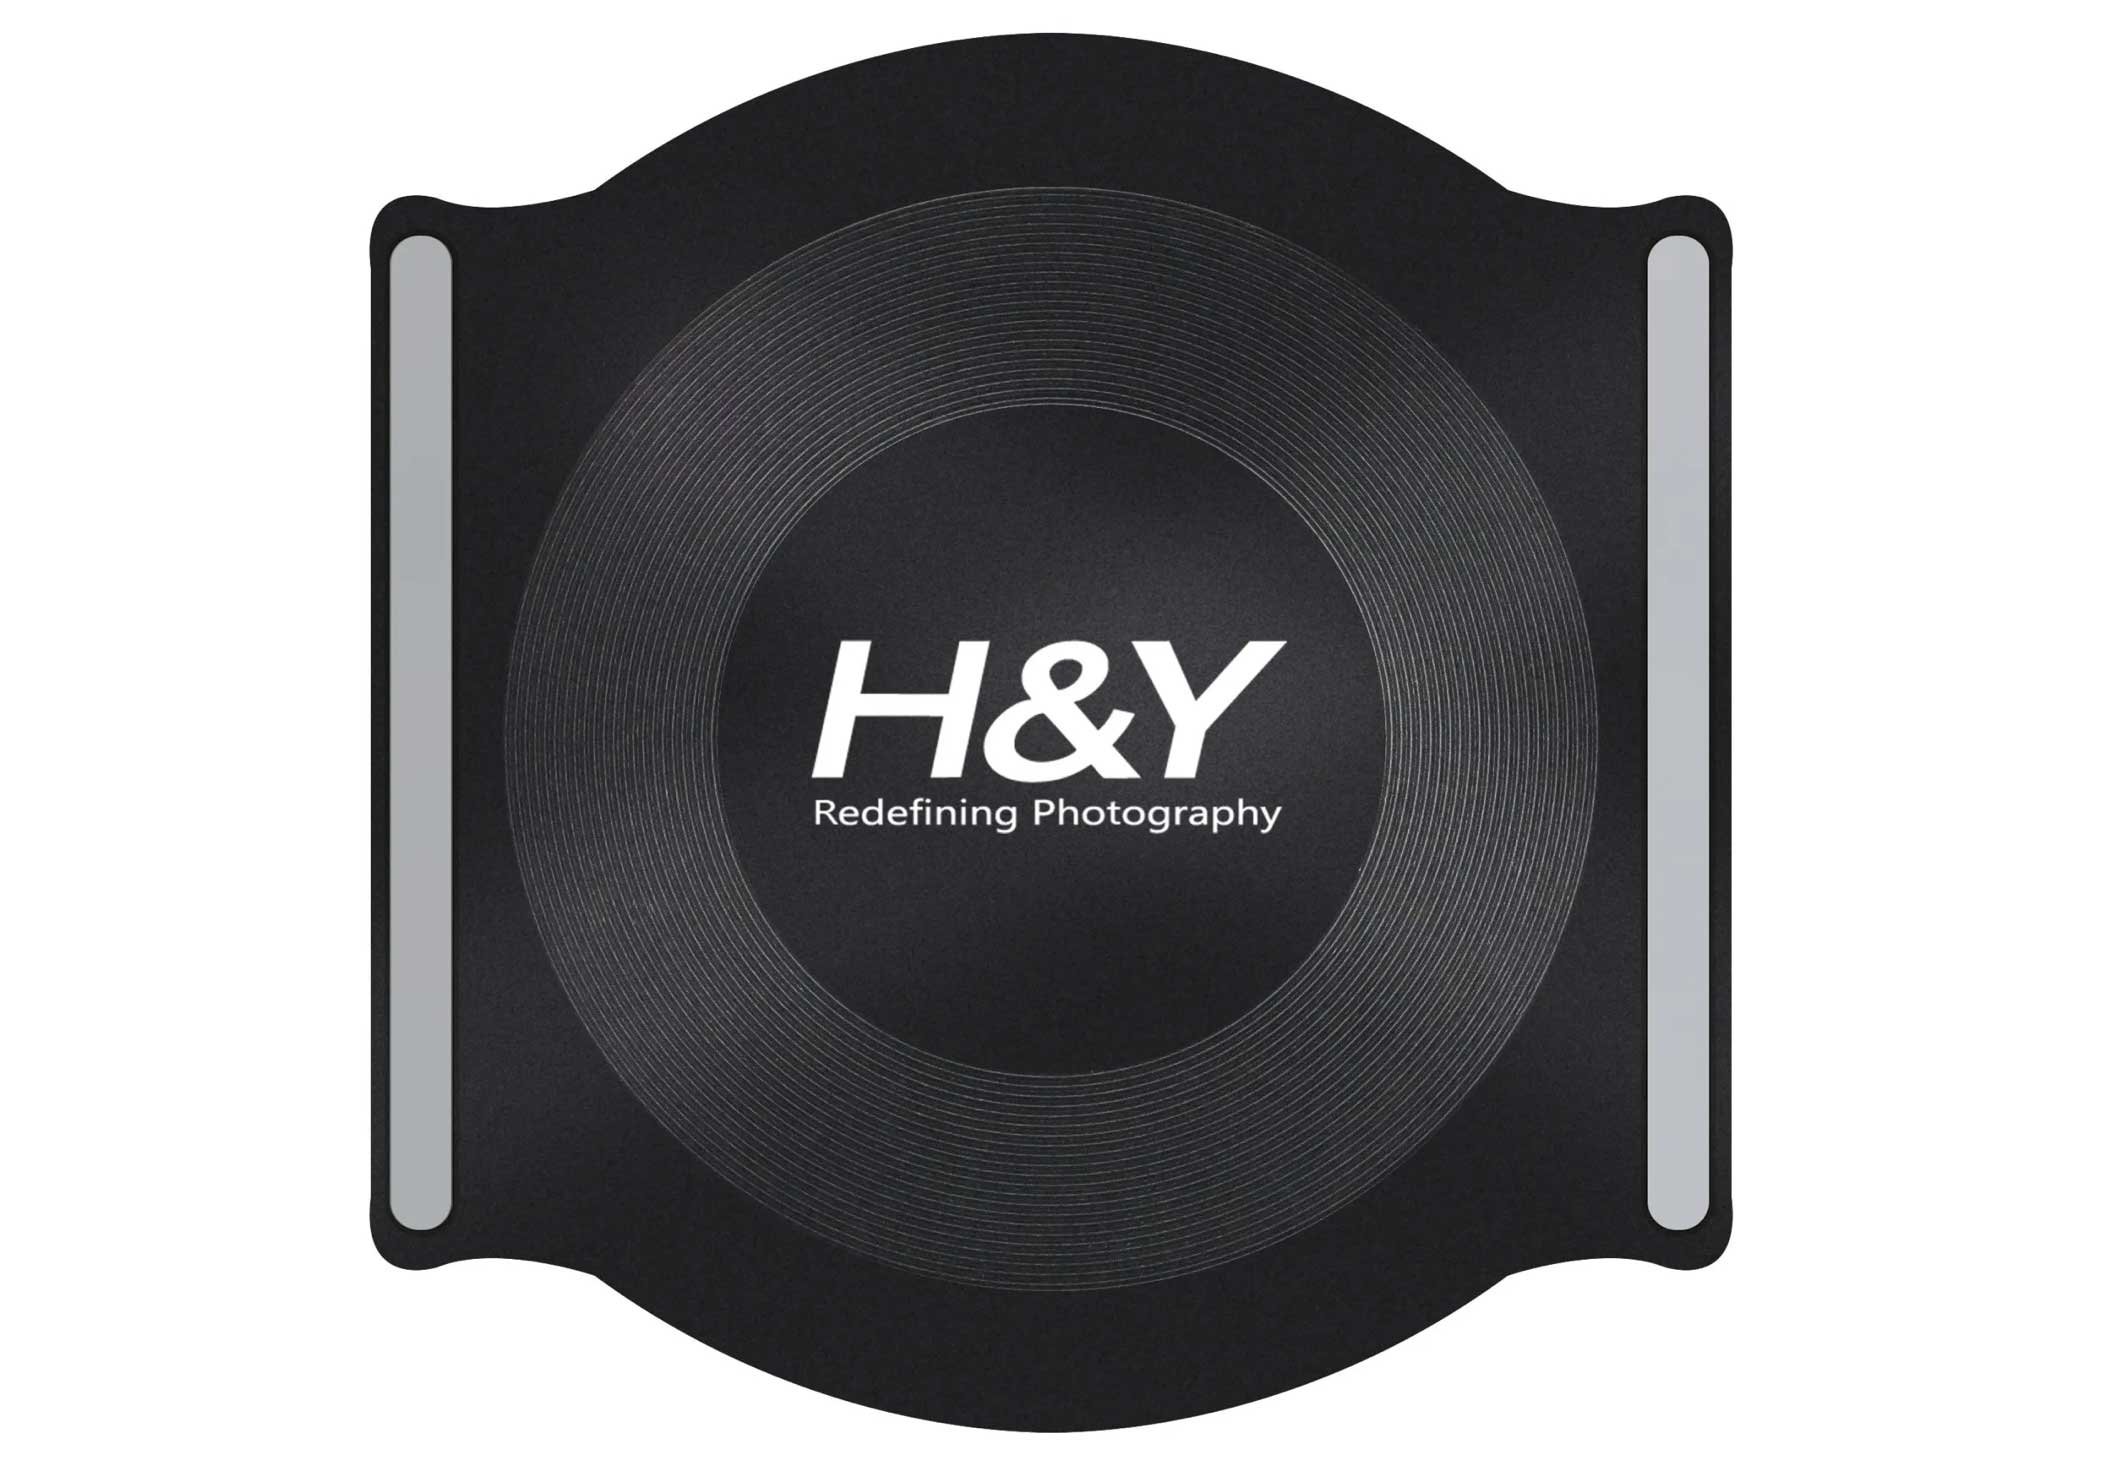
H&Y Release their NEW Magnetic Lens Cap for the K-Series Holder

It’s the small things that make a BIG difference and now having this new lens cap from H&Y, although it might not seem like much, will make such a difference when out an about…

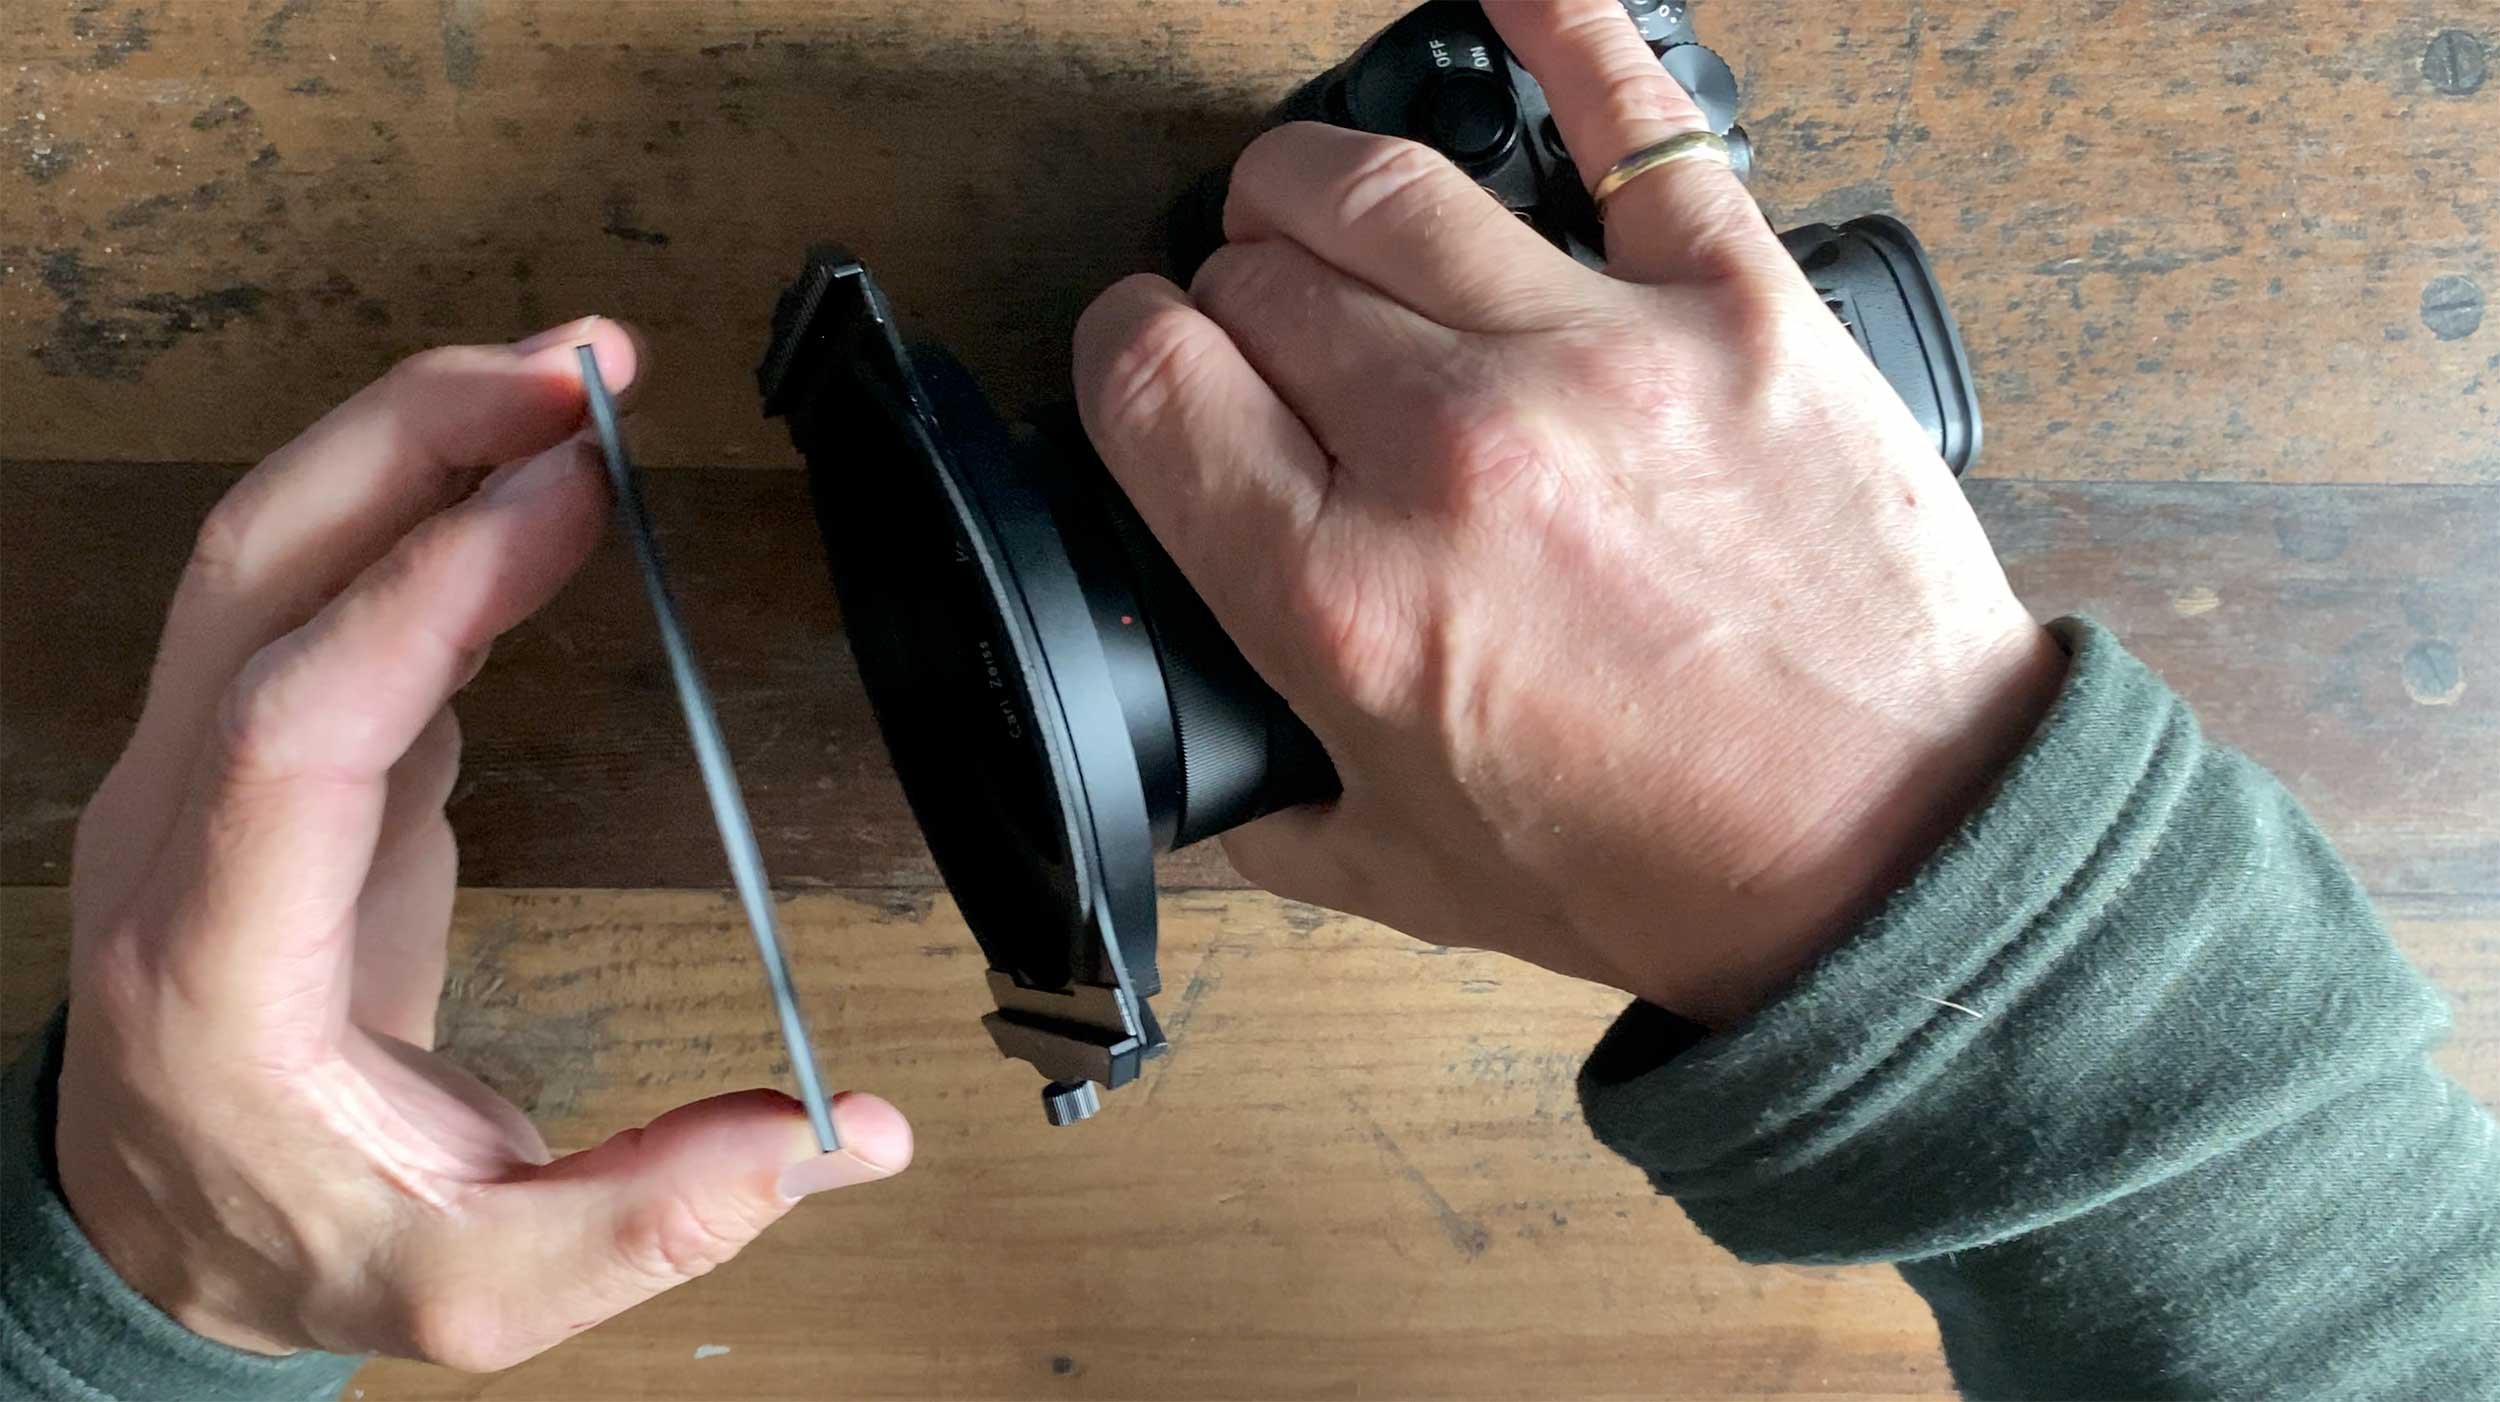
One of, if not the, main reason I use H&Y Filters is because of them being magnetic and easy and quick to use when on location. I’ve tried other brands (ahem….Lee) and found them to be so cumbersome that I ended up not bothering with them and going without. The H&Y filters aren’t lighter but it’s how easy they are to attach, that makes such a difference.

The quality goes without saying because you’re only going to put good glass onto of good glass, but the magnets, which are super strong, mean you don’t worry about filters coming off and dropping to the floor. Mind you, that did happen to me when I pulled one out of my bag when I was at Hartland Quay and it dropped onto and down between some rocks. Thankfully not a scratch, so I can speak with clumsy confidence that they’re tough 😃

Anyway, now I have this new Lens Cap it means I can have the holder already on the camera, the lens glass is safe from knocks and it’s one less thing to have to do when out and about, which ultimately makes shooting life a lot easier and more enjoyable.

Not earth shattering, but still makes a big difference.

Note: Just looked on the H&Y site and they’re currently priced at £20.83 + VAT 👍🏻 *LINK

*The links included in this article are not affiliated with H&Y / PhotoTEQ

✅ SUPERB technique for REMOVING STUFF in your pictures and making it DISAPPEAR

This is a SUPERB way to remove distractions in your photographs. In this video I'll show you step by step how to get superb results removing stuff like people and vehicles (or anything else that moves) quick and easy using Smart Objects and Stack Modes, that would be impossible using regular tools in Photoshop like the Clone Stamp Tool and Content Aware Fill.

The Fujicast Podcast

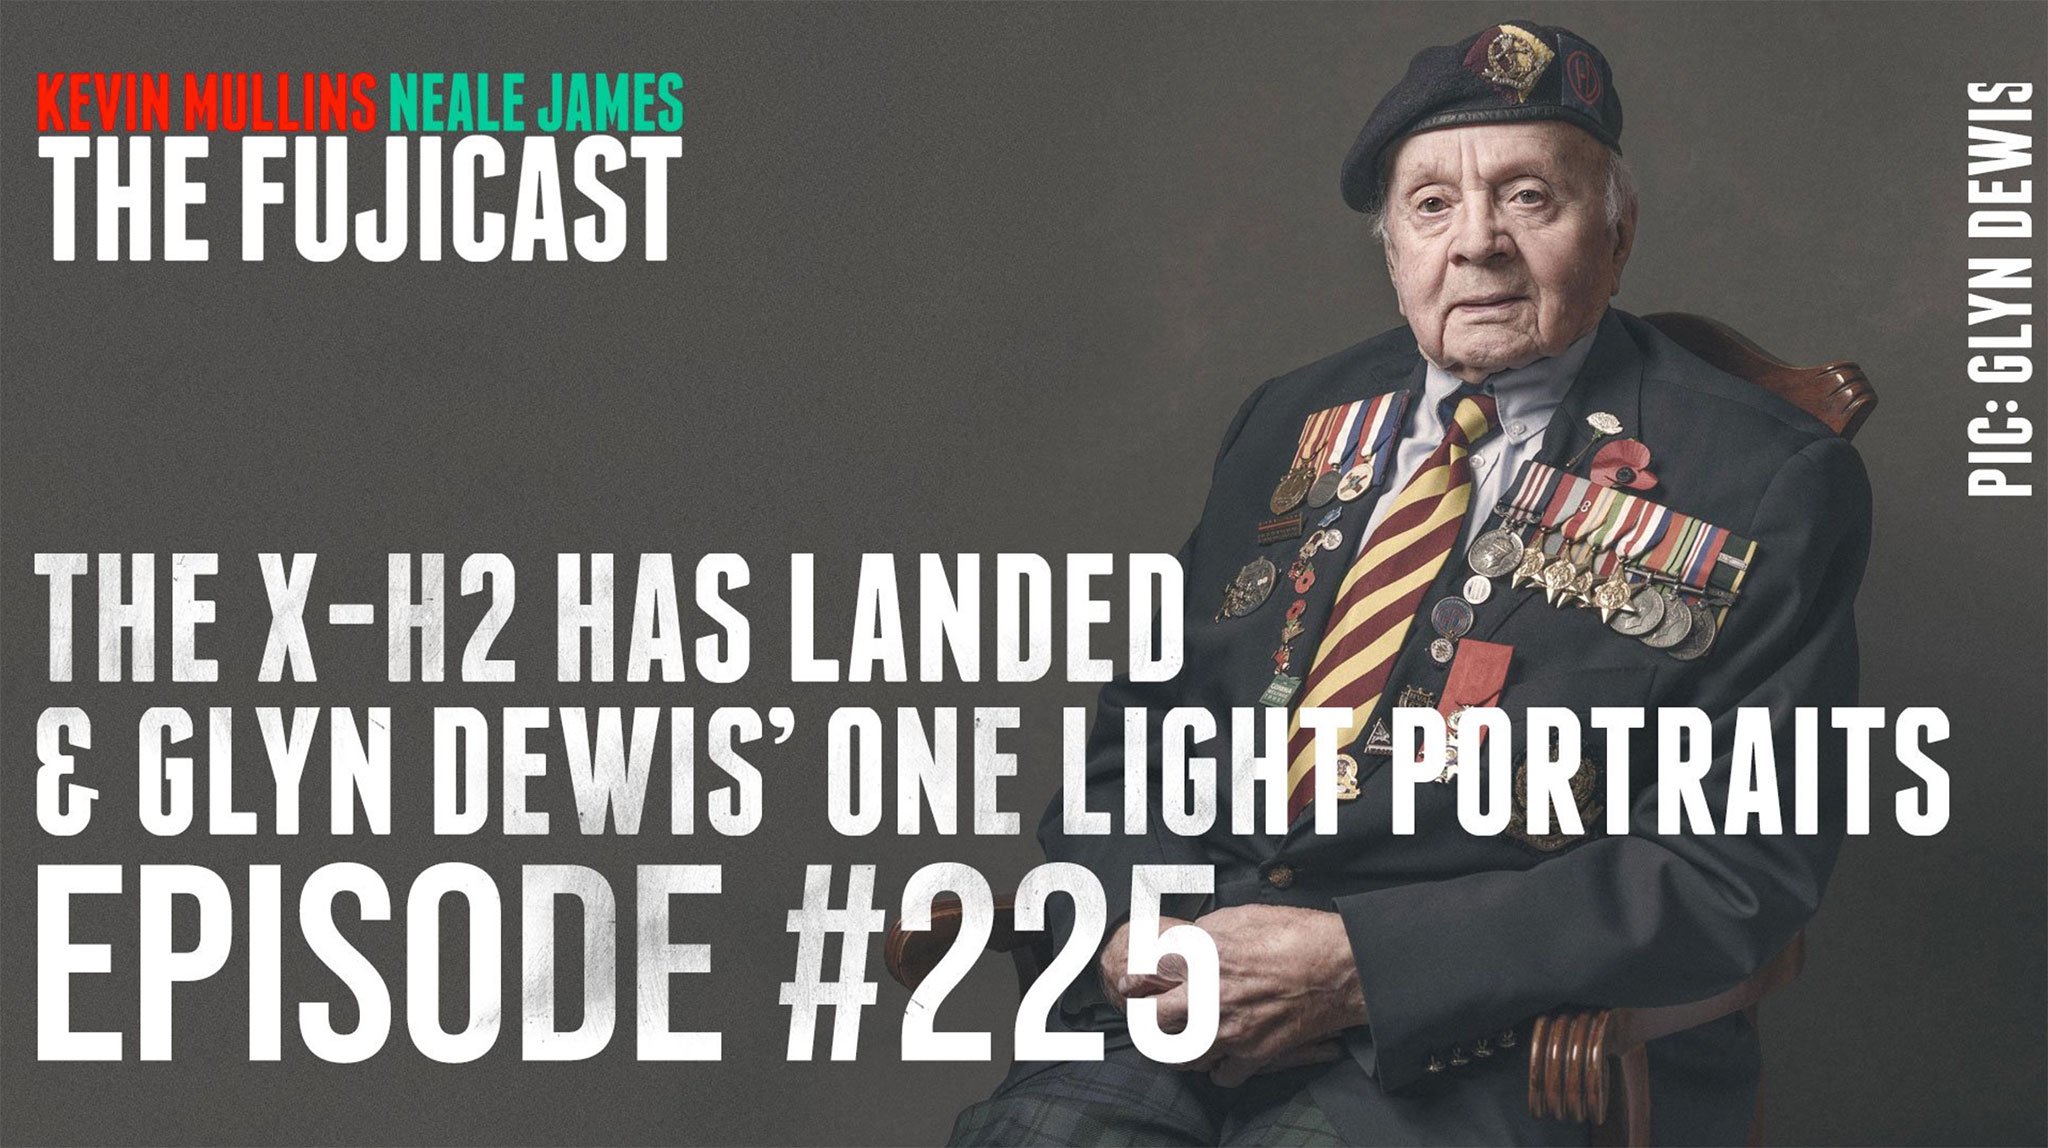
HUGE thanks to The Fujicast Podcast (not just for Fuji Shooters) for inviting me on as a guest for this weeks episode.

Chatted loads with host Kevin Mullins about all sorts … starting out, writing books, veterans project, artificial intelligence for retouching...

If you fancy a listen you can do so over on the podcast's official website OR where all great podcasts are hosted (Apple Podcasts, Spotify ...)

LISTEN HERE