
Portrait of a female surfer on her board awaiting the wave…
This is the result of one of the most challenging, but great fun, photo shoots I’ve had to date; not because it was taken at around midday on a VERY bright sunny day and camera and flash settings related BUT sea, waves, sun and kit related.
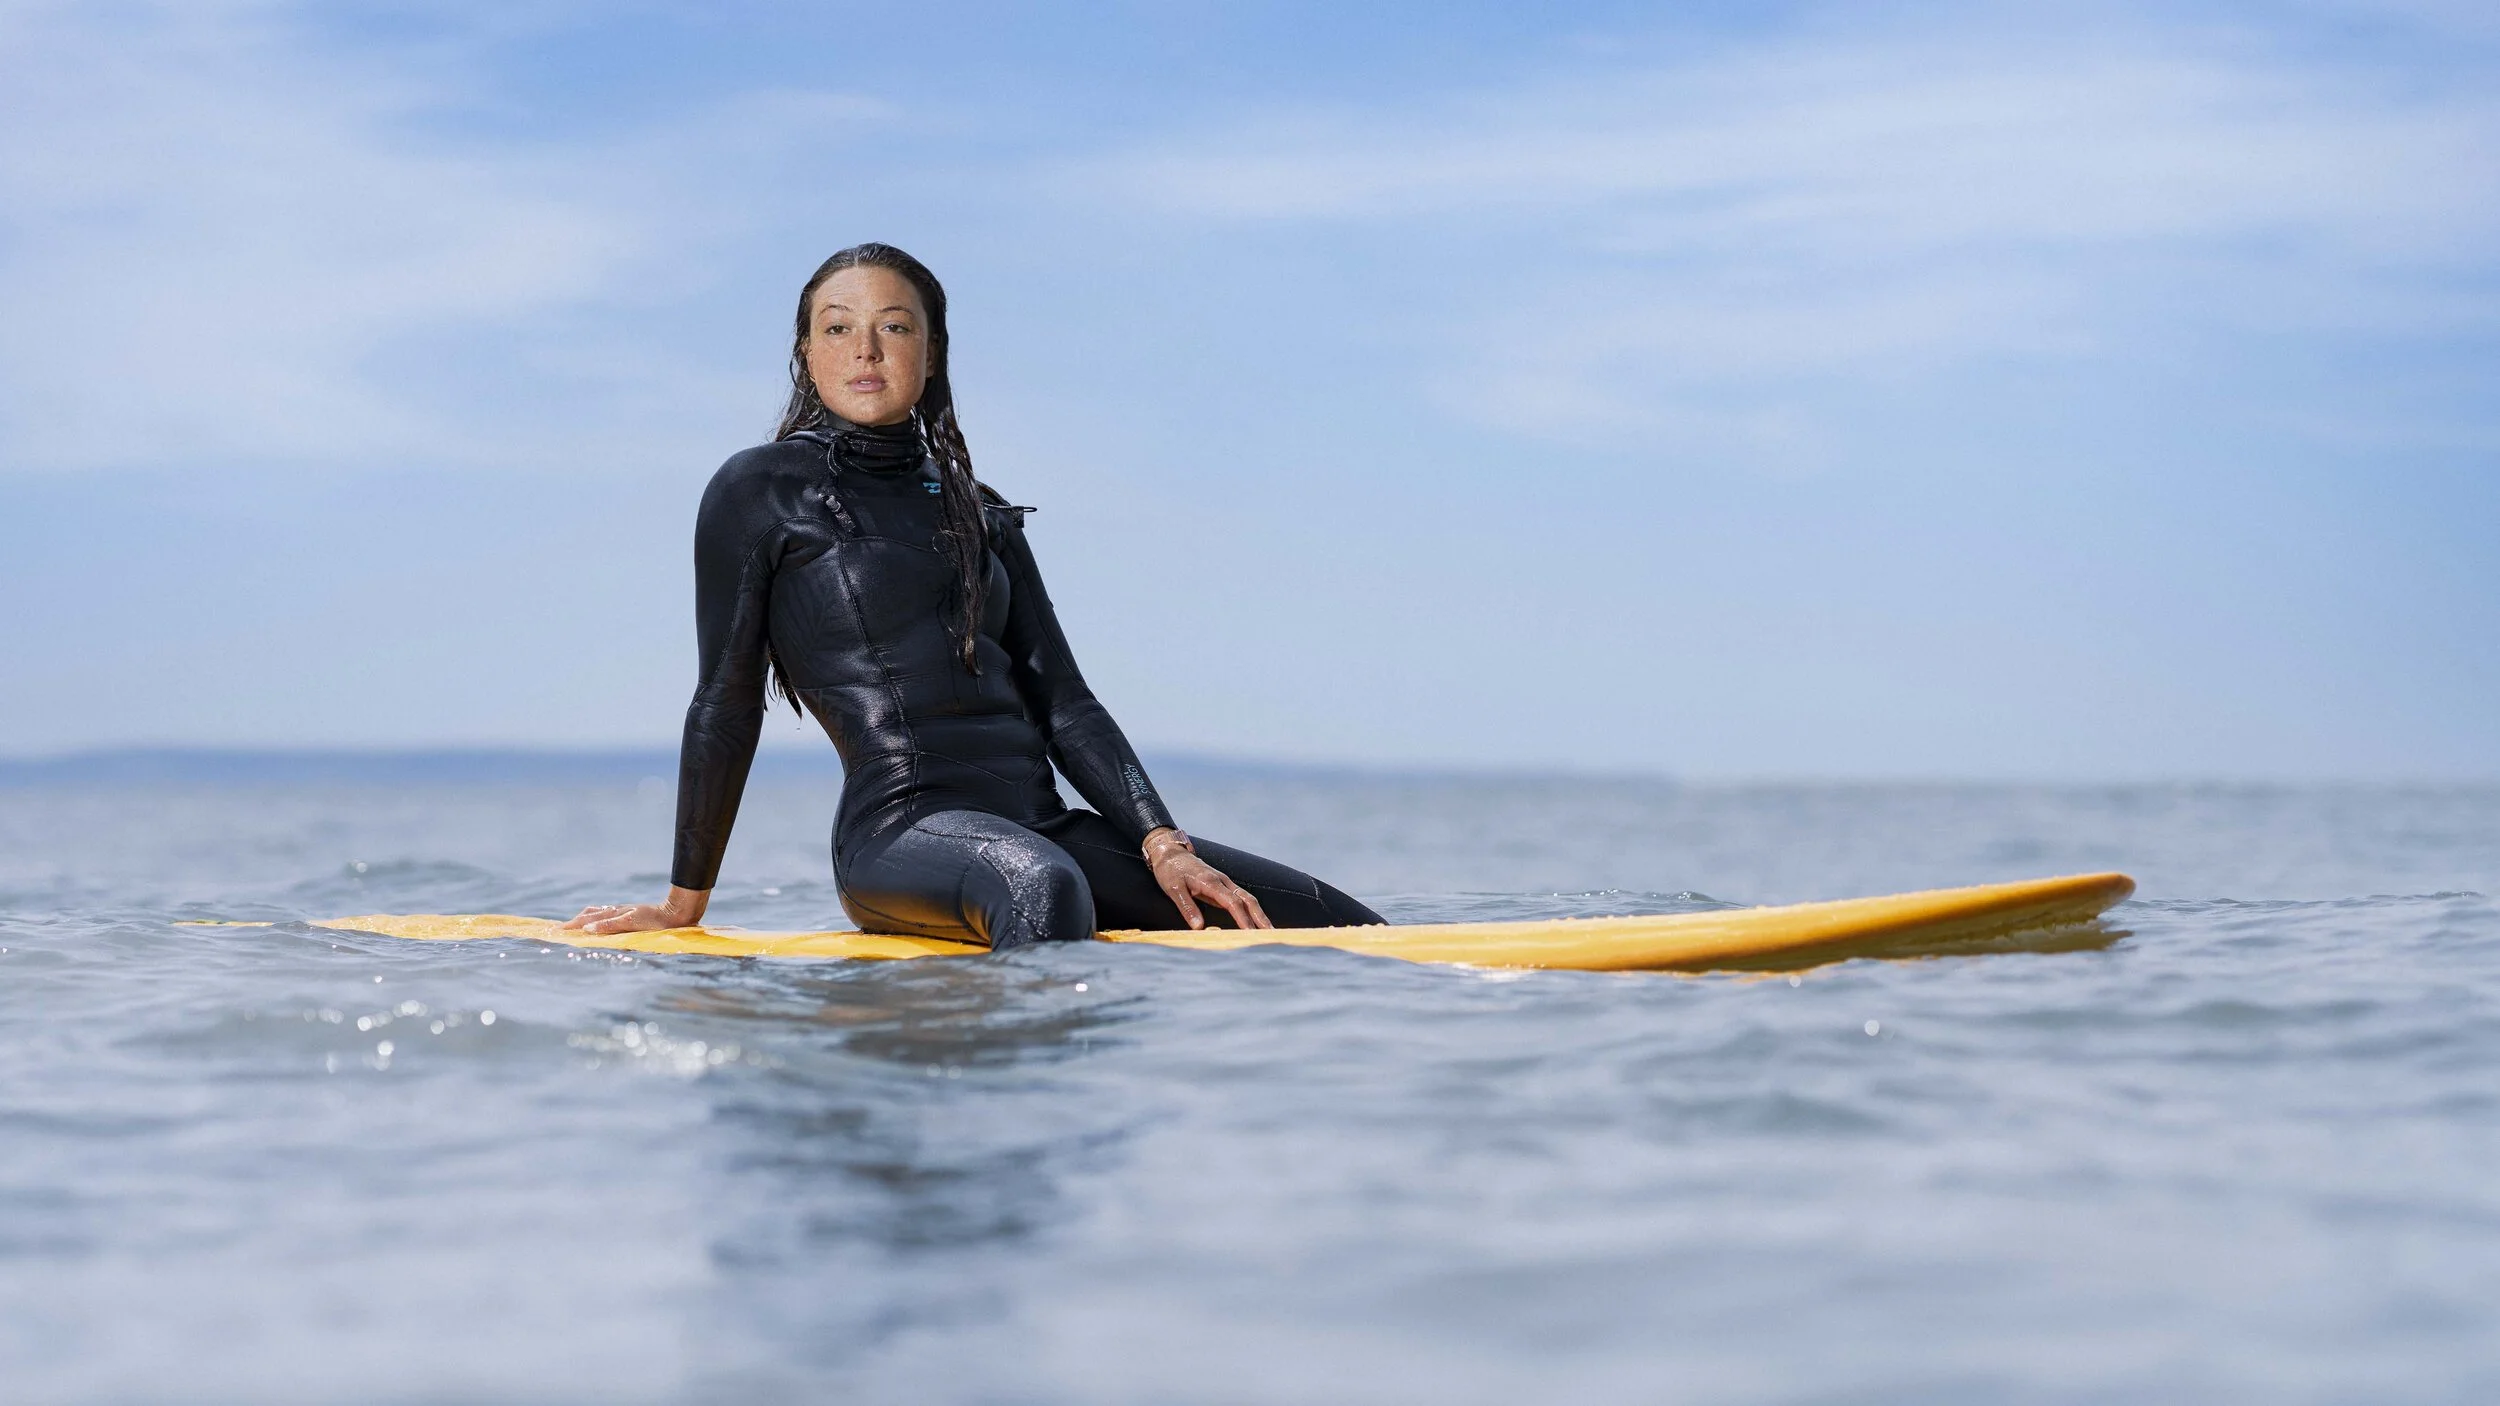
Getting beyond the breakers at Saunton Beach in Devon meant being chest height in the water; me with camera and a great guy named Jim, a surfer, who helped us out by holding and positioning the lighting.

Ordinarily a relatively easy shot but not so when you have waves to contend with constantly pushing you this way and that, your subject (Molly, a Surfing Instructor from Walking on Waves Surf School) is constantly moving and having to counter the waves to maintain a pose, AND your lighting is moving; also, keeping an eye out for any rogue waves that may (and did) appear, meaning a well timed jump up with arm stretched high to keep the camera and lighting safe.

KIT & SETTINGS
Sony A7RIV (camera)
Sony 85mm f/1.4 G-Master (lens)
Westcott FJ400 (light) – LINK
Having rehearsed positioning on the beach and dialled in the settings, this is what I went with to give enough detail in the sky and light Molly with the FJ400 in High Speed Sync…
ISO 50, 85mm, f/2.0, 1/2500sec (High Speed Sync)
*For a full list of the kit I’m currently using, check out my GEAR page

Focusing
Initally when on the beach I’d opted with Single-Shot AF, but very soon after getting in the water, realised that Continuous AF was best choice, and with Back-Button Focus.
This was definitely the way to go along with a Focus Area of Flexible Spot: Medium because the rise and fall of the water would knock the focus point elsewhere onto a wave, when I had it set to Focus Area: Zone, AND because of the waves our positions were constantly shifting.
All of these settings I have programmed so that they’re available at the press of a button rather than having to dive through the menu…


Ordinarily I would also shoot tethered to my laptop which would be in a shade so I could see the screen clearly despite the bright sunshine, however for this photo shoot, this just wasn’t possible.
The LCD on the back of the camera, despite being at full brightness, was incredibly difficult to see. I didn’t want to use the viewfinder as that would give me tunnel vision with my face pressed against the camera, and this I definitely didn’t want as I also needed to keep an eye out for any of the rogue waves.
Ultimately this is where complete trust in your kit comes in. I knew that once I’d dialled in the correct settings, the camera would lock on to Molly with Face Tracking and Eye AF, and it certainly didn’t let me down.
Waterproof Camera Housing
Believe me I was more than a little on edge once in the water with all the kit but thankfully, despite a few splashes, everything survived, however I do now have a waterproof camera housing on order as I’m going to be doing a lot more of this kind of stuff AND underwater / split above and below the water.
Having taken some advice I’ve opted for Outex (Dome Lens Pro Kit) so I’ll definitely keep you posted how that performs once it arrives and I start putting it to test.
Closing…
One of the many things I love about photography is how I can recall the when, where, how, who and what happened as I look at the photographs in my portfolio; this photograph will most definitely be one I won’t forget.
VERY excited about the kind of images and videos I’ll be working on in the future now that I live in Devon; first things first though…that watertight camera housing 🙂
As always, if you have any questions or comments please do make use of the comments section below and I’ll get straight back to you.
Cheers,
Glyn
•Video sponsored by Sony going through the ‘Behind the Scenes’ coming soon.